
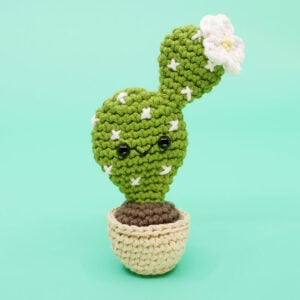
Succulent Amigurumi Pot

Medium
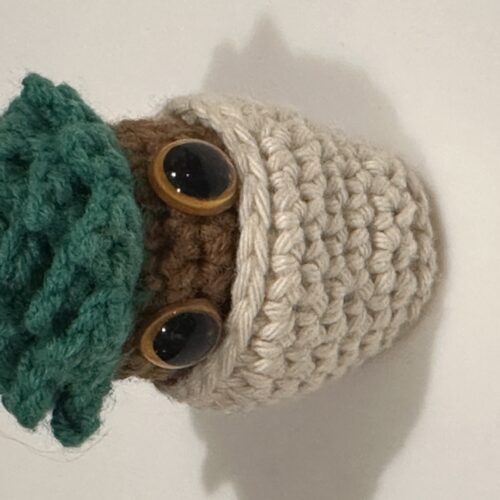
In this amigurumi crochet pattern we’ll be learning how to crochet a succulent in a mini pot! This unique pattern unveils a delightful surprise—a hidden face and adorable feet peeking out from the greenery. Whether you're a crochet enthusiast or a succulent lover, this project is perfect for adding a touch of cuteness to any space. Let's dive in and crochet some playful succulent magic!

Louie's Loops
Designed by


What you'll create


What you'll learn
What you'll need

Cotton Yarn
Weight

Colors
Green (Main color)
Beige (Pot)
Brown (Dirt color)

Crochet Hook
G6 / 4.00 mm

Safety Bead (x2)
8mm
Black Thread (Face)

Stuffing

Darning Needle
Abbreviations used
ch
Chain Stitch
st
Stitch
slst
Slip Stitch
sc
Single Crochet
inc
Increase
invdec
Invisible Decrease
FLO/BLO
Front / Back Loops Only
dc
Double Crochet
hdc
Half-Double Crochet
bo
Bobble Stitch (4-dc bobble)
mp
Mini Picot
Useful information
Gauge
5 Rnds and 4 sts per 1”
Size
Finished Size is about 5 inches long
Worked
In the Round
Useful Tutorials

Pattern steps
01 Succulent Top
[All in Green]
Magic loop
Rnd 1: sc 6 into the magic loop (6)
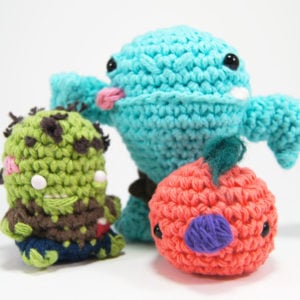
Other patterns to try


Community posts
Community Showcase
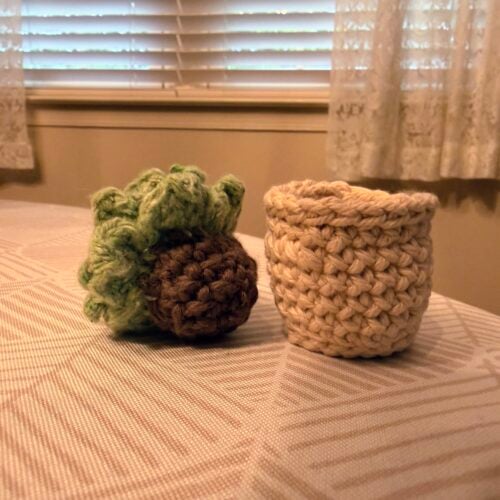
Hidden Container Succulent
Submitted by Prizma
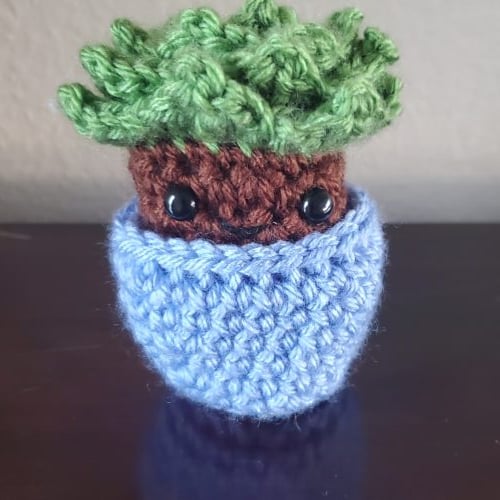
Succulent
Submitted by Kirsty
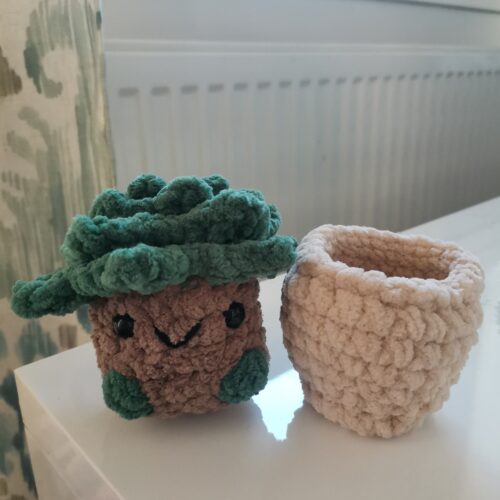
Duncan
Submitted by egibb1129
Submitted by Liia
You need an account to submit your photo.


HI
This is a great pattern and I’m working on a second one for a friend plus I’ve made watering cans! I had to add two rows to the pot but overall it was nice and simple. Thanks for the pattern
Love it! I am selling some and they LOVE it! Thank you! ❤️
LOVE IT!!
I didnt crochet for a long time, but this pattern made me do it again !! <3
oh and btw for R10 of the pot I did; [ch1 slst.] in each FLO. I think it looks really cute like that! maybe a nice idea for a variation? 🙂
Thank you so much for your amazing patterns! I really had a great time making them! i also love your bird patterns and the dino's btw
This pattern also got me back into crochet after not crocheting for a while.
This is seriously my favorite pattern! I’ve made like 5 of them, all different sizes & materials, and plan on more – can’t get enough of it!
you could technically make this as a plant person for stiched the game.
I’ve been totally thinking the same!!
For Rnd7 of the Succulent Top : you corrected yourself in the video to say the Rnd is [sc 4, inc 1], but your written instructions here and on the PDF say [sc 3, inc 1] still.
Just started working on this pattern, loving it so far! Succulents are my favorite, can’t wait to add this crocheted one to my collection!
Just fixed it! Thanks for letting me know!
Just as a heads up, I got “v2” of the pdf and it still has this error on rnd 7 in the written pattern. Absolutely love all your videos and creations. You’re the person who got me into amigurumi. Thanks so much!