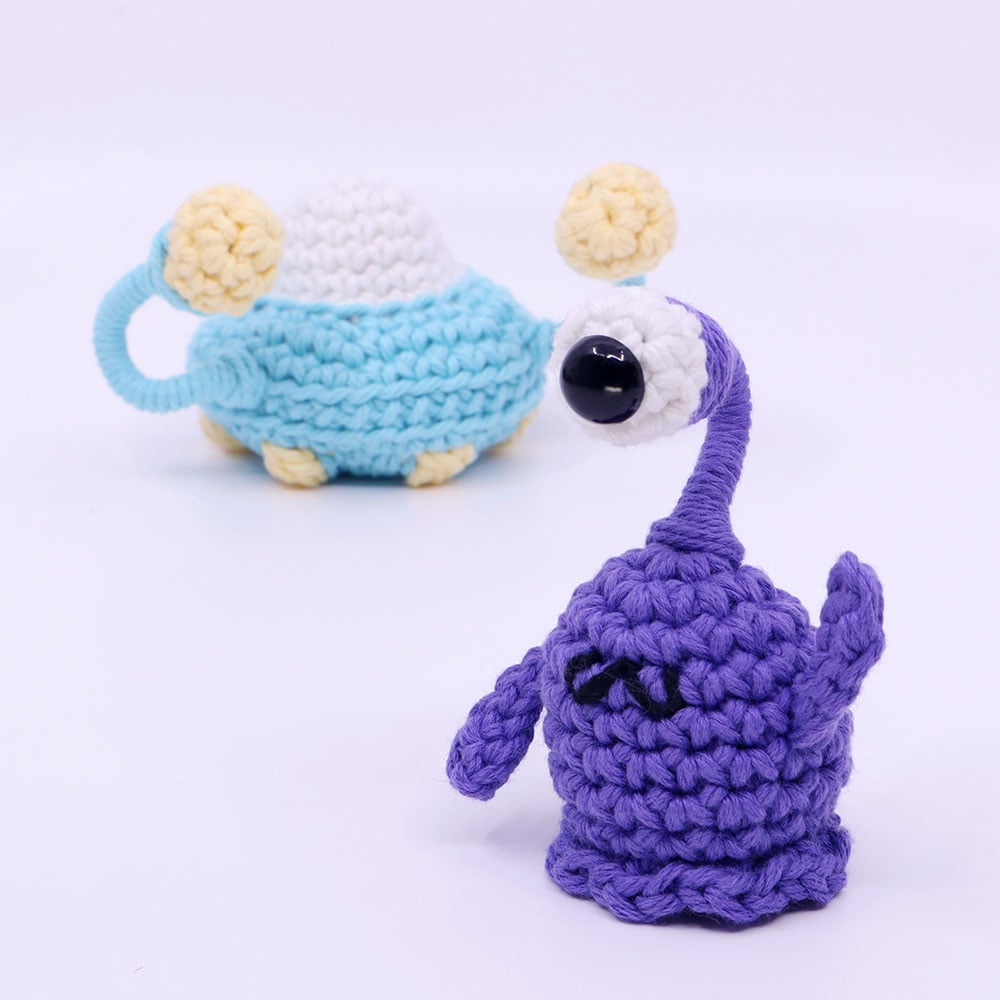
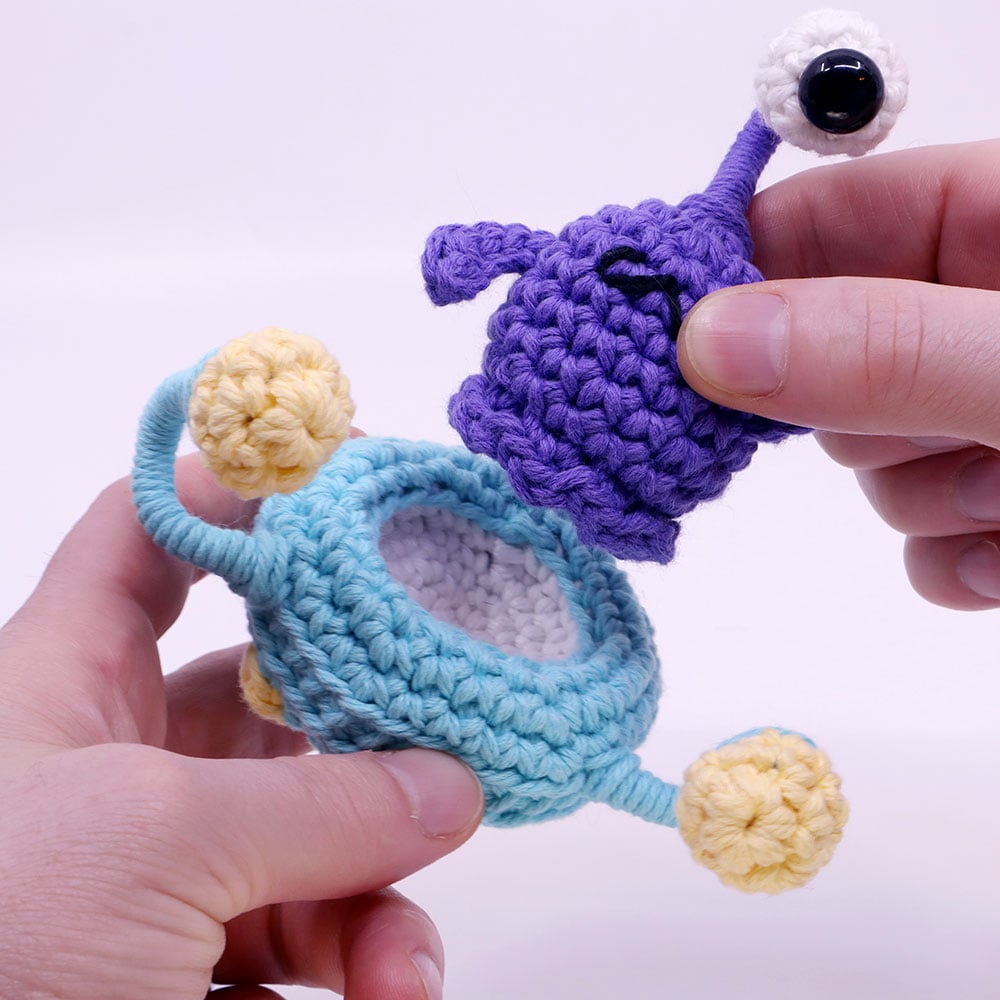
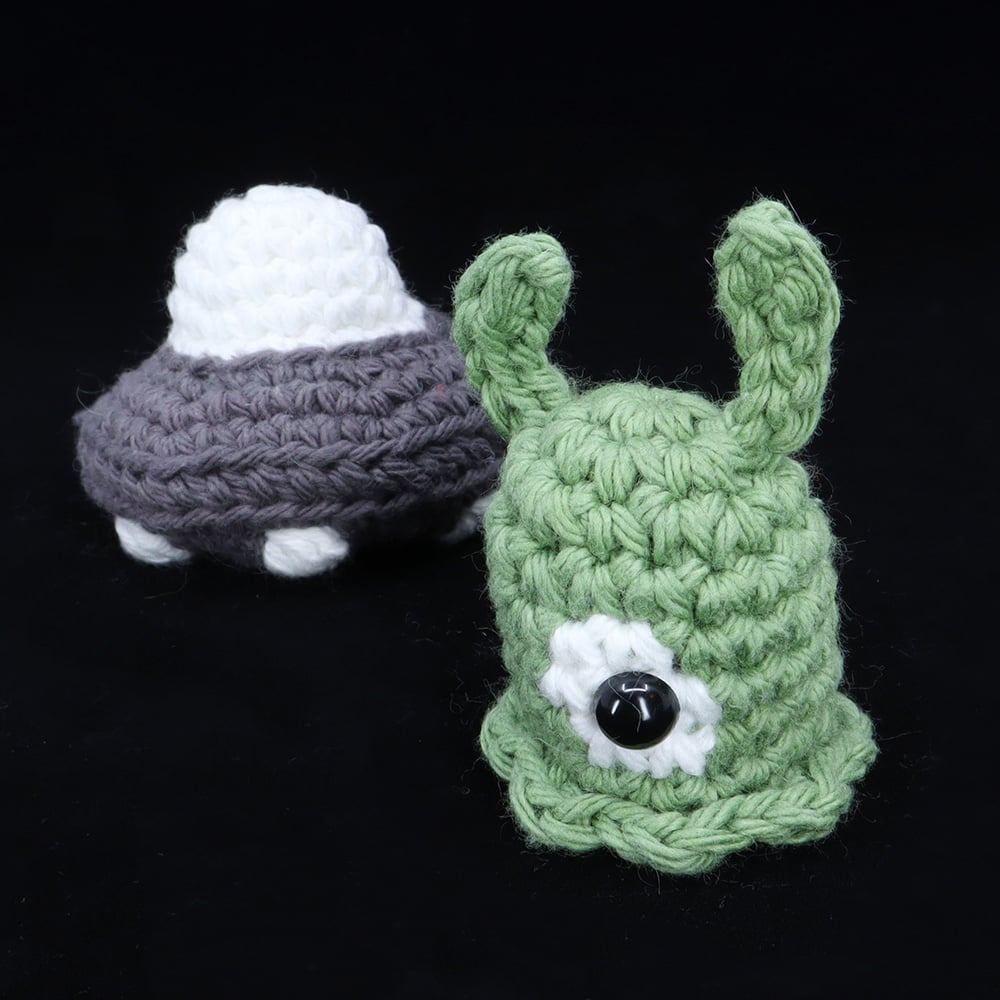
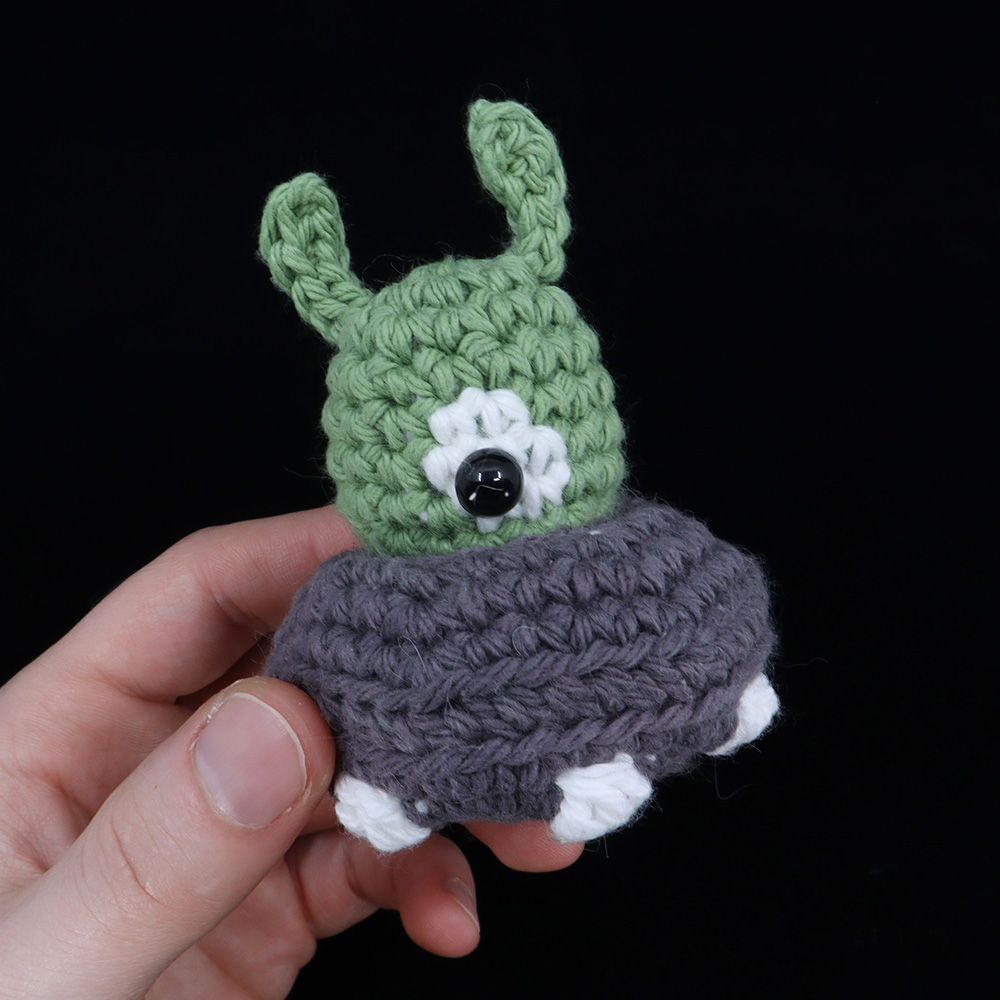
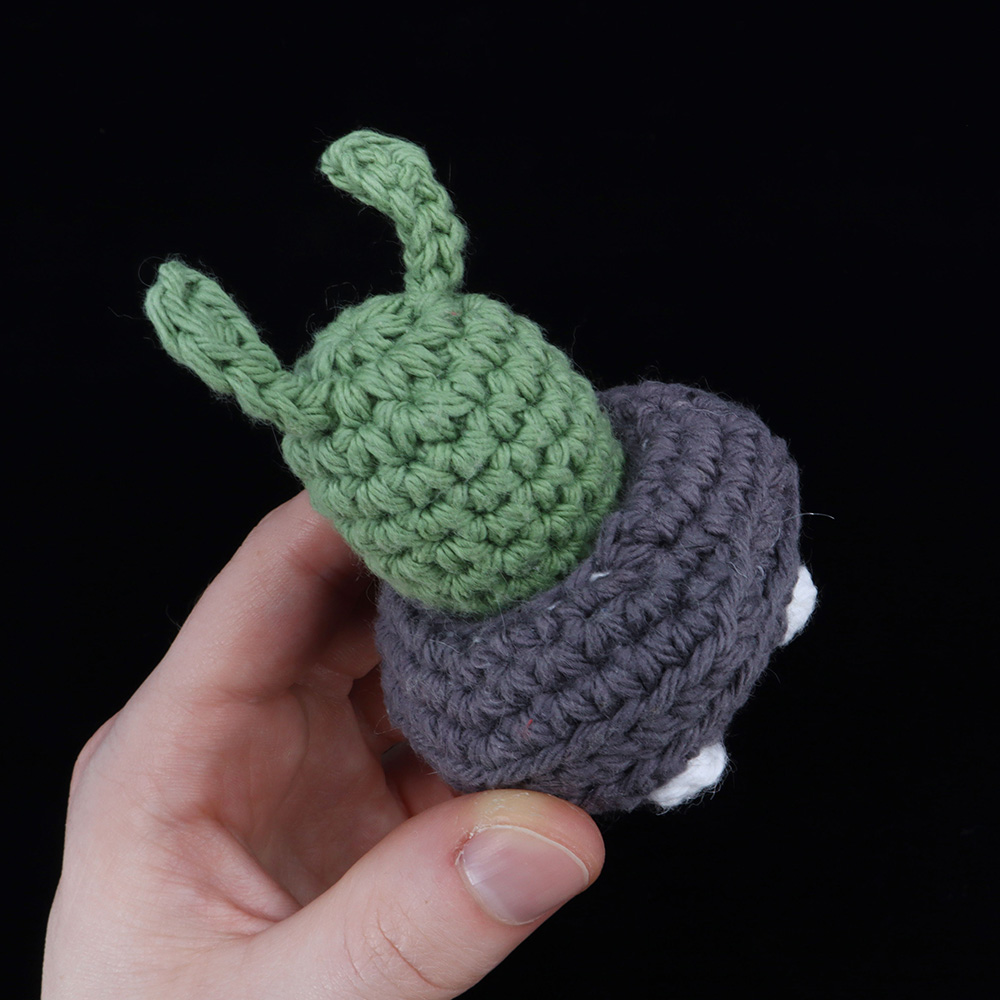
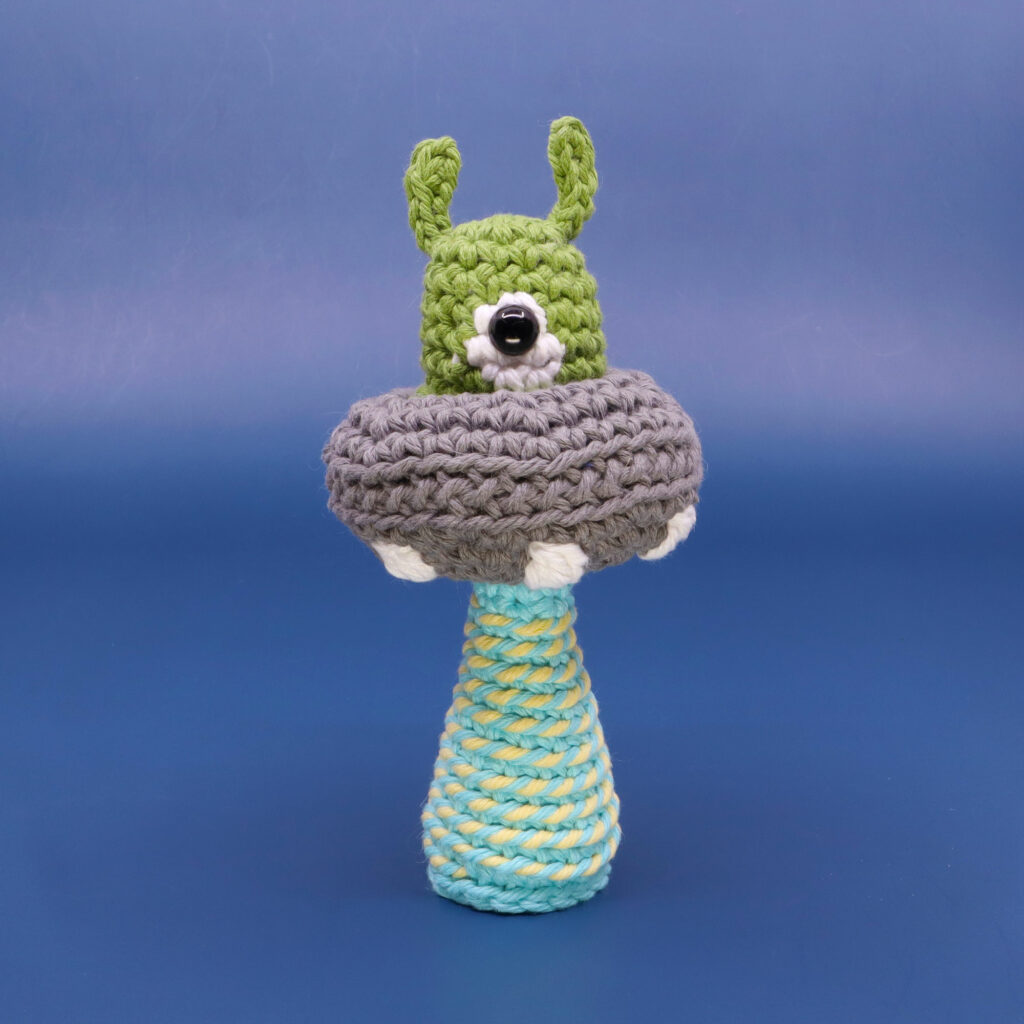
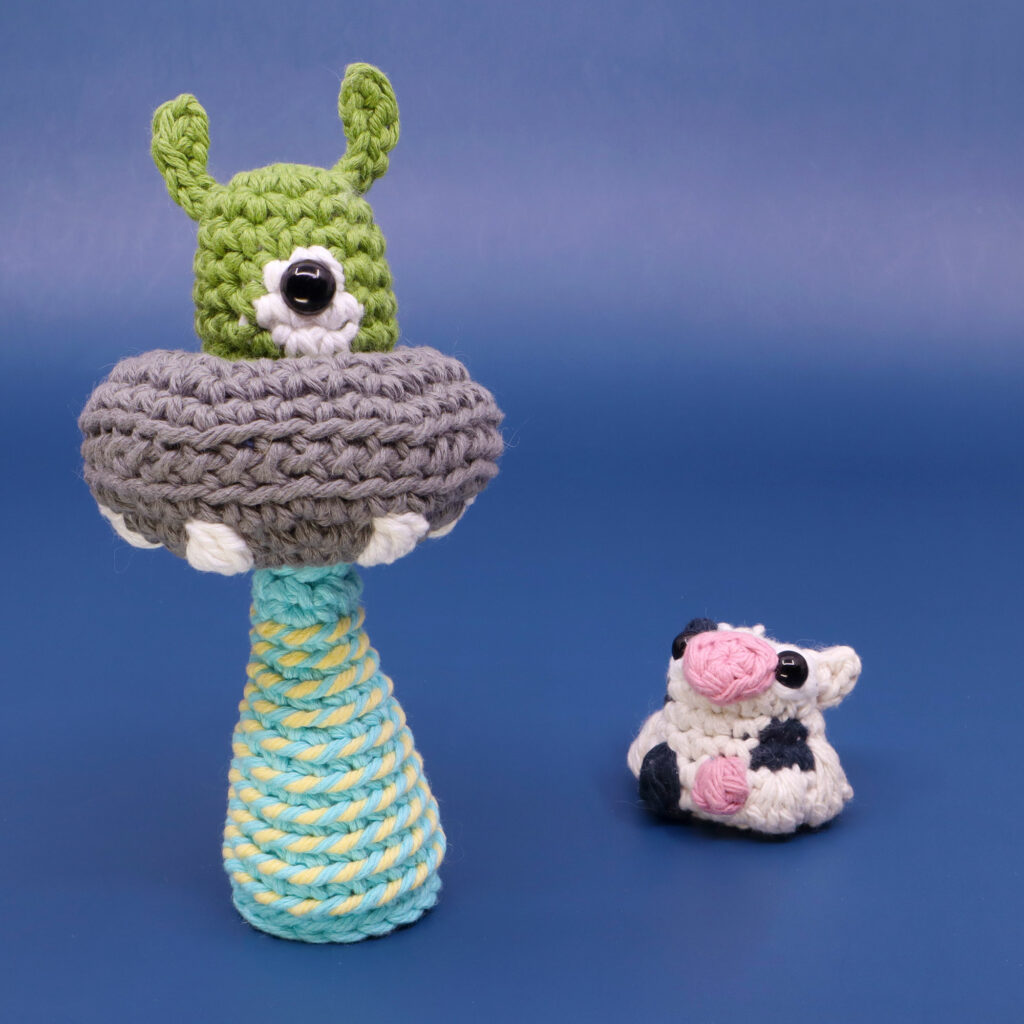
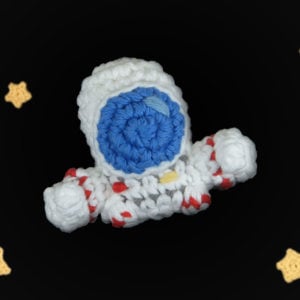
Flurple the Flexorian Alien and UFO Amigurumi

Medium

Louie's Loops
Designed by
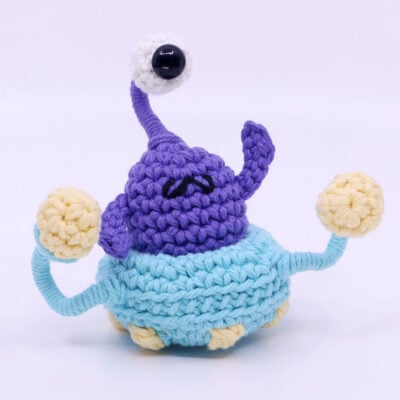
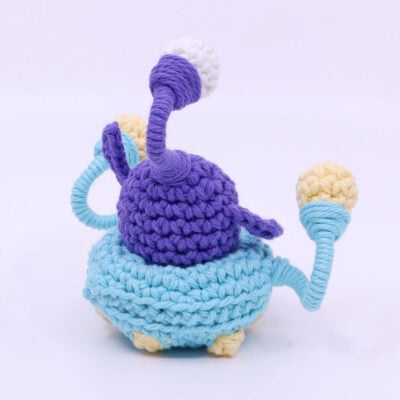


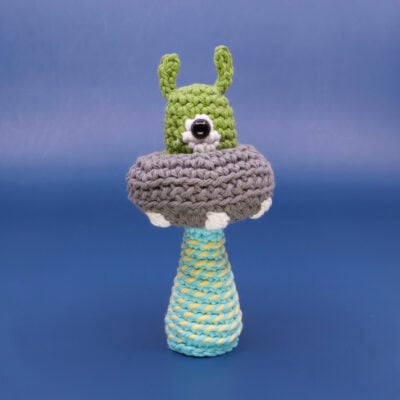

What you'll create


Video tutorials
Main Video
UFO and Alien Pattern
What you'll learn
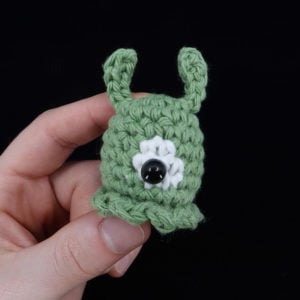
01 Alien Eye and Headlights
02 Arms
03 Flurple Alien
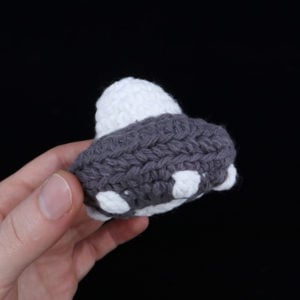
04 UFO Top
05 UFO Bottom
06 Sewing Together
07 Tractor Beam
What you'll need

Cotton Yarn
Weight

Colors

Crochet Hook
G6 / 4.00 mm

Safety Bead
12 mm

Stuffing

Darning Needle
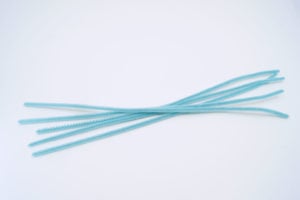
Pipe Cleaners
Abbreviations used
ch
Chain Stitch
st
Stitch
slst
Slip Stitch
sc
Single Crochet
inc
Increase
dec
Decrease (Sharp)
FLO/BLO
Front / Back Loops Only
mbo
Mini Bobble Stitch
sc2tog
Single Crochet 2 Together
Useful information
Pattern steps

01
Alien Eye and Headlights
Qty 4
Make 1 in White and 2 in Yellow, make a magic loop.
Rnd 1: sc 6 in the magic loop (6)
Rnd 2: [sc 1, inc 1] 3 times (9)
Rnd 3: sc in each (9)
Rnd 4: [sc 1, invdec 1] 3 times (6)
For the Eye made in White, add a 12mm eye directly in the center and attached on the inside.
Cut the yarn, pull through, stuff slightly and sew closed.
Add to the face or ship using a pipe cleaner wound with yarn. See Body - Adding the Eye Stalk for more info.
02
Arms
All in Purple, ch 7
Row 1: turn, starting in the 2nd ch from the hook, sc2tog, slst 4 to the end (5)
Ch 1, cut the yarn and pull through. Attach this to the body after adding the face.
03
Flurple Alien
3:58
All in Purple, make a magic loop.
Rnd 1: sc 6 in the magic loop (6)
Rnd 2: inc in each (12)
Rnd 3: [sc 2, inc] 4 times (16)
See Alien and UFO pattern video at (18:29) for detailed instructions for how to add an alternative eye option the following rounds.
Alternative Eye Option
(Video 2 18:29)
Rnds 4 - 7: sc in each (16 for 8 Rnds)
Adding the Eye Stalk:
Start by adding a pipe cleaner through the last round of the White eye. Fold the pipe cleaner in half and twist up to about 2 inches long, leaving the ends untwisted.
Add the untwisted ends into the top of the body through two different adjacent stitches, and twist on the inside to secure and cut the ends of the pipe cleaner relatively close leaving around an inch uncut. Fold these ends out to help keep the eye stalk upright.
Pull a strand of Purple yarn on a needle through one of the stitches the pipe cleaner is attached, leaving a short end on the inside for knotting to.
Wind the yarn around the pipe cleaner covering it fully. I find twisting the piece rather than winding the yarn itself helps to make certain your yarn is seamlessly wound around the pipe cleaner, leaving no fuzz poking through. Wind all the way up to the eye.
Wind around the base of the eye a few extra times to create an overlapping base. Pull the needle with the end through the eye to help secure the yarn better to the eye. Now begin winding back down the stalk making certain to keep an even and tight wind all the way down to the base attached to the body.
Wind a few times extra around the base attached to the body, then insert the needle back into the body from an adjacent stitch to where you began.
Double knot the ends on the inside and cut close.
Adding the Mouth:
There are a few ways I like to embroider mouths to amigurumi. I suggest referring to the full video explaining in detail for extra help. I will be adding cat cheeks, or a W mouth for this alien.
Here’s how to make cute little cat cheeks for your amigurumi:
Start by exiting from where you want the edge of your mouth, pull over and insert into where the center would be to create a horizontal bar
From there exit from where you’d like the opposite edge, and insert back into the center, creating a second horizontal bar.
Now we’ll be making the w curve. Exit from where you’d like the apex of the closest cheek.
Go around that closest horizontal bar, and back into the same stitch you exited to pull into a point.
Exit from where you want the opposite side curve and repeat this for the other horizontal bar.
Now just double knot with the original tail end.
Make sure to tweak the W into more of a curve to get that kitty cat cheek look.
See the full tutorial here.
Attach the arms into the side of the body just under the mouth. Use the tail ends to attach to the inside of the body from 2 adjacent stitches with the knots pulled through before double knotting. I used Rnds 4 and 5, around stitches 4 and 5 for the right arm (angled down), and stitches 12 and 12 for the left arm (angled up).
Rnd 8: sc in each st (16)
{ } = Worked in the same st
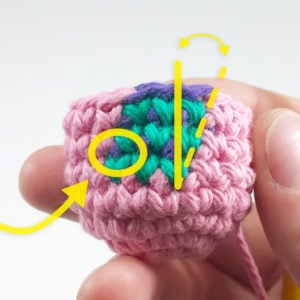
Rnd 9: working in the FLO, [sc 1, {hdc 1, slst 1}] 8 times (24)
Rnd 10: working in the BLO from Rnd 8, [sc 2, dec] 4 times (12)
Rnd 11: dec in each st (6)
Cut the yarn and pull through. Stuff fully and sew closed.
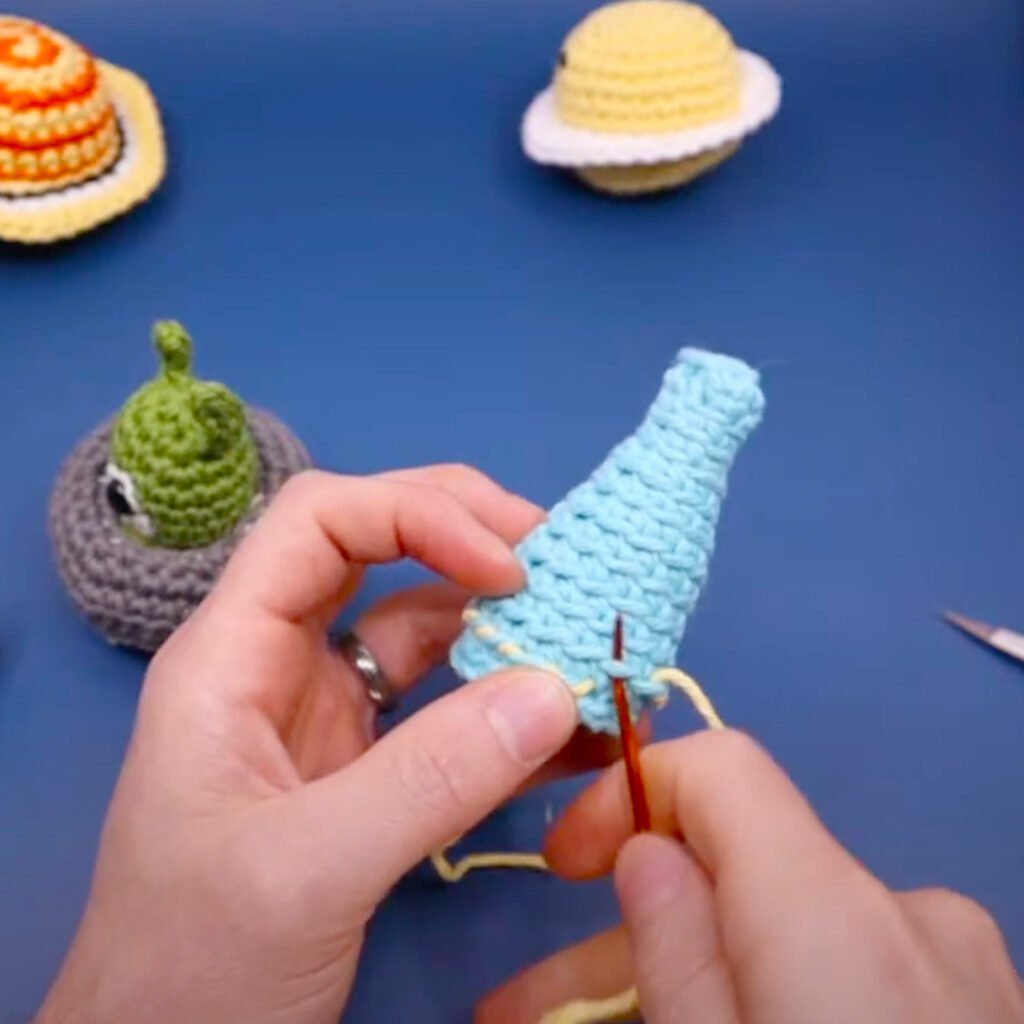
04
UFO Top
45:25
[Starting in White]
Magic loop
Rnd 1: sc 6 in the magic loop (6)
Rnd 2: inc in each st (12)
Rnd 3: [sc 3, inc 1] 3 times (15)
Rnd 4: [sc 4, inc 1] 3 times (18)
Rnd 5: sc in each st (18)
[Change to Cyan/White]
This following round of color changes is a (somewhat) advanced technique called the Perfect Stripe method where we’ll be making a round of half color changes. You can continue in all White if you don’t feel comfortable with half color changes.
To learn more watch the video version of this pattern (51:43) or check out the techniques tutorial at ClubCrochet.com/STRIPES.
Rnd 6: sc in each st (18)
[Change to all Cyan]
Rnd 7: working in the BLO, [sc 2, inc 1] 6 times (24)
Rnd 8: [sc 3, inc 1] 6 times (30)
Rnd 9: [sc 4, inc 1] 6 times (36)
Slst in first st made, cut the yarn leaving a long end and pull through. Hide the end, but keep it close to the edge to sew together with the UFO Bottom (Part 4).
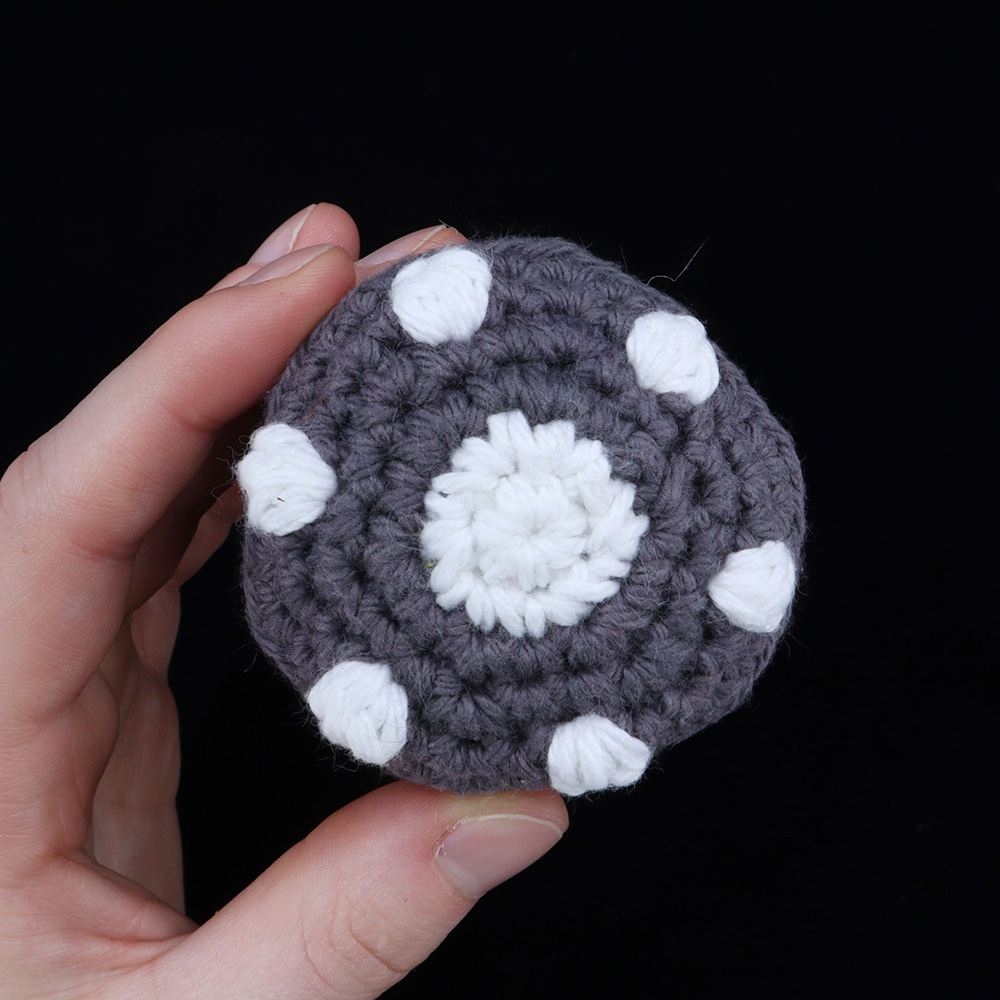
05
UFO Bottom
1:05:42
[Starting in Yellow]
Magic loop
Rnd 1: sc 6 in the magic loop (6)
[Change to Cyan/Yellow]
Rnd 2: inc in each st (12)
[Change to Cyan]
Rnd 3: [sc 1, inc 1] 6 times (18)
Rnd 4: [sc 2, inc 1] 6 times (24)
For this round, only the mbo (mini bobble stitches) should be Yellow while the rest of the stitches are Cyan. To find additional details on this section see the video at (1:15:27).
Rnd 5: [[Cyan] sc 1, [Yellow] mbo 1, [Cyan] sc 1, inc 1] 6 times (30)
Rnd 6: [sc 4, inc 1] 6 times (36)
Slst in first st made, cut the yarn leaving short(ish) end and pull through. Hide the end, but leave enough exposed for knotting to the tail end from the top half after sewing together.
06
Sewing Together
1:23:13
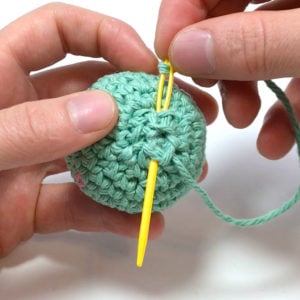
To sew the UFO halves together, line the top and bottom so that the final increase stitches are ligned up. Begin sewing the halves together with a whip stitch using 1 of the two long tail ends. Try to make sure the stitches align, it’s easiest to line up the increases for each half. You can work the whip stitch into both loops of each half, or just the inside loops (front and back loops of either half) to create a seamed border around the UFO.
Before finishing sewing closed, attach headlights to the sides of your UFO using the same method as the Eye Stalks (from the Body).
If you sewed the halves together using both loops of each half, consider going backwards with a whip stitch around a second time in reverse. This can create “V“ seams which mimic a single crochet stitch and might look nicer.
Don’t forget to lightly stuff before you finish sewing together!
When you return around the UFO, double knot the two tail ends and hide the ends in by threading them on a darning needle and sewing back into the center of the UFO.
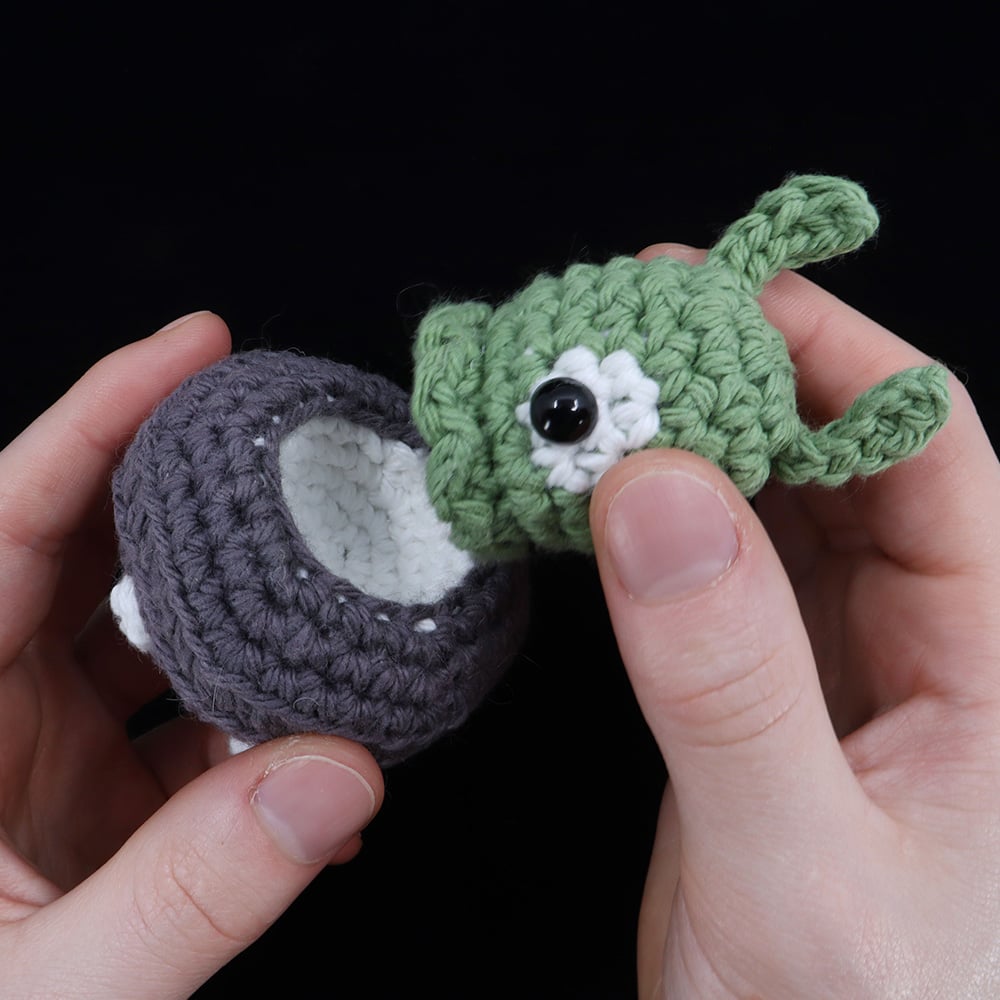
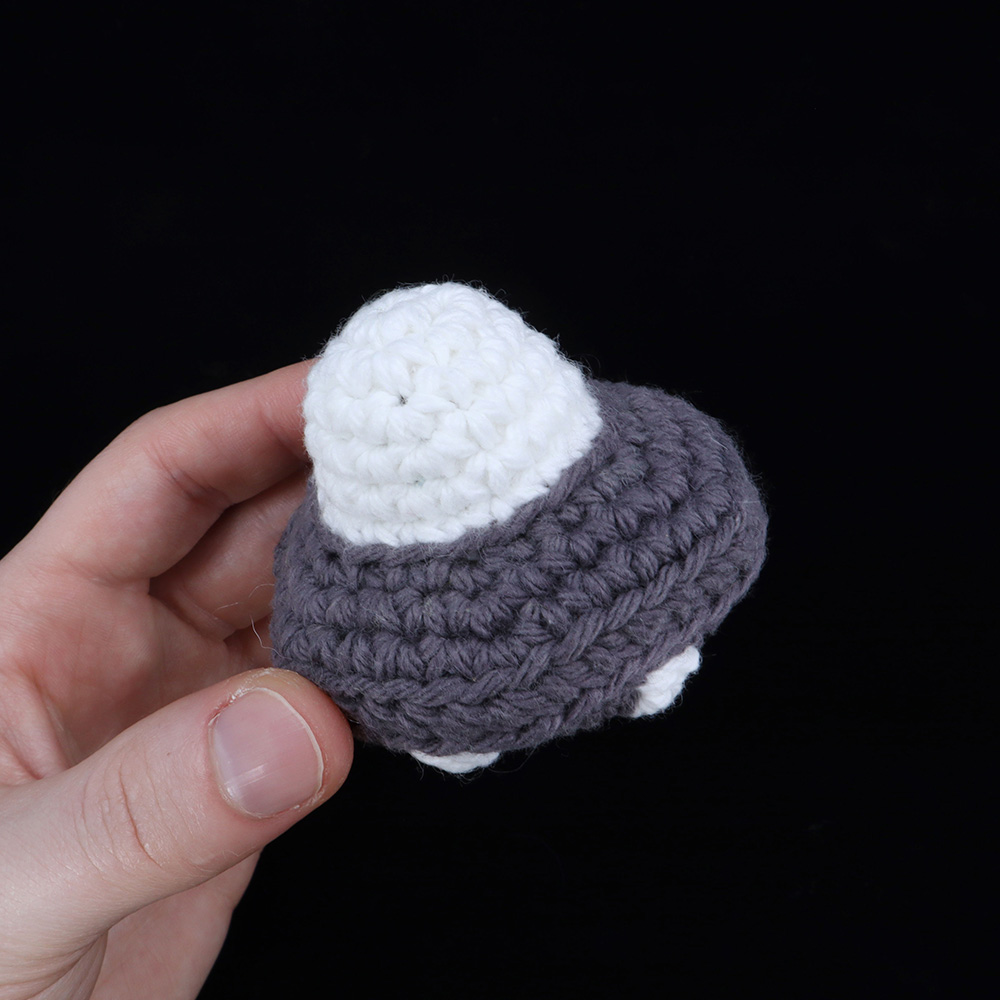
You can invert the top half of the UFO to create a space for your alien to snuggly fit into by pushing in and creating a little bowl. If you use the same type of yarn and hook as the UFO, it should be a perfectly snug fit.
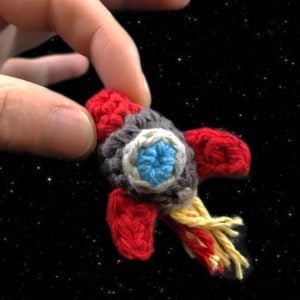
07
Tractor Beam
Bonus Video starting at (1:55:02)
[All in Cyan] Magic loop
Rnd 1: sc 5 in the magic loop, slst to first to connect (5)
Rnd 2: ch 1, starting in the same st working in the BLO, sc in each st including the slst (6)
[Work into the BLO for each st for the following Rnds]
Rnd 3: BLO [sc 2, inc 1] 2 times (8)
Rnd 4: BLO sc in each st (8)
Rnd 5: BLO [sc 3, inc 1] 2 times (10)
Rnd 6: BLO sc in each st (10)
Rnd 7: BLO [sc 4, inc 1] 2 times (12)
Rnd 8: BLO sc in each st (12)
Rnd 9: BLO [sc 5, inc 1] 2 times (14)
Rnd 10: BLO sc in each st (14)
Rnd 11: BLO [sc 6, inc 1] 2 times (16)
Rnd 12: BLO sc in each st (16)
Rnd 13: BLO [sc 7, inc 1] 2 times (18)
[Work in the FLO for the next Rnd]
Rnd 14: FLO slst in each st (18)
Cut the yarn, pull through and hide the end. Stuff the tip with a magnet (make sure it's polarity matches the one in the UFO so it attaches!).
Pull a new loop of Cyan through the first unused BLO from Rnd 13 (under the slsts). Ch 1, starting in the same st, start Rnd 15 to begin closing the bottom.
Rnd 15: FLO slst in each st (18)
Rnd 16: FLO slst in each st (18)
Stuff fully, add another magnet in the bottom, and sew closed.
To add stripes, using a strand of yarn in a complimentary color, weave into every unused FLO all the way up the tractor beam. Double knot to the original tail end, cut close and hide the end on the inside. See bonus video at (2:52:50) for detailed instruction.
Other patterns to try


Posts from the community
Community Showcase
Crocheted this pattern? Be the first to show off your project by submitting a photo!


