
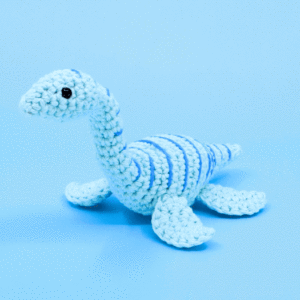
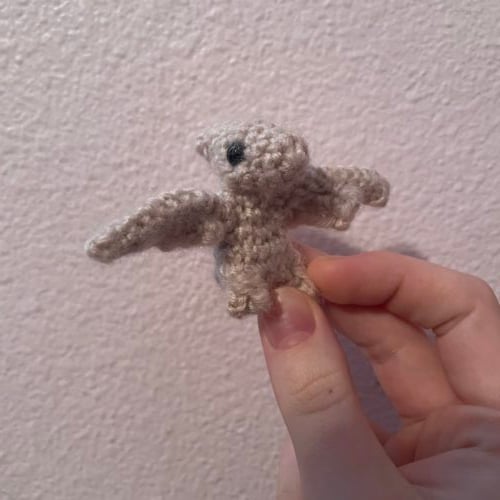
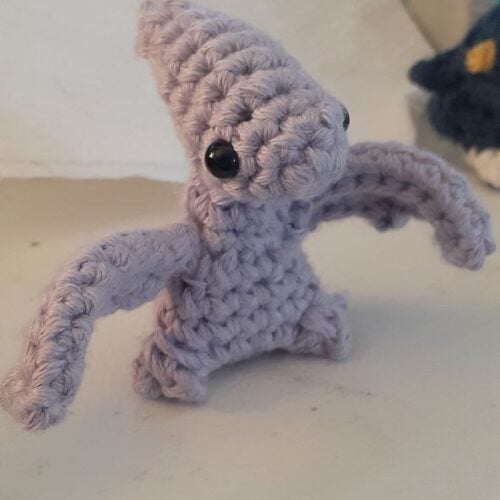
Pterodactyl Dinosaur Amigurumi

Medium
In this amigurumi crochet pattern we’ll be crocheting a Pterodactyl! This mini dinosaur pattern includes some unique techniques for the wings and feet that, while somewhat difficult at first, are extremely fun to make once you get the hang of it!

Louie's Loops
Designed by


What you'll create


What you'll learn
What you'll need

Cotton Yarn
Weight

Colors
Color A

Crochet Hook
G6 / 4.00 mm

Safety Bead (x2)
6 mm
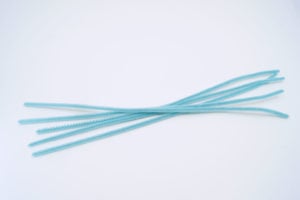
Pipe Cleaners

Stuffing

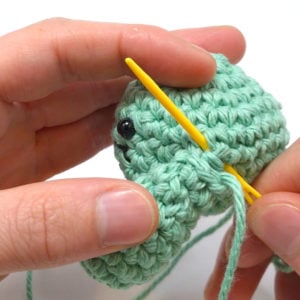
Darning Needle
Abbreviations used
ch
Chain Stitch
st
Stitch
slst
Slip Stitch
sc
Single Crochet
inc
Increase
invdec
Invisible Decrease
FLO/BLO
Front / Back Loops Only
dc
Double Crochet
hdc
Half-Double Crochet
sbo
Spiky Bobble Stitch
mp
Mini Picot
Useful information
Gauge
5 Rnds and 4 sts per 1”
Size
Finished piece is about 3” tall
Worked
In the Round (head and body)
Flat (wings)
Useful Tutorials

Pattern steps
01 Head
Magic loop
Rnd 1: sc 6 in the magic loop (6)
Other patterns to try


Community posts
Community Showcase
Patricia
Submitted by coreyv
Submitted by samsleep

Pterodactyl Posh
Submitted by @gregimagines

Turquoise Pterodactyl
Submitted by lagommycket
You need an account to submit your photo.


Took a year to get here, just got them today, but worth the wait!!!
Anyone having an issue ending up with only thirteen around after round 4 of the body? Is it ok to squeeze in a sc in the last loop of round 3?
I keep having two too many stitches through these rounds. Any idea what I’m doing wrong?
Rnd 3: sc 1, inc 1, leg, inc 1, sc 1, inc 1, leg, inc 1, sc 4 (16)
Rnd 4: sc 2, invdec 1, sc 5, invdec 1, sc 5 (14)
Rnd 5: sc 1, invdec 1, sc 5, invdec 1, sc 4 (12)
You should make the actual pattern bigger then their can be a adult and baby pterodactyl family.
You have a no sew tag on this pattern, even though there’s a whole section of how to sew the head, body, and wings together you may want to fix that
Can these be made with any yarn or only cotton. I am learning thank you
Hey Sophie! These can be made with any type of yarn, just be sure to use a similar hook! It’s fun to make these using Blanket Yarn too, to make giant pterodactyls!
Sooooo worth signing up. Now I can get all the patterns that aren’t on your mainstream youtube. And they’re so cute I can’t . I need to make a public Instagram so I can show all the ones I’ve made.
❤️❤️❤️❤️
OMG I have been waiting for you to come out with at Pterodactyl design forever!!! I can’t wait to add them to my collection! :0
YAYAY!! The next dino (Ankylosaurus) is on it’s way too, and I have 2 more on the horizon too!
The feet are the hardest part, in my opinion. It gets harder to manuever on the second toe, due to all the links you made before. I also seem to have a hard time with counting the right # of stitches between the feet and tail, so to avoid warping the position, I like to make the first 1-2 stitches in the previous stitch, keeping my grounding stitch in line.