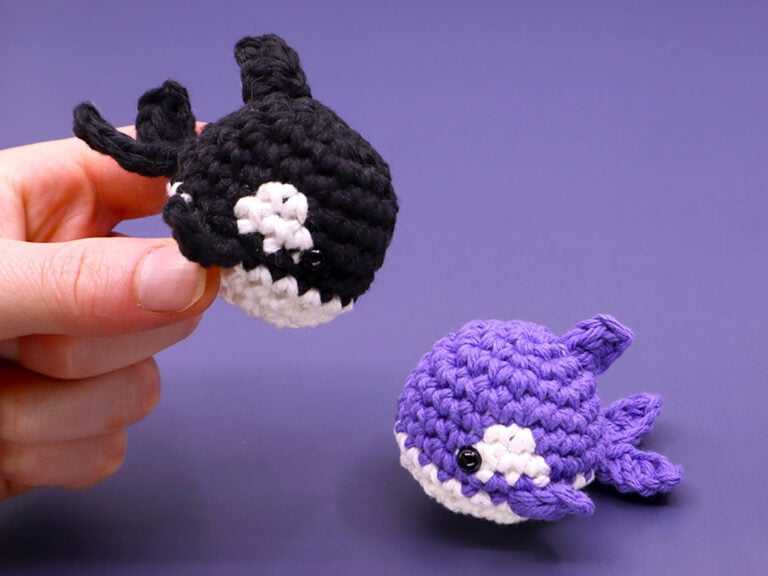
Orca Killer Whale Amigurumi

Medium
In this amigurumi crochet pattern we’ll be learning how to crochet color changes by making a killer whale, aka Orca! This mini killer whale amigurumi pattern is designed with minimal sewing and a special color chart to help with making your orca’s iconic eye spots.

Louie's Loops
Designed by


What you'll create


What you'll learn
What you'll need

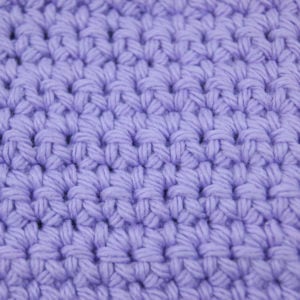
Cotton Yarn
Weight

Colors
Black (Main color)
White (Secondary Color)

Crochet Hook
G6 / 4.00 mm

Safety Bead (x2)
6 mm

Stuffing

Darning Needle
Abbreviations used
ch
Chain Stitch
st
Stitch
slst
Slip Stitch
sc
Single Crochet
inc
Increase
invdec
Invisible Decrease
dc
Double Crochet
hdc
Half-Double Crochet
Useful information
Gauge
5 Rnds and 4 sts per 1”
Size
about 3.5 inches long
Worked
In the Round (without turning)
Useful Tutorials


Pattern steps
01 Fins
[All in Main Color]
Ch 4
Row 1: Skip the first ch, sc 1, hdc 1, dc 1 (3)
Other patterns to try


Community posts
Community Showcase
Crocheted this pattern? Be the first to show off your project by submitting a photo!
You need an account to submit your photo.


I believe the pattern only tells you to make two fins, but shouldn’t it say three so that you also have one for the top?
Just noticed this as well. Glad I went back to the video where Louie explains this.