Minigurumi Marine Life

Medium
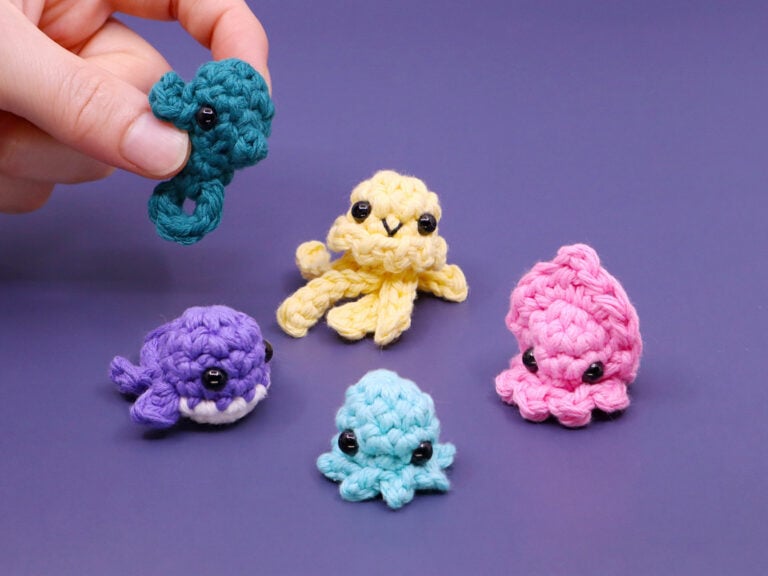
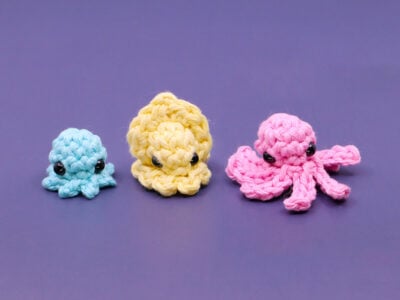
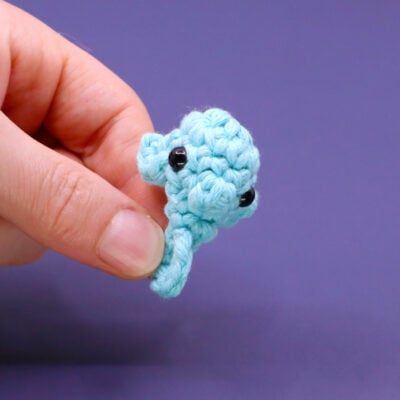
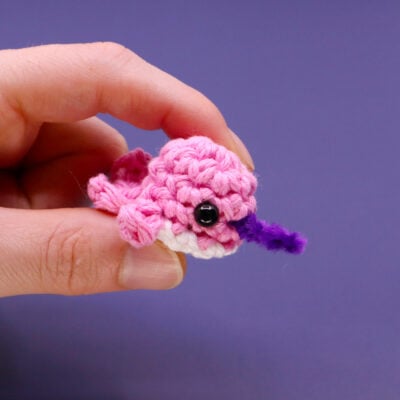
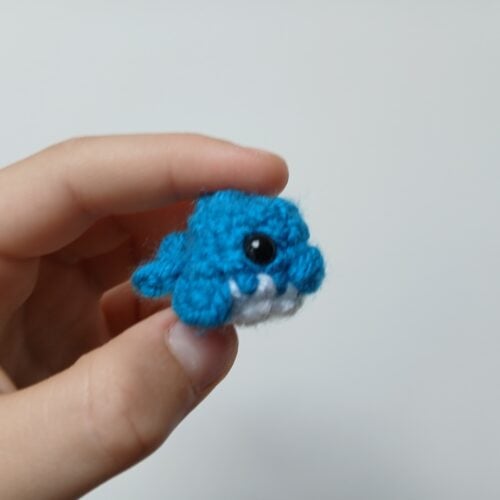
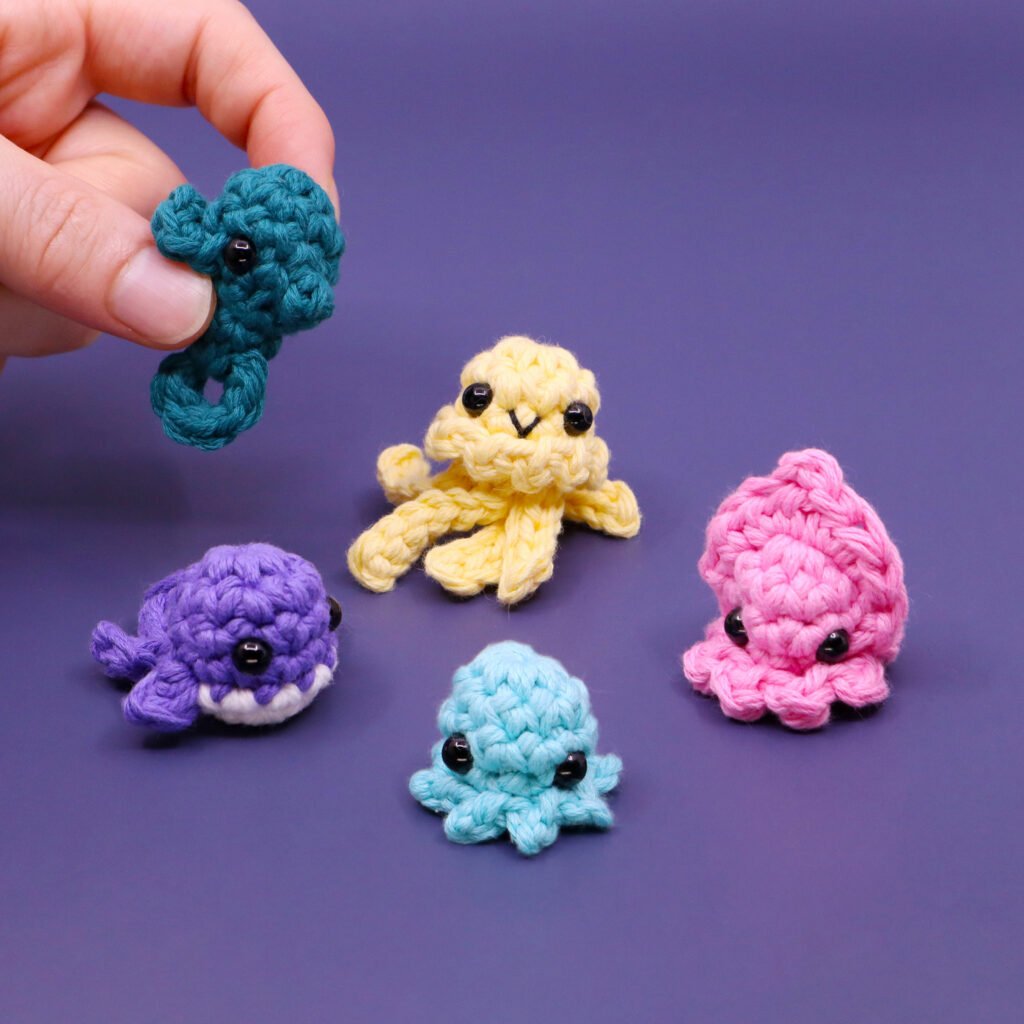
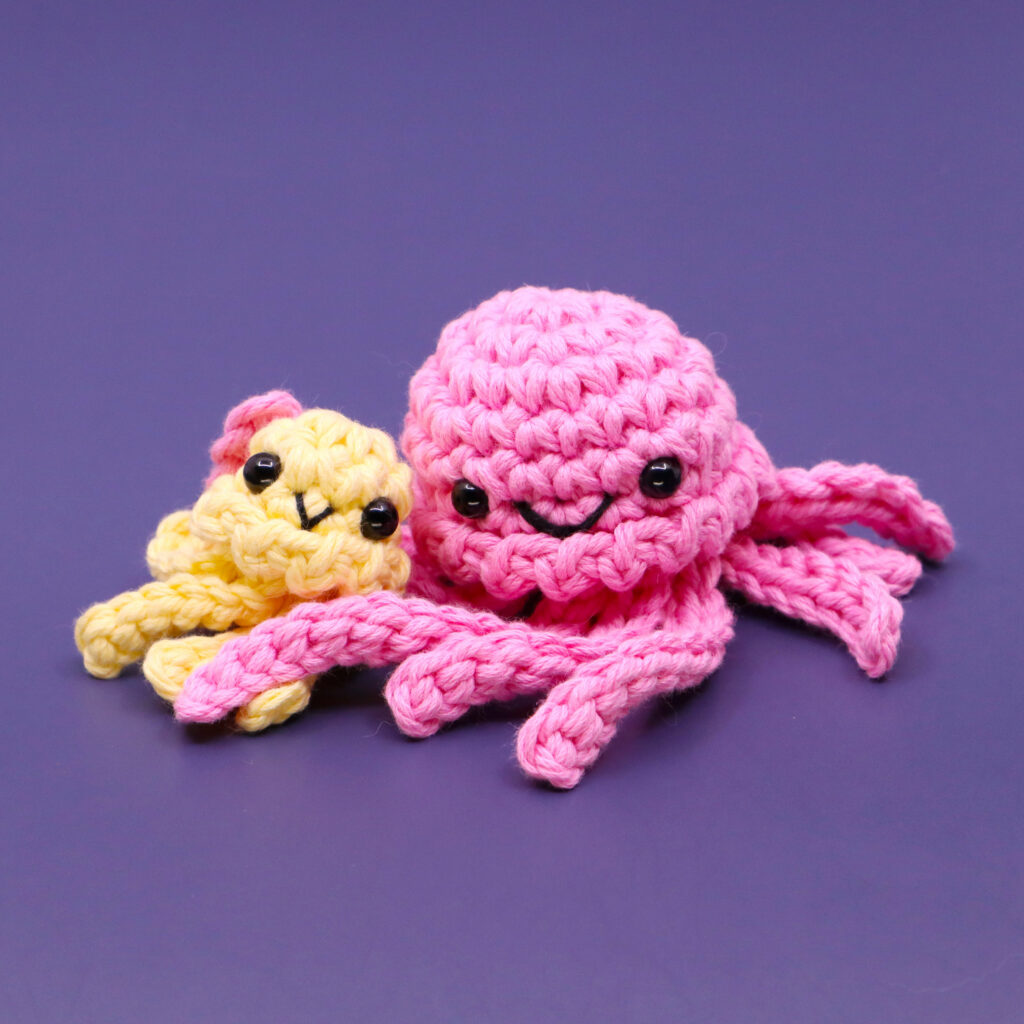
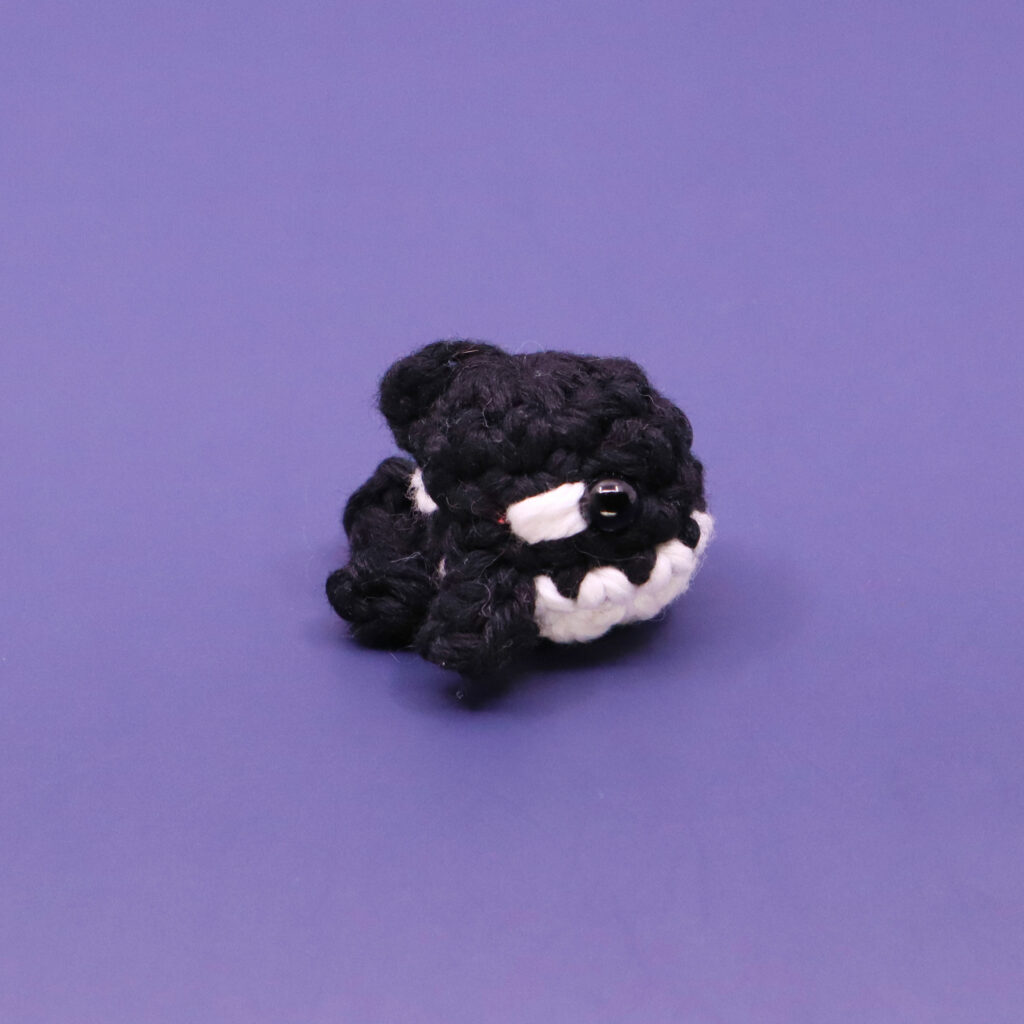
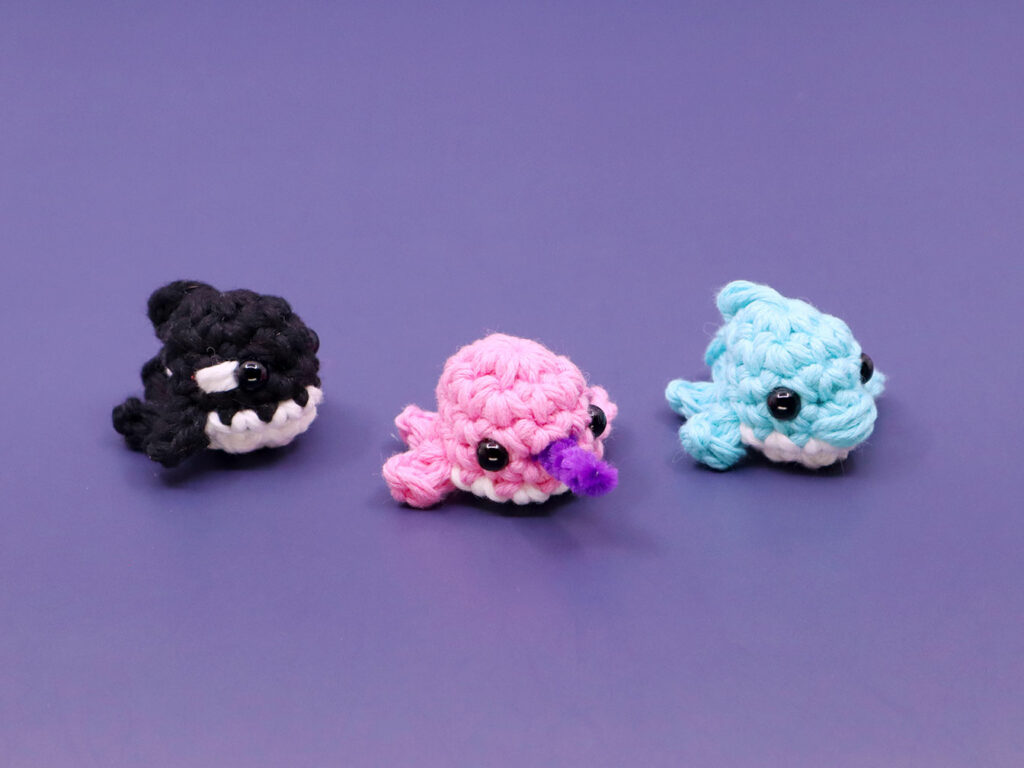
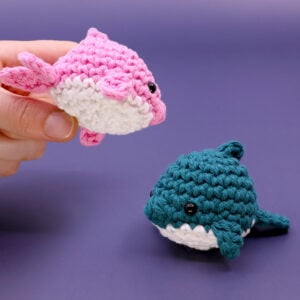
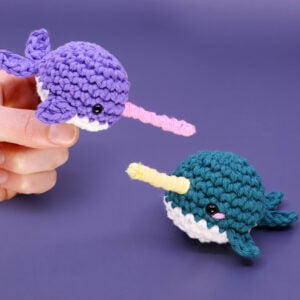
In this series of patterns we’ll be crocheting a school of micro marine life! These amigurumi patterns are all less than 100 stitches each, feature no sewing (besides sewing closed), and can each be made in around 15 minutes or less! The micro crochet critters are slightly more advanced due to their mini nature, but because they only feature a small amount of stitches, they are very easy to make many times in one sitting to help overcome some of the more advanced stitches needed.

Louie's Loops
Designed by


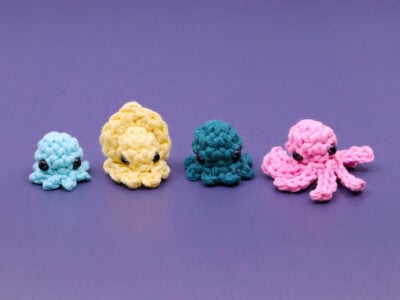


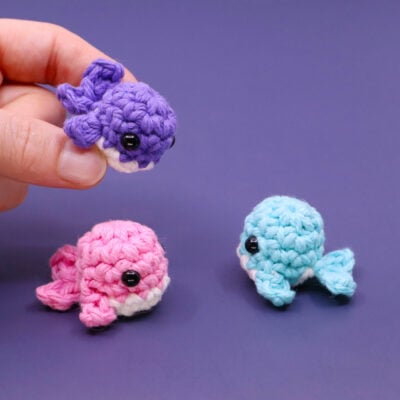

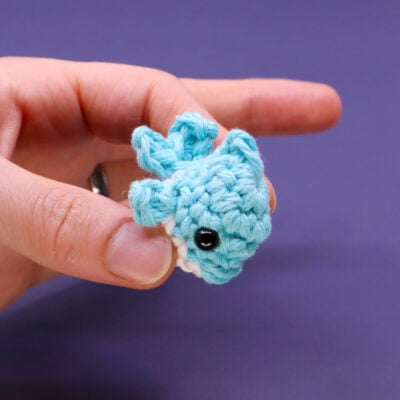

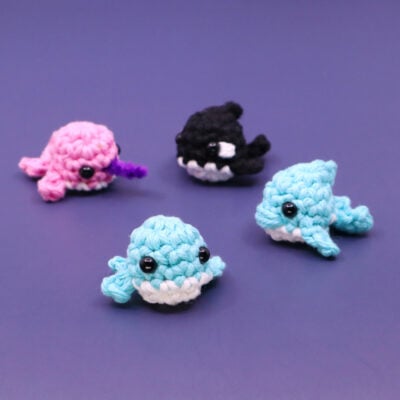


What you'll create


What you'll learn
What you'll need

Cotton Yarn
Weight

Colors
Main Color
White

Crochet Hook
G6 / 4.00 mm

Safety Bead (x2)
6 mm

Stuffing

Darning Needle
Abbreviations used
ch
Chain Stitch
st
Stitch
slst
Slip Stitch
sc
Single Crochet
inc
Increase
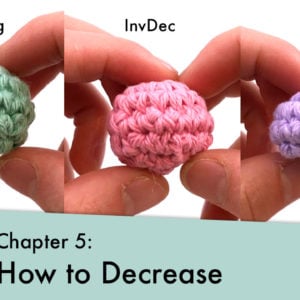
invdec
Invisible Decrease
FLO/BLO
Front / Back Loops Only
dc
Double Crochet
hdc
Half-Double Crochet
Useful information
Gauge
5 Rnds and 5 sts per 1”
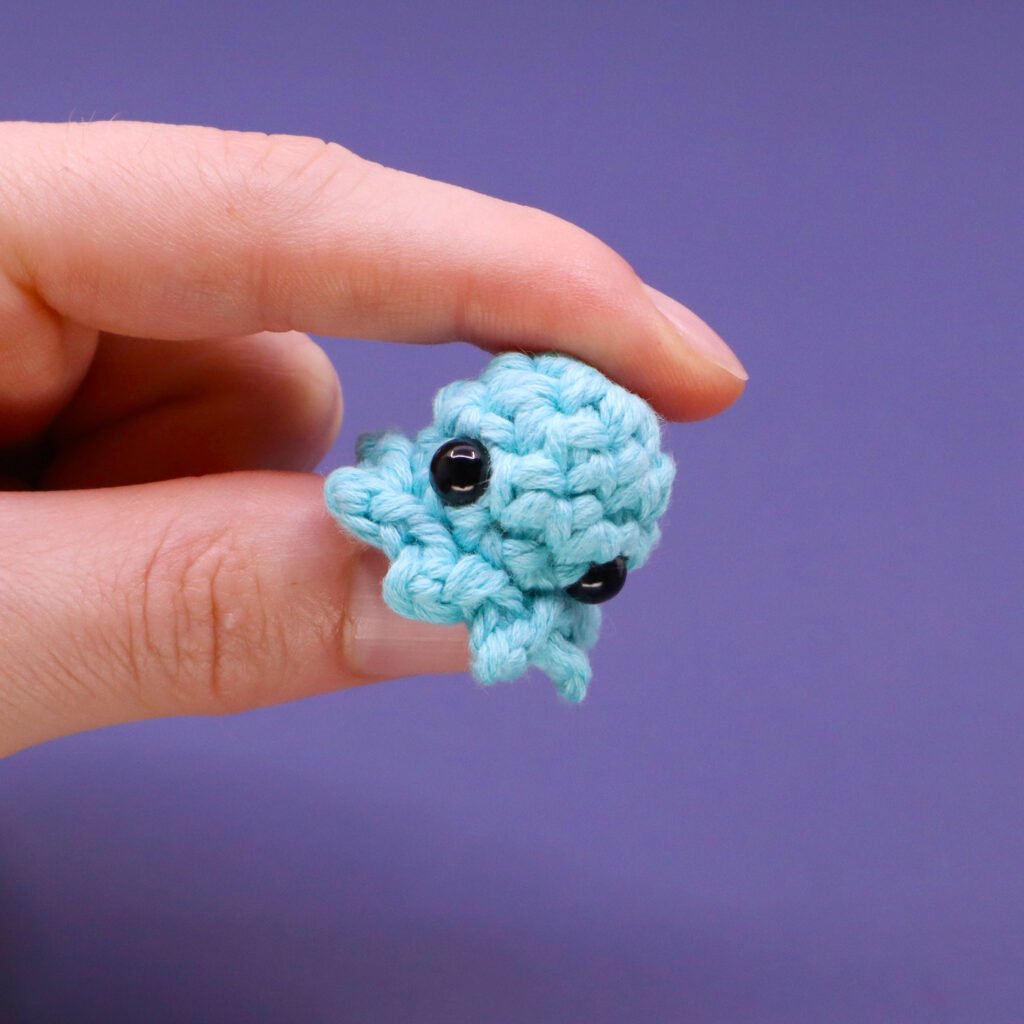
Size
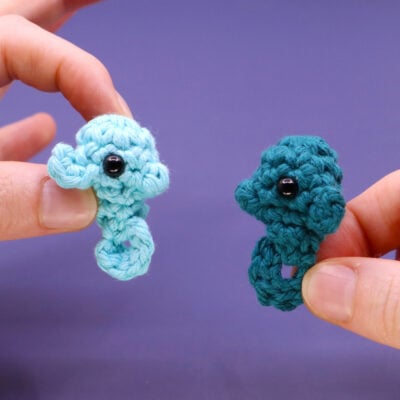
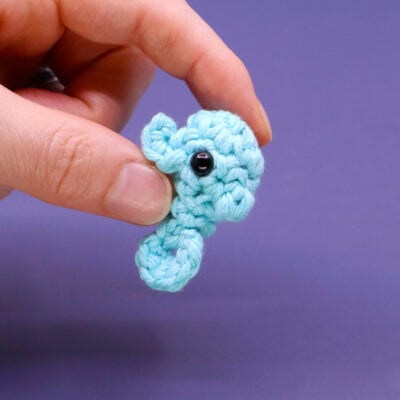
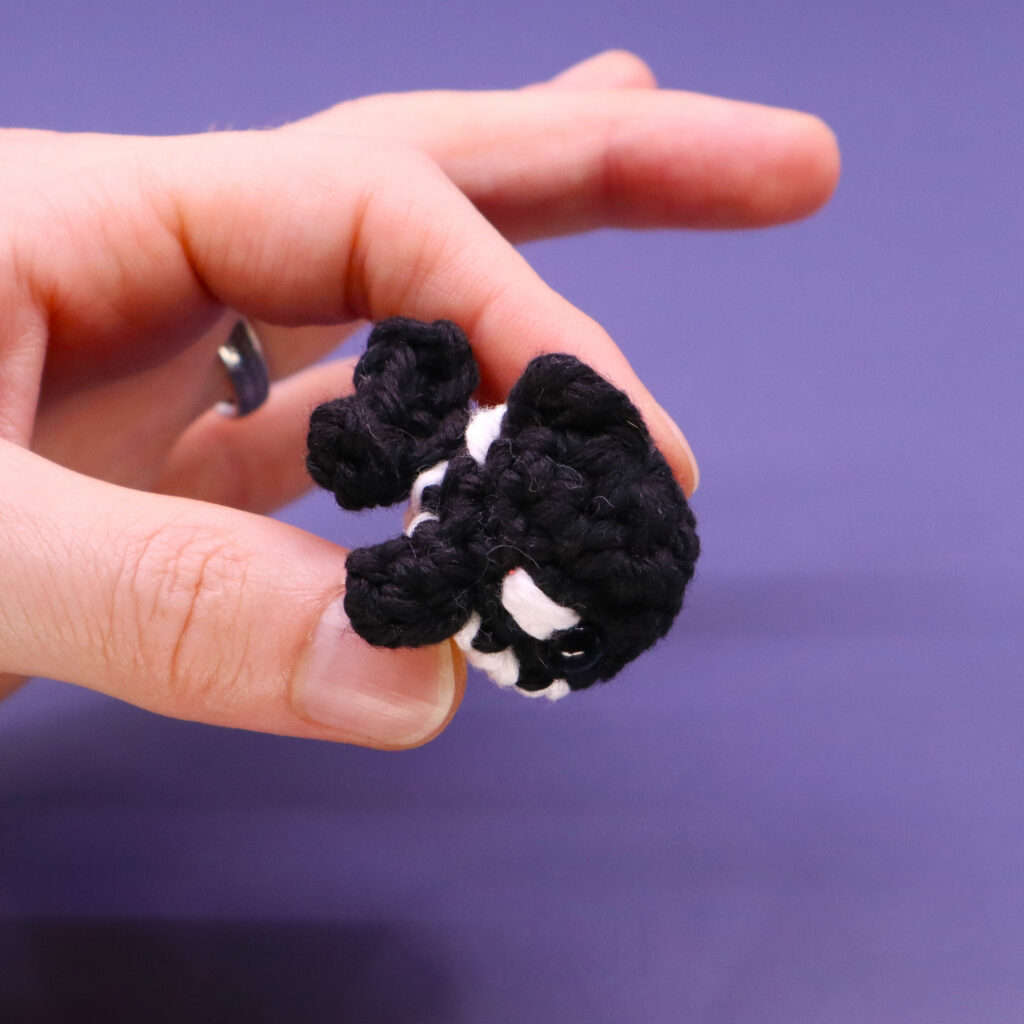
about 1 inch long for each mini
Worked
In the Round (without turning)


Pattern steps
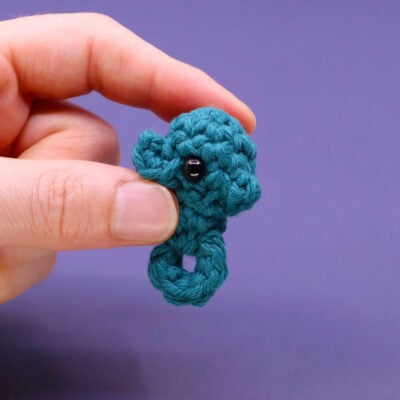
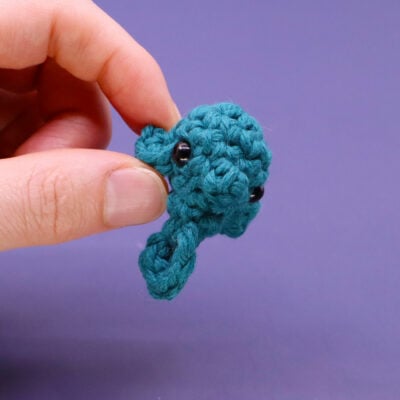
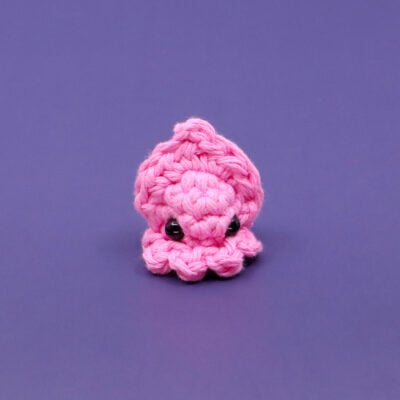
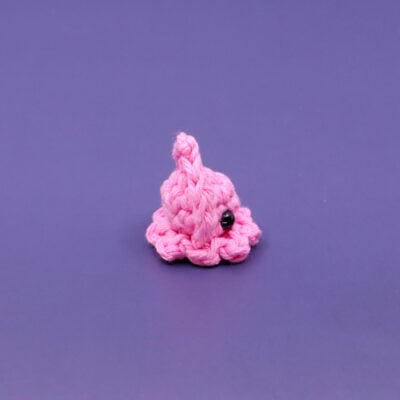
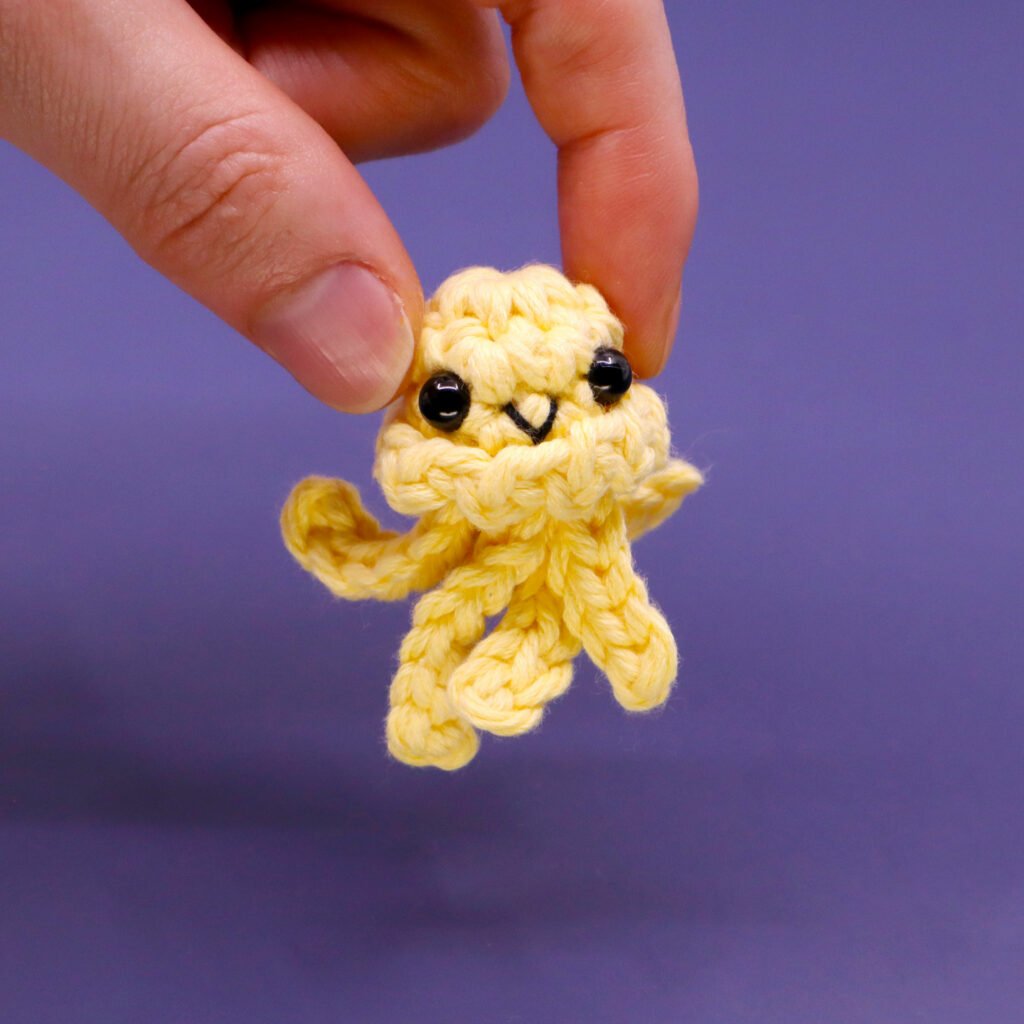
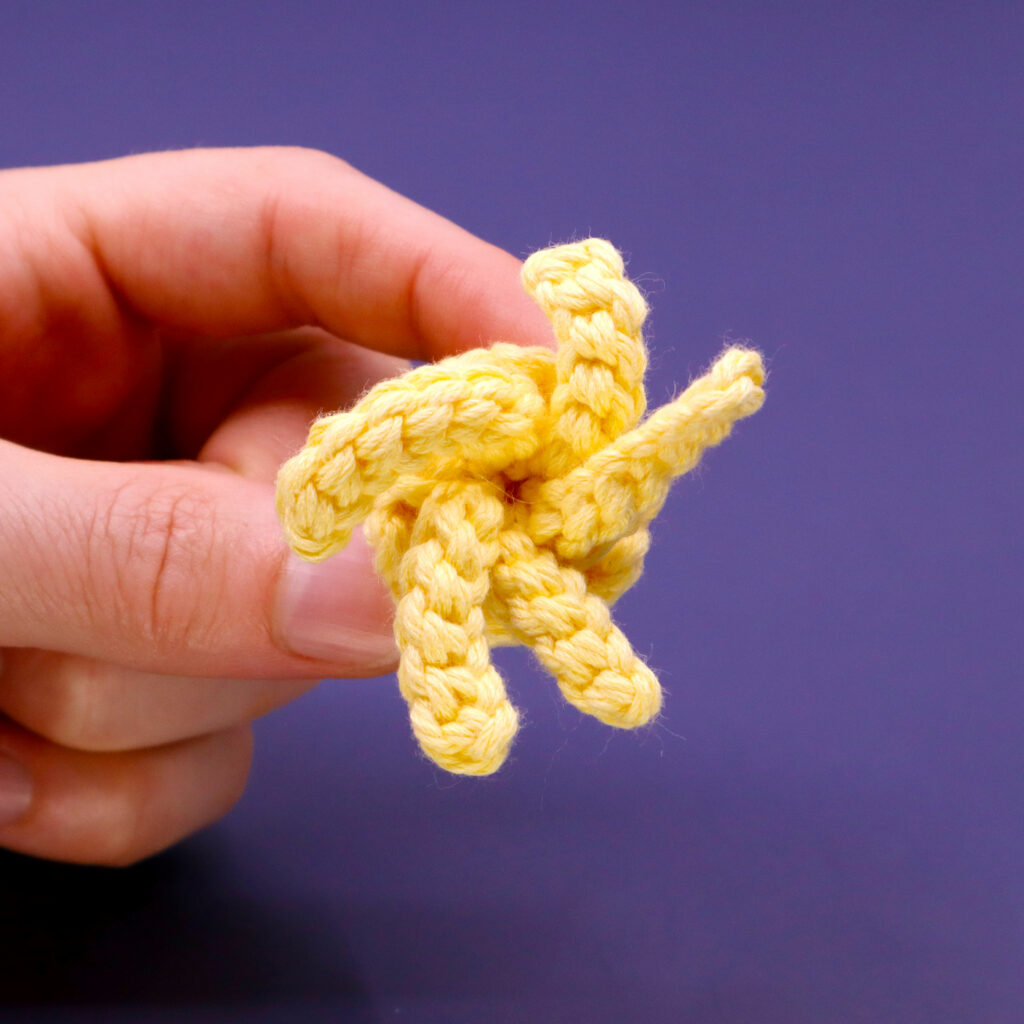
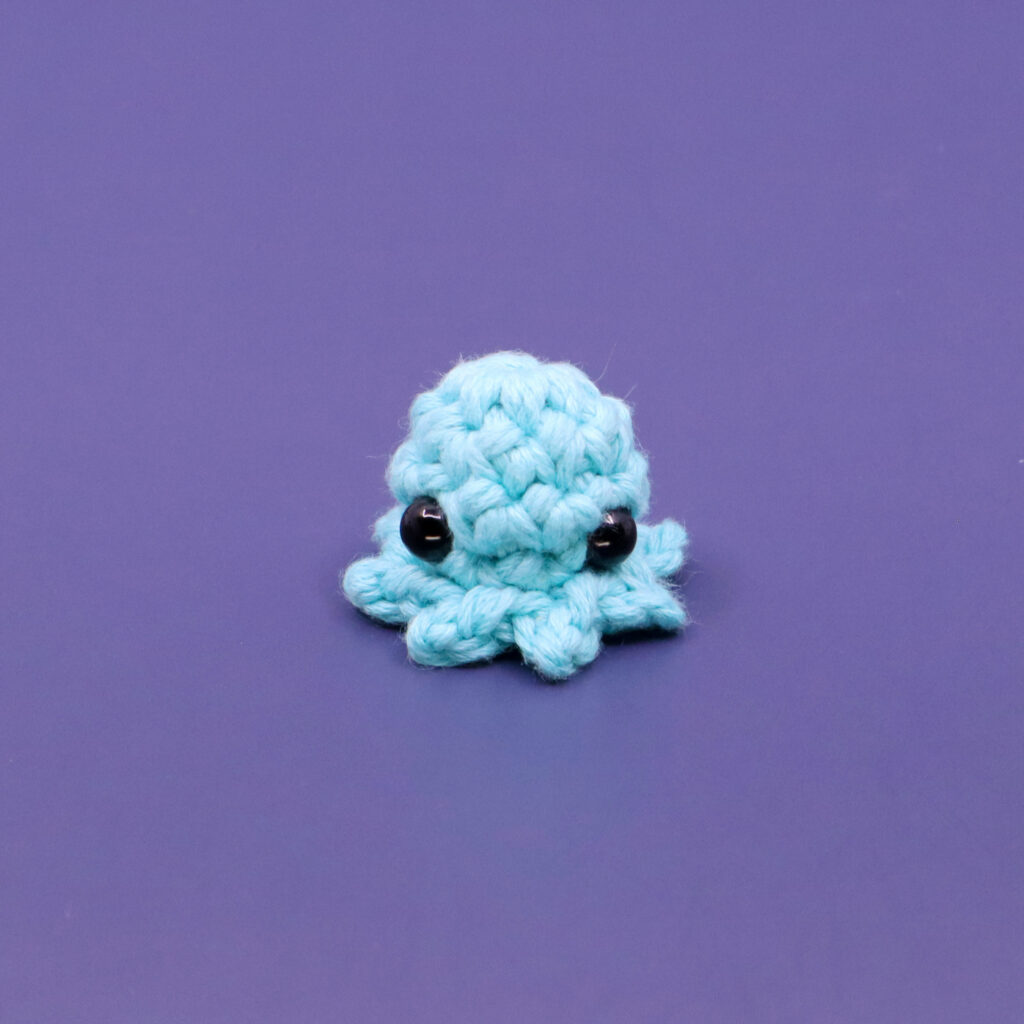
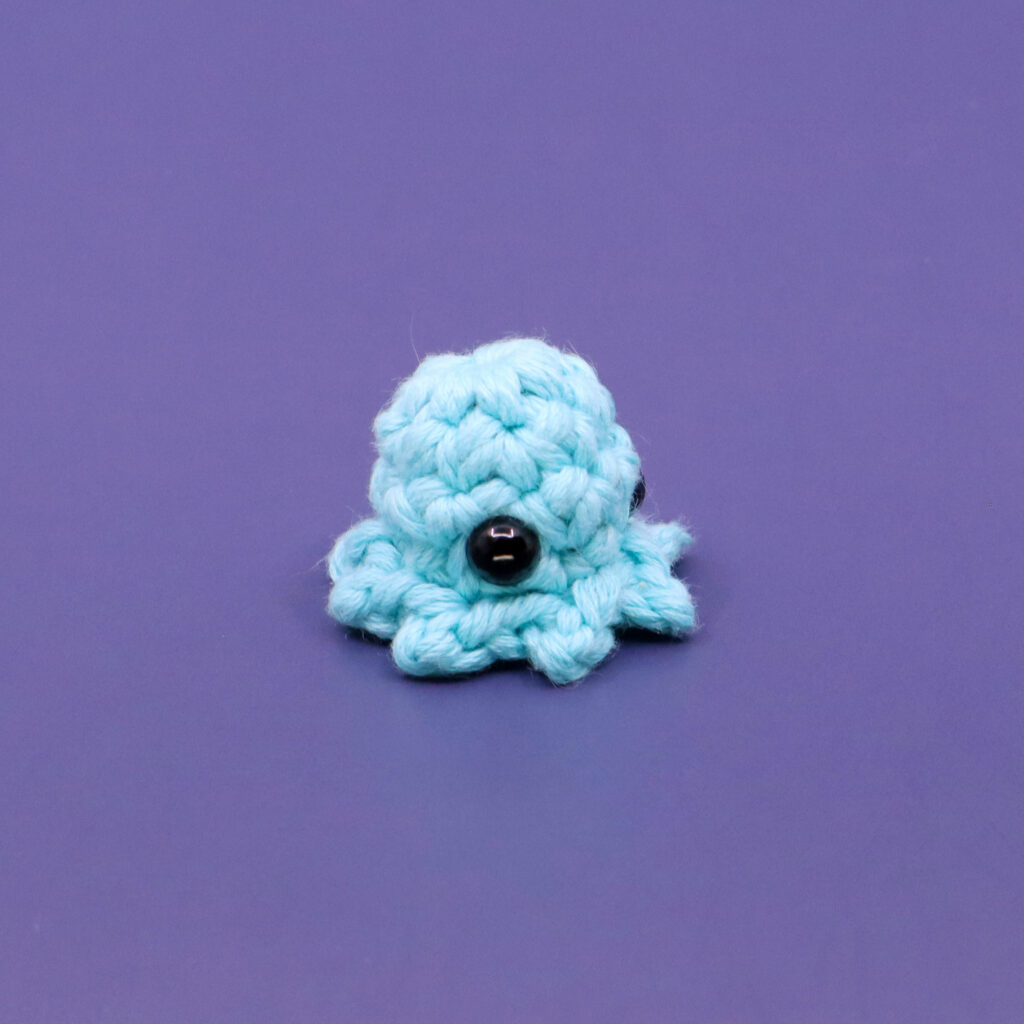
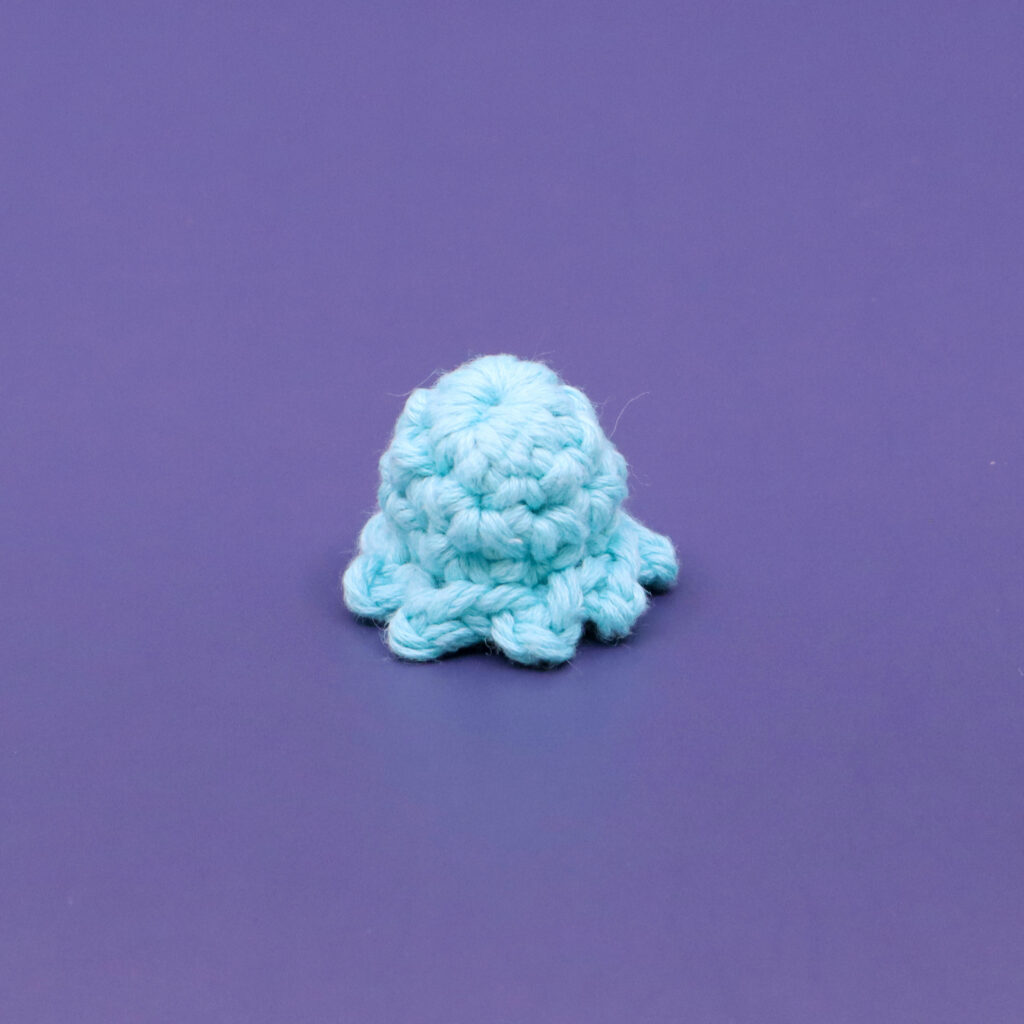
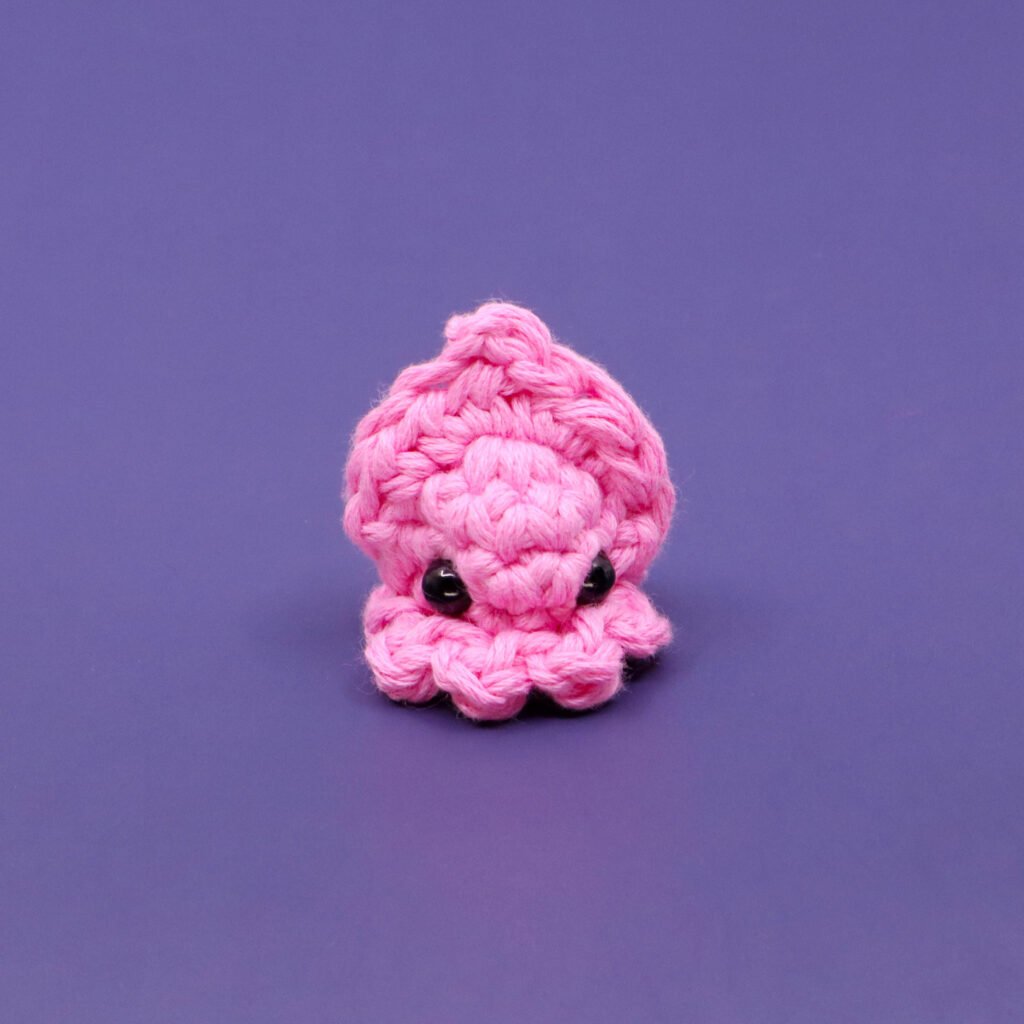
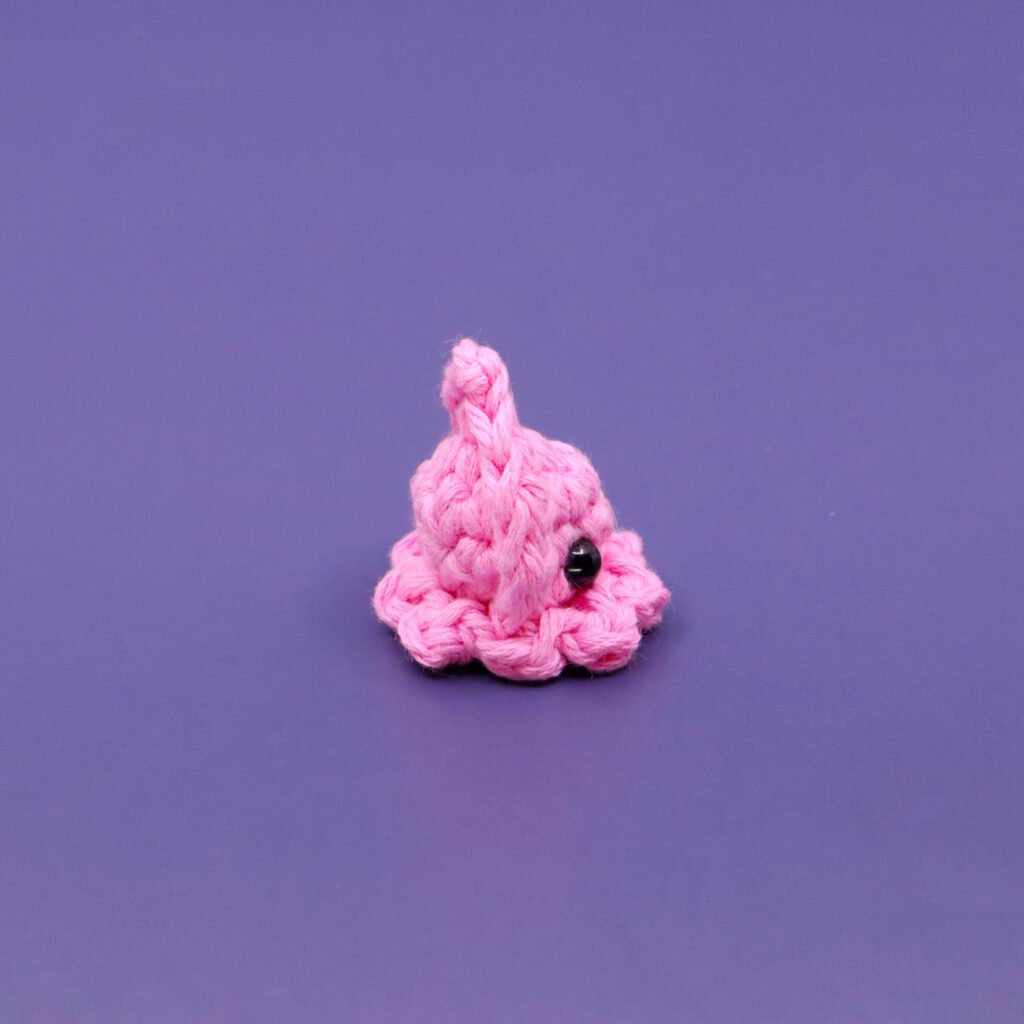
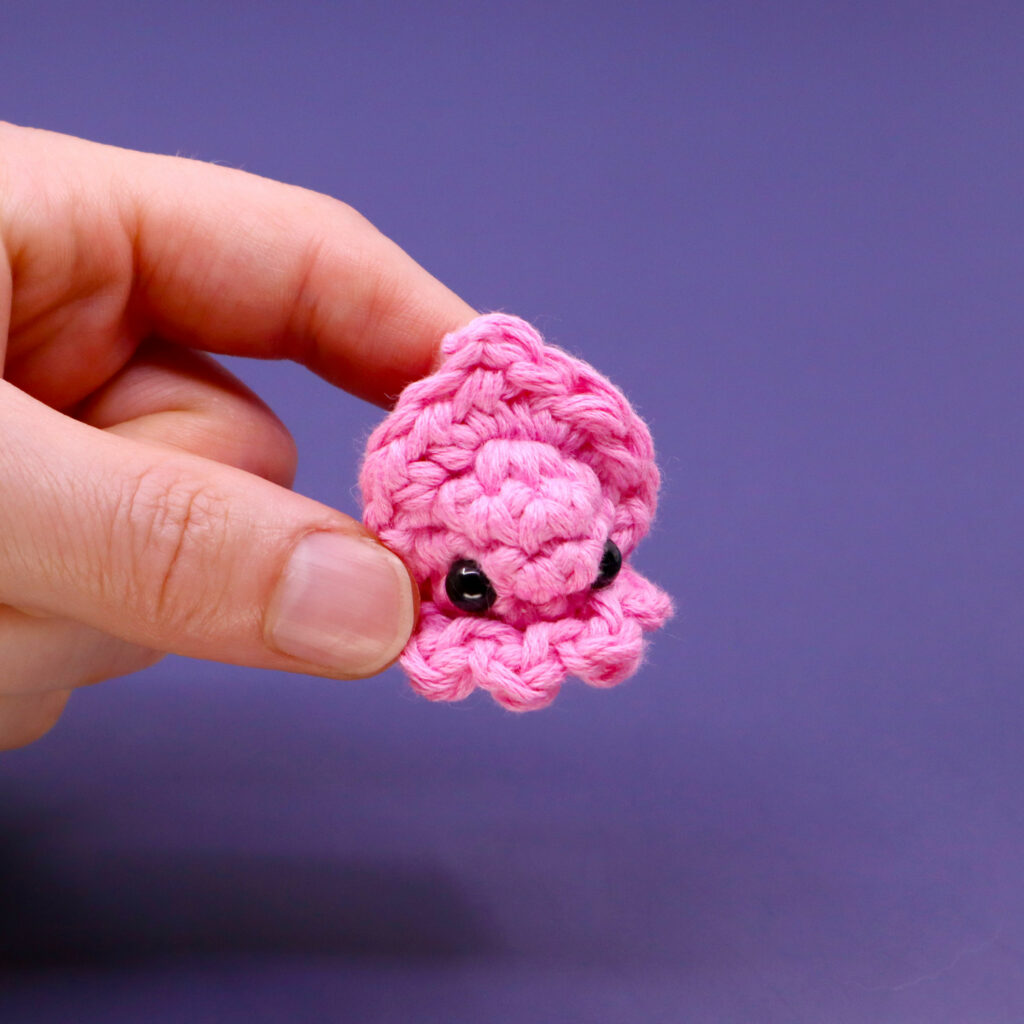
01 Octopus Minigurumi
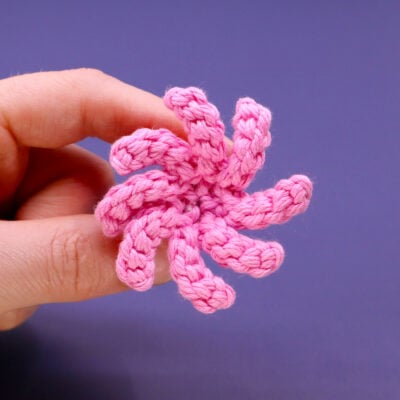
Scroll down for alternative tentacle options!
Other patterns to try


Community posts
Community Showcase
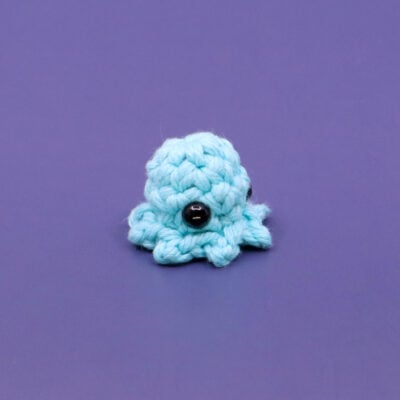
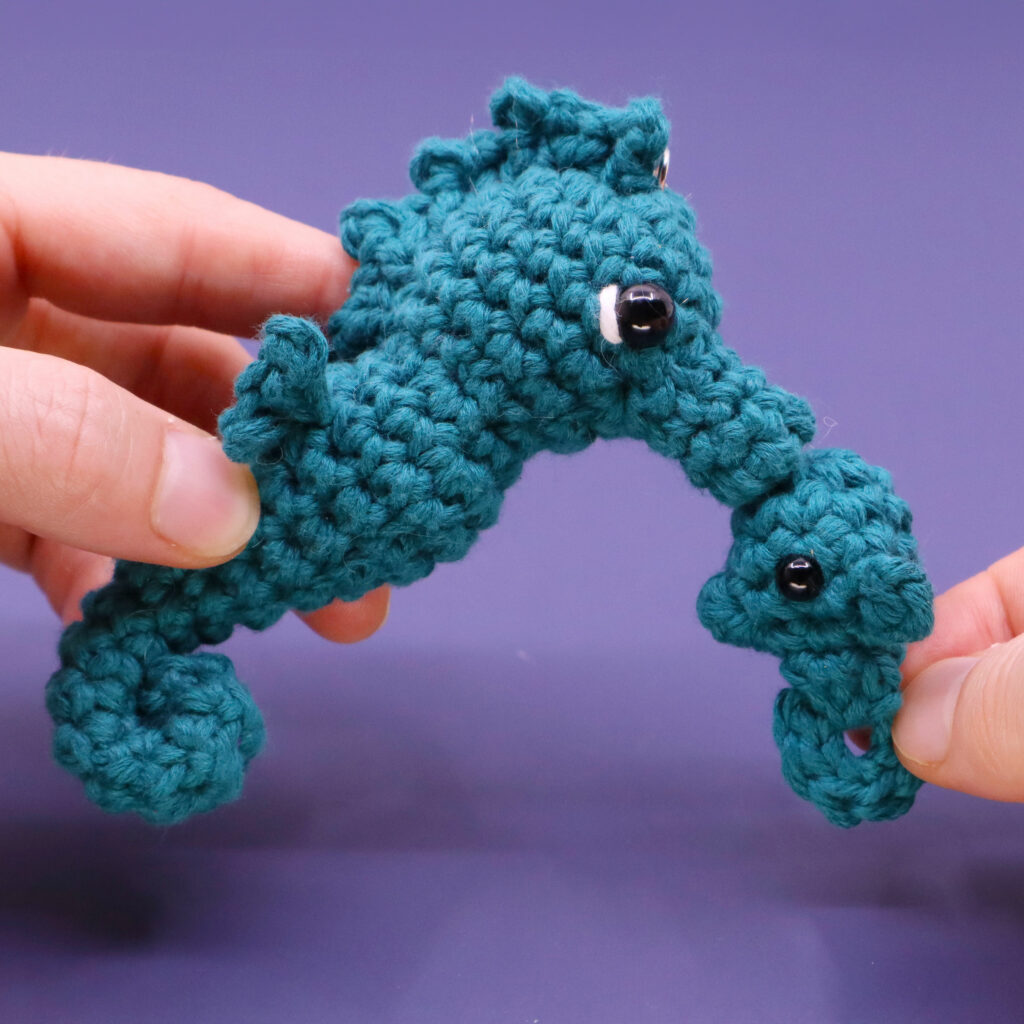
Squidy
Submitted by aliasdannyboy
You need an account to submit your photo.


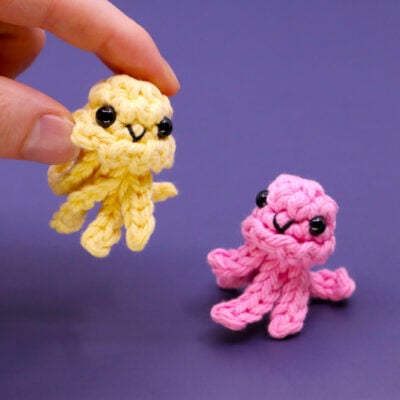
I made a jellyfish and it’s so so cute
I used the written pattern for the dorsal fin and the first step says to start the single crochet which leaves you with two loops. In the next step you add two loops and you say you should have three loops on the hook but I got four. Did I miss something?
In the video instructions, he tells you to insert hook into stitch, yarn over, insert hook in magic ring, yarn over then Finish Dorsal Fin like the written instructions. It might be what was wrong.