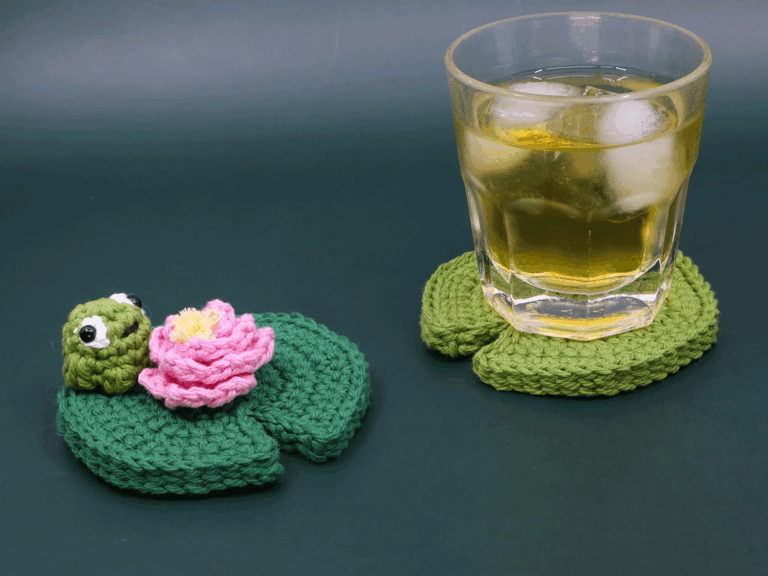
Lily Pad and Water Lily Coaster

Easy difficulty

Easy

2 hours

PDF

Video

Lefty

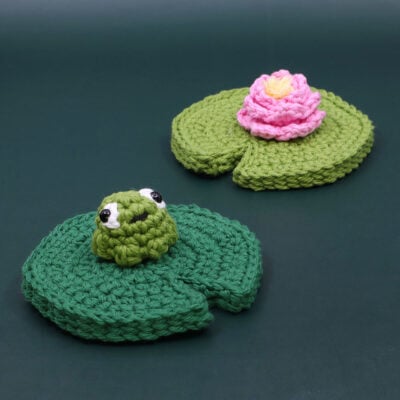
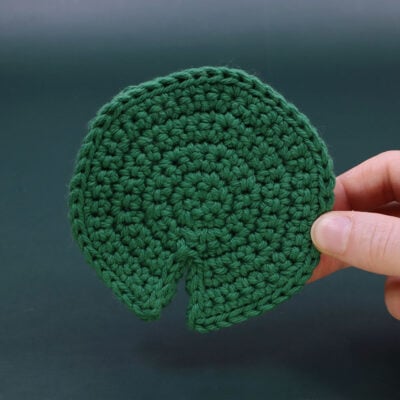
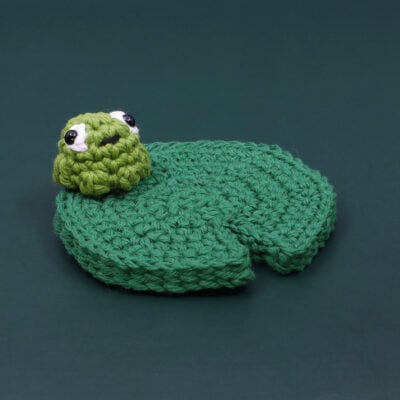
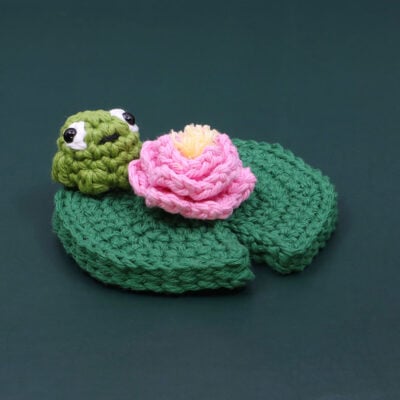
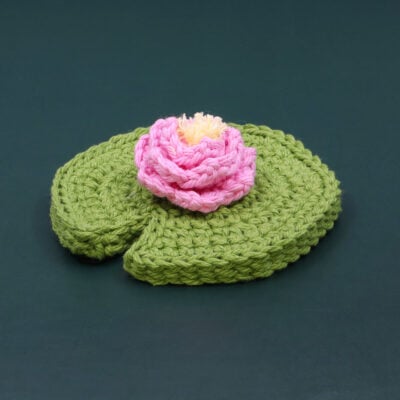
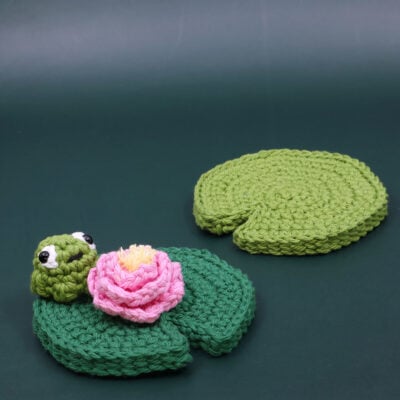
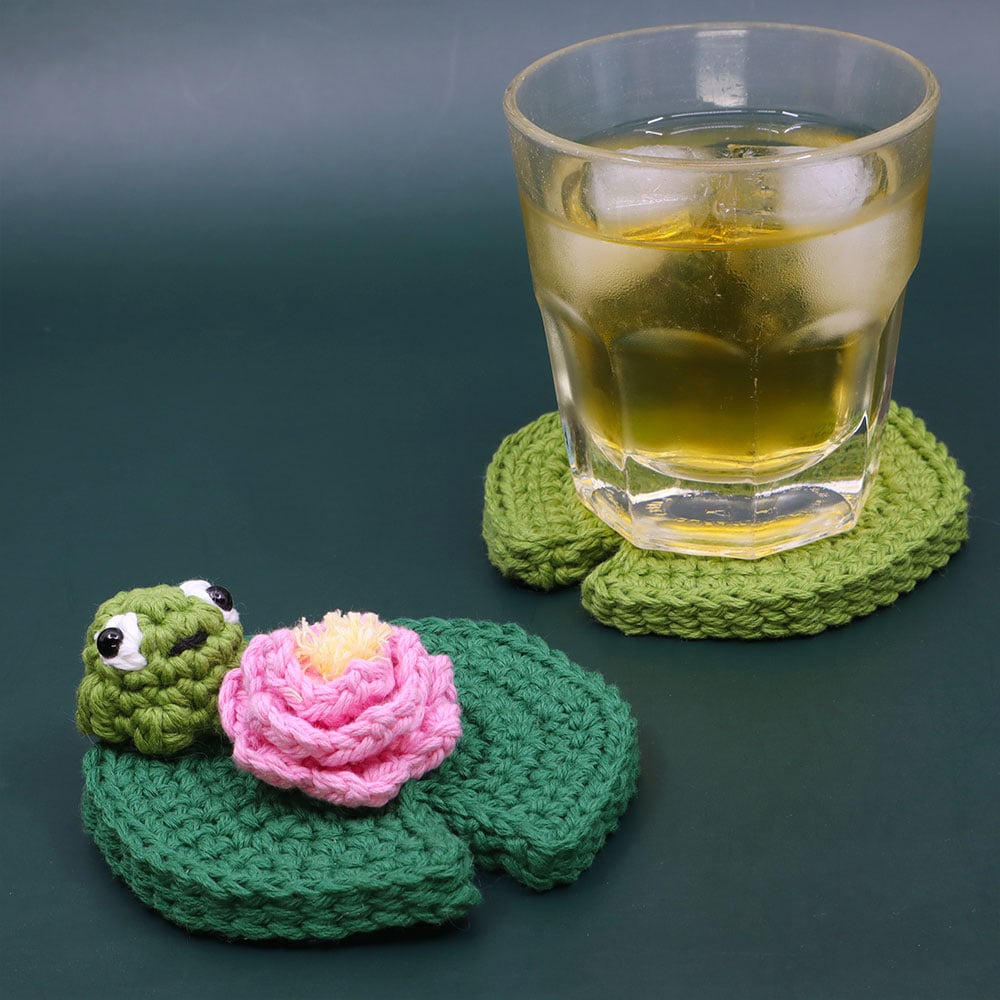
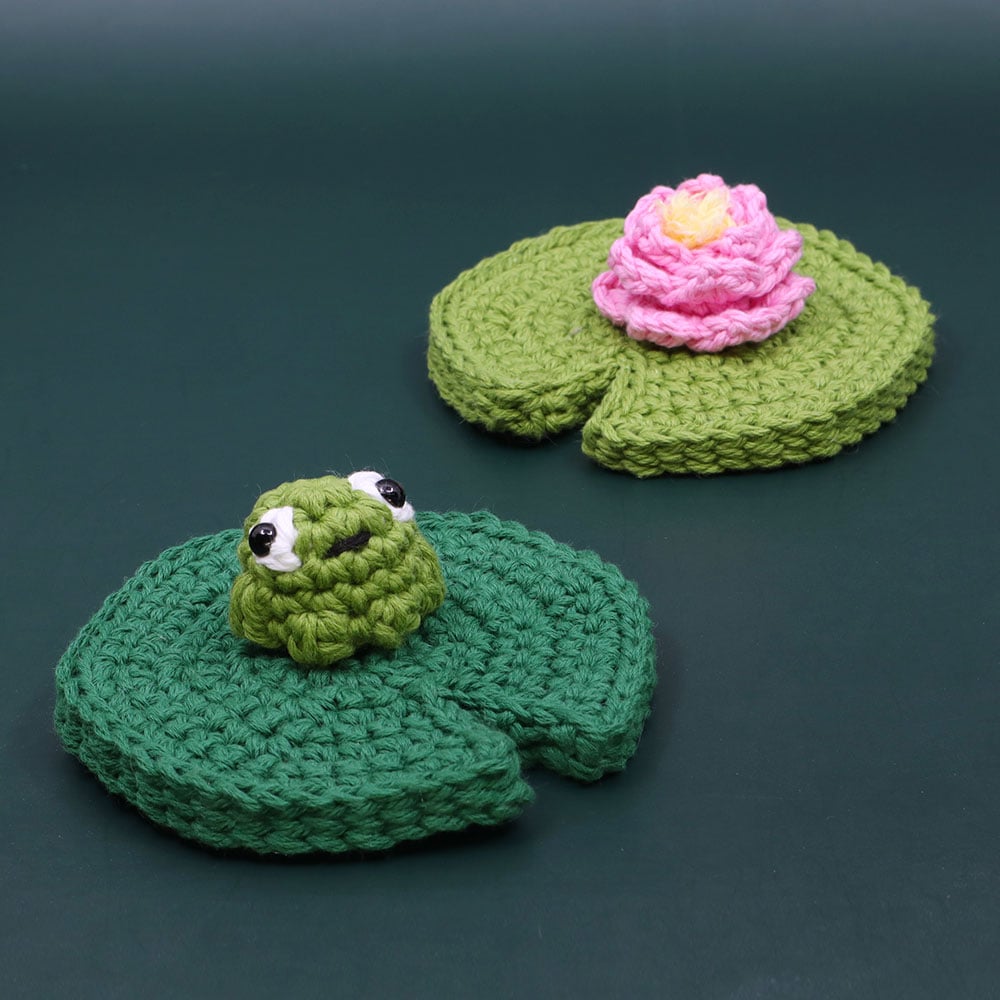
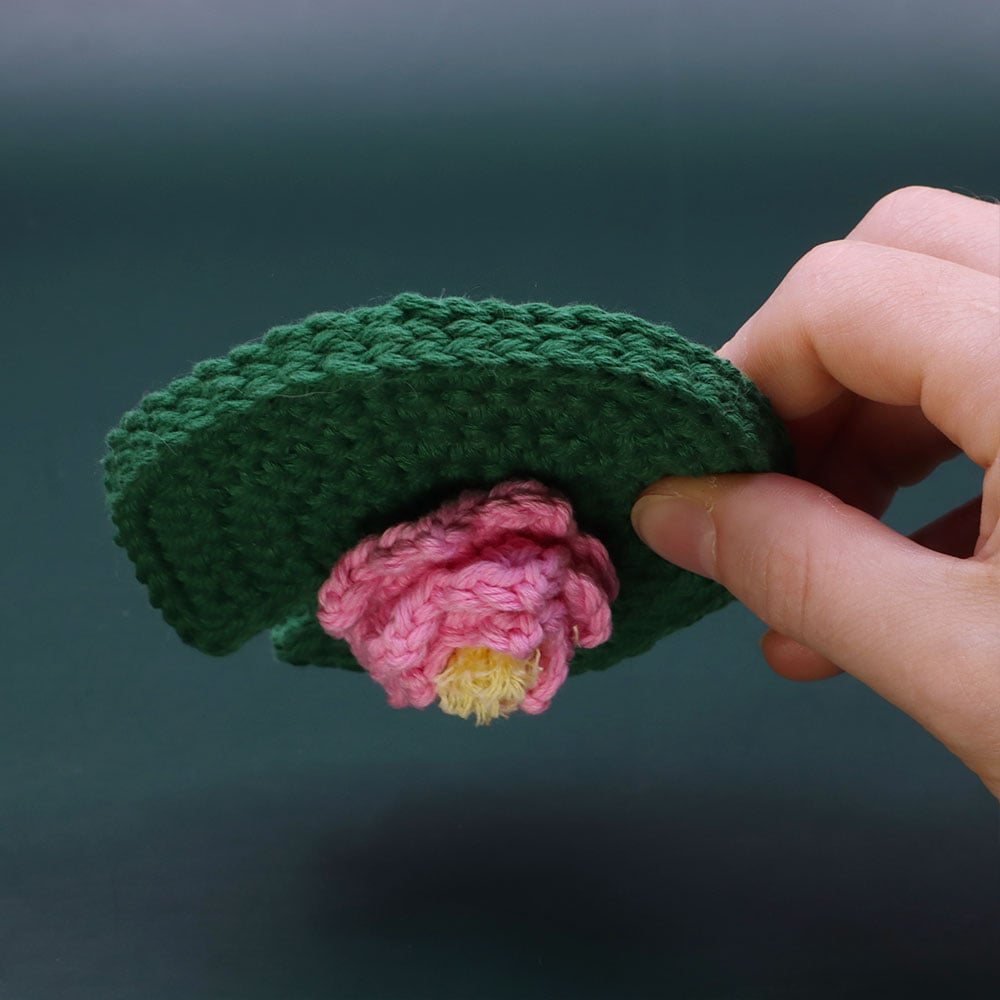
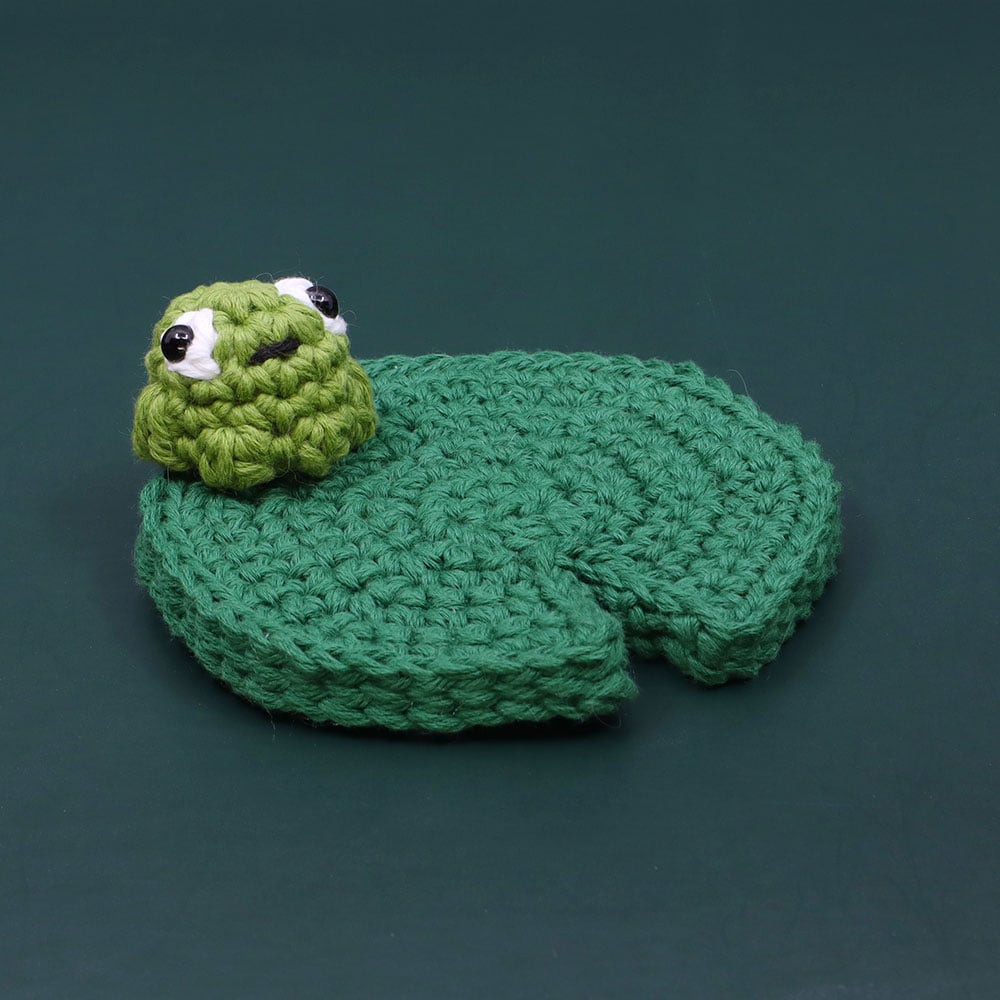
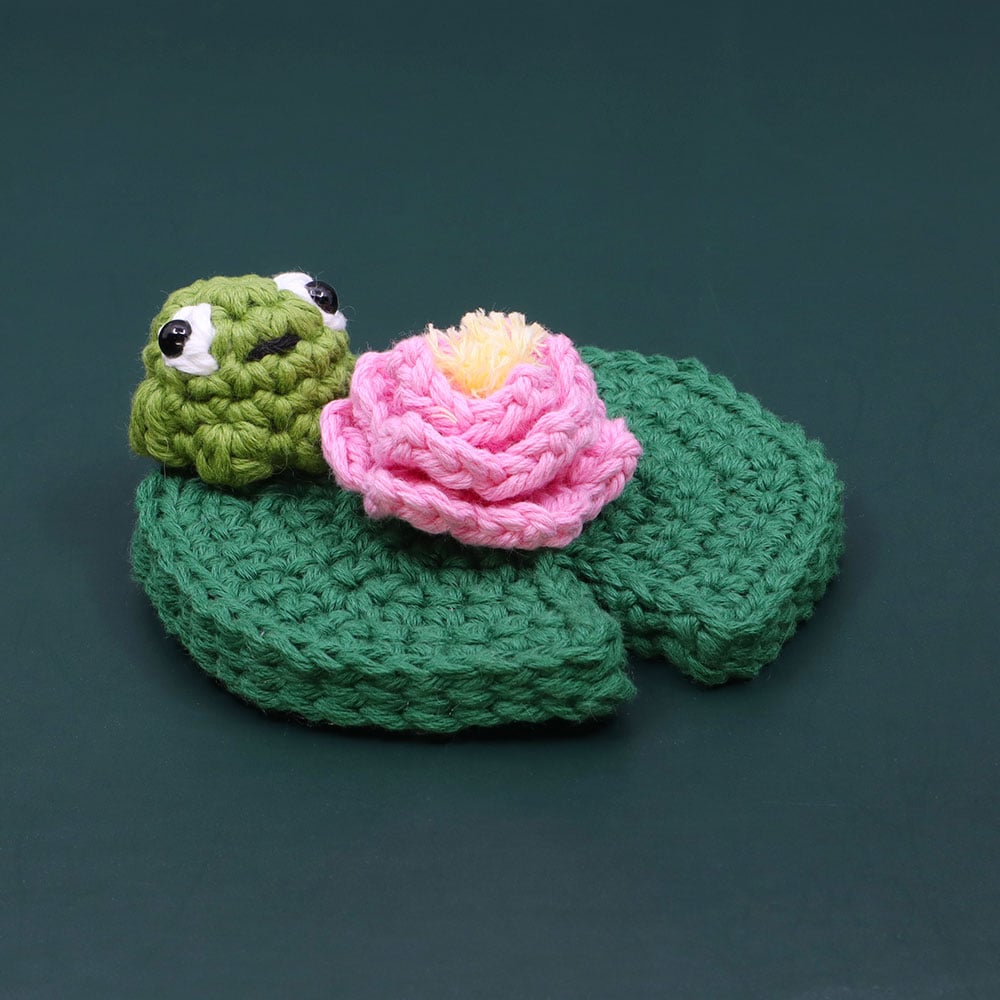
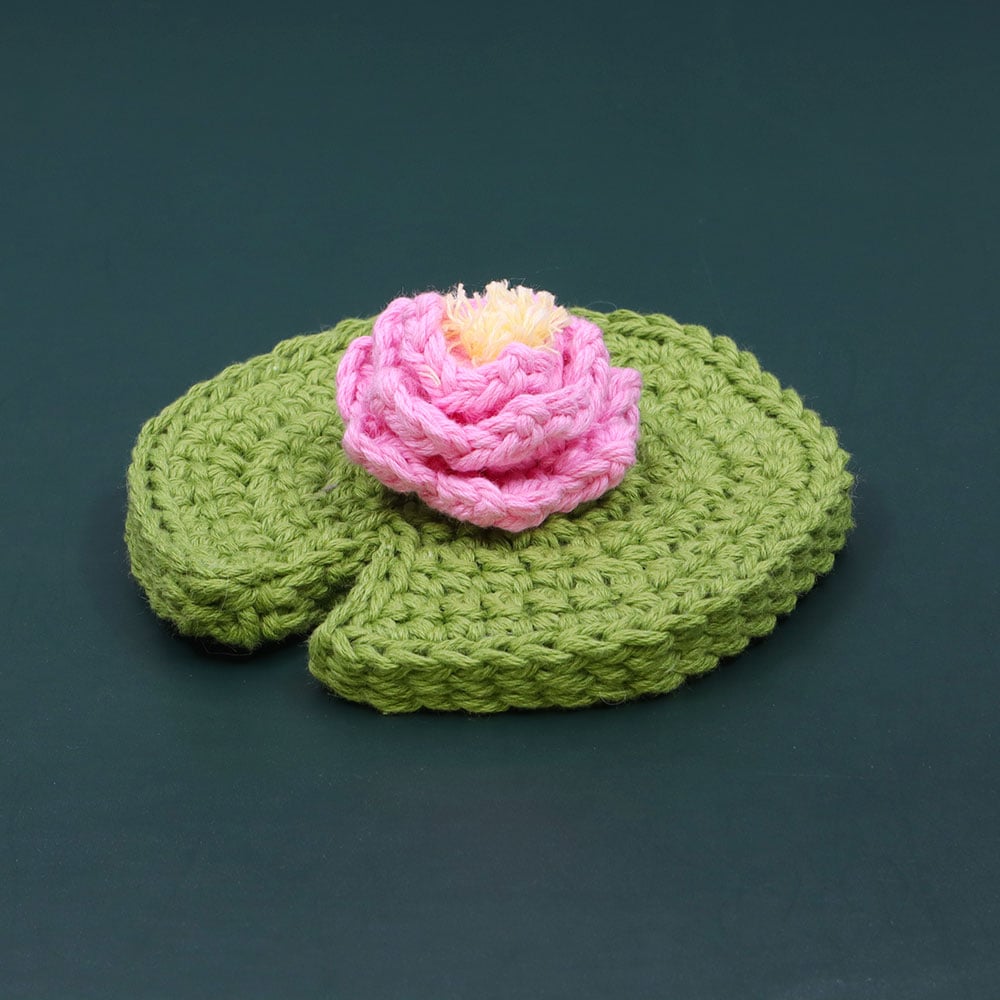
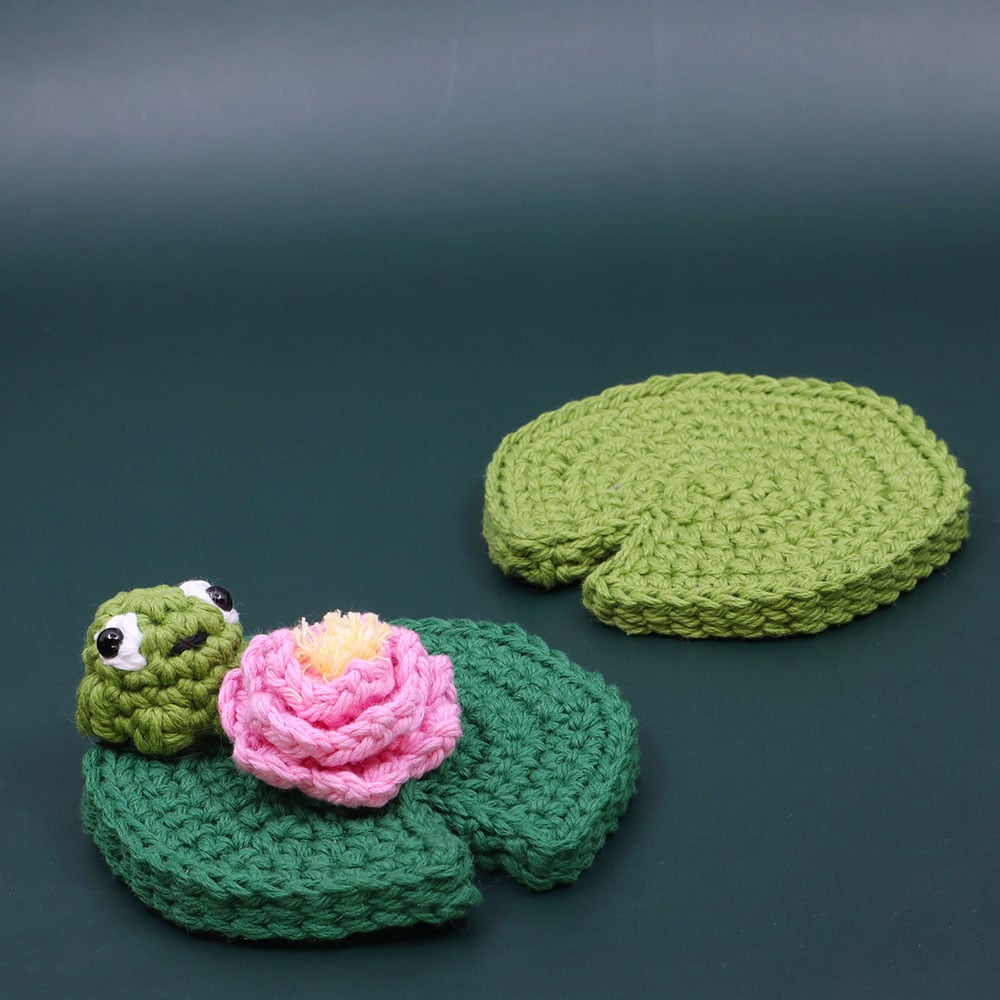
Make a splash with this lily pad crochet coaster pattern, complete with a tiny magnetic frog and water lily that hop on and off! It’s a fun, beginner-friendly project that’s perfect for spring, gifts, or just brightening up your coffee table.

Louie's Loops

Designed by

Video tutorials

Main Video

Lefty Video

Livestream Crochet Along

What you'll learn

What you'll need

Cotton Yarn

Weight

Colors

Green
Pink
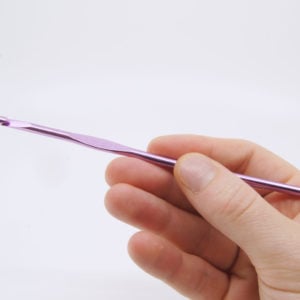
Crochet Hook Size G6 / 4.00mm

Crochet Hook

G6 / 4.00 mm

Stuffing

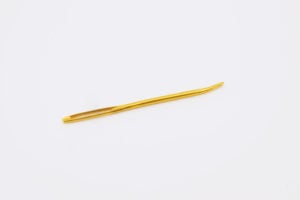
Darning Needle

Magnet

Abbreviations used

ch

Chain Stitch

st

Stitch

slst

Slip Stitch

sc

Single Crochet

inc

Increase

dec

Decrease (Sharp)

FLO/BLO

Front / Back Loops Only

hdc

Half-Double Crochet

{ }

Worked in same stitch

Useful information

Gauge

5 Rnds and 4 sts per 1”

Size

Finished size is about 4 inches long

Worked Flat

turning after each row

Pattern steps

Use checkboxes to track progress Click to reset
2:45
Time codes match to the main video

01 Lily Pad Coaster

[All in Green]
Magic loop

Row 1: sc 6 in the magic loop (6)

Row 2: slst into the first sc, ch 1, turn, skip the slst, inc in each st (12)

Row 3: slst into the first sc, ch 1, turn, skip the slst, [sc 1, inc 1] 6 times (18)

Row 4: slst into the first sc, ch 1, turn, skip the slst, [sc 2, inc 1] 6 times (24)

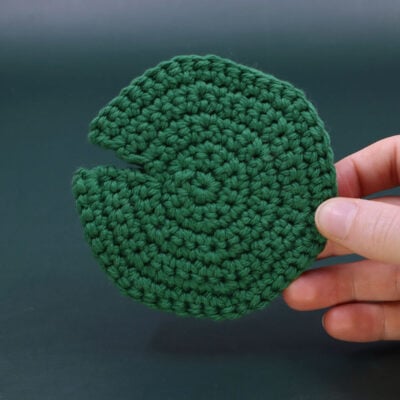
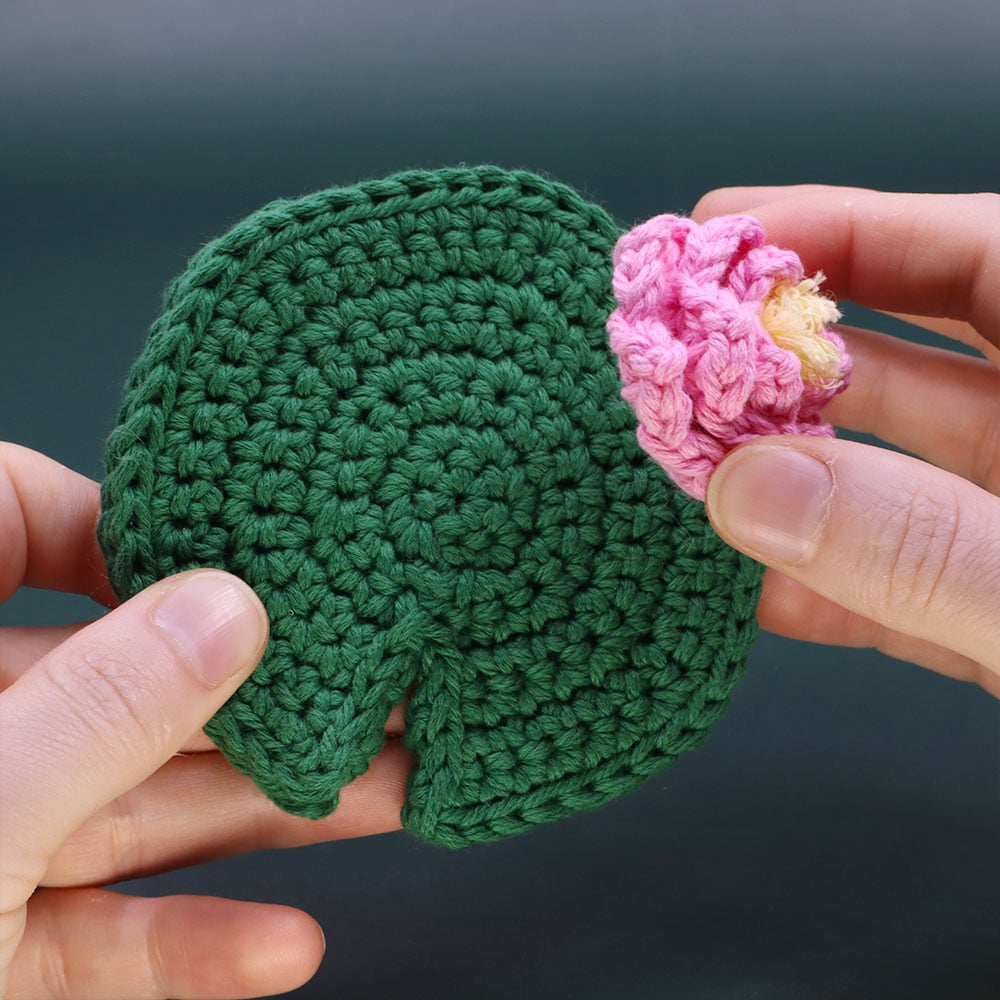
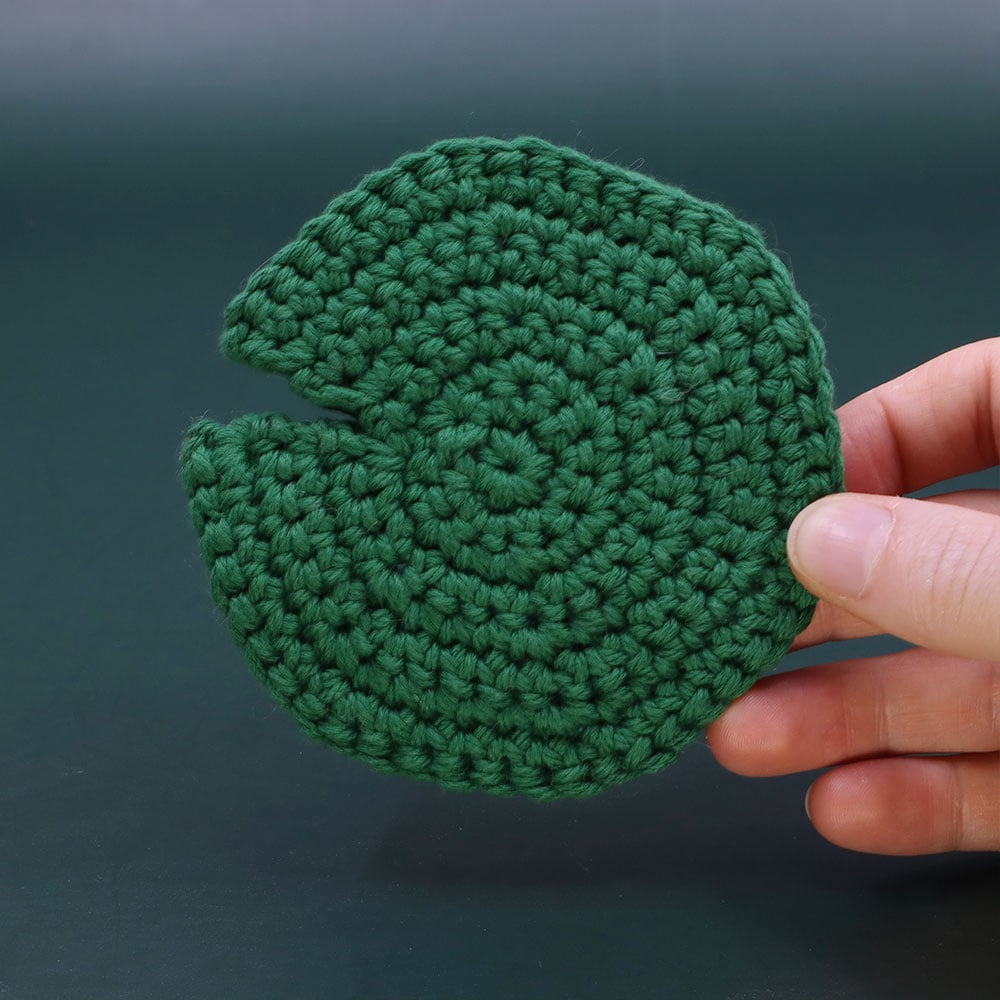
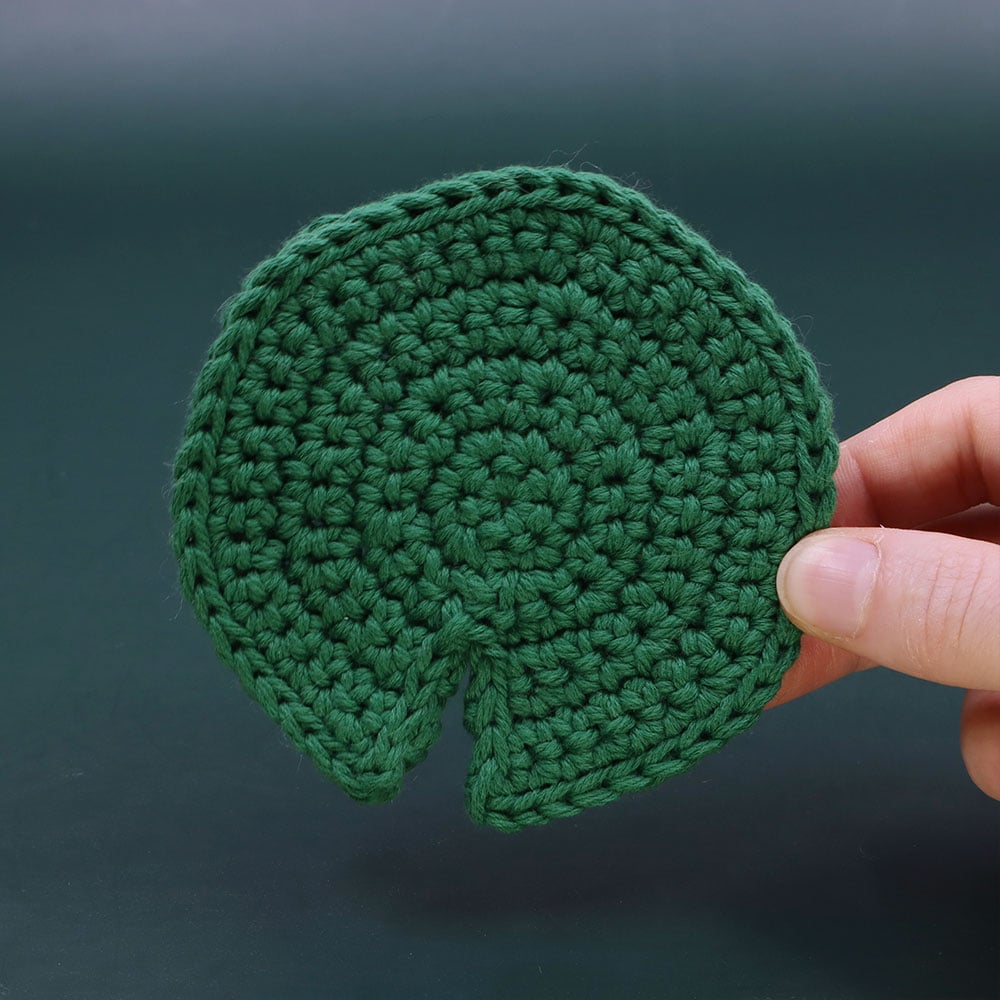
Note: Starting in Row 5 we will not be connecting after each row, leaving an open seam for the cut out of the lily pad.

Row 5: ch 1, turn, skip the ch, [sc 3, inc 1] 6 times (30)

Row 6: ch 1, turn, skip the ch, [sc 4, inc 1] 6 times (36)

Row 7: ch 1, turn, skip the ch, [sc 5, inc 1] 6 times (42)

Row 8: ch 1, turn, skip the ch, [sc 6, inc 1] 6 times (48)

Make your lily pad bigger by continuing the pattern of increasing after Row 8.
For example: Row 9: ch 1, turn, skip the ch, [sc 7, inc 1] 6 times (48)

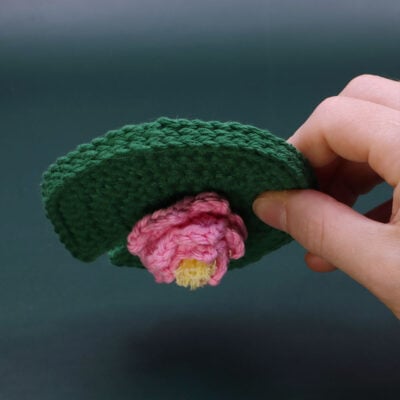
To make your lily pad thicker, cut here and pull through. Then, crochet a second lily pad up to this point and continue to the Border Row.

Border Row: Slst 1 in each st around your lily pad.

For a single Lily Pad, begin by working down the rows to the connection point after Row 5,
and then back up the rows on the other side. When you get to the last st, cut the yarn, pull
through, and hide the end.

To connect 2 layers of lily pad together, work into in the same st in your second layer simultaneously for each slst.

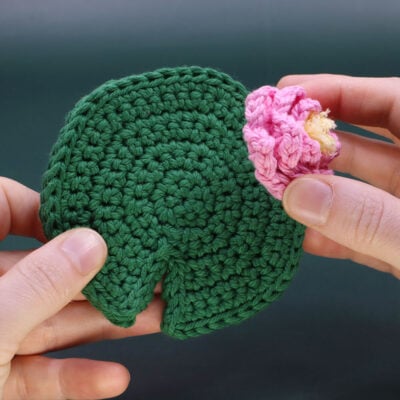
Try hiding little magnets between lily pads to make a sticky spot for your lily pad or mini frog!

02 Water Lily

[All in Pink]
Magic Loop

Rnd 1: sc 6 in the magic loop (6)

Work into the BLO for the rest of the pattern

Rnd 2: [sc 1, inc 1] repeat 3 times (9)

Rnd 3: [sc 2, inc 1] repeat 3 times (12)

Rnd 4: slst 1, turn, skip the slst, working up the piece into the unused FLO from the previous rnds

[ch 1, {hdc 1, ch 2 and pull tight, hdc 1} slst 1,] repeat 10 times to make 10 large petals

[ch 1, {sc 1, ch 2 and pull tight, sc 1} slst 1] repeat 4 times to make 4 small petals

Cut the yarn and pull through, hide the end.

Adding Stamens: Using yellow yarn, make a slip knot and cut the end, pull the cut end through the slipknot and tighten to make a large knot. Pull the ends though the center of the flower's magic loop and cut short. Repeat until desired amount (I added 3 pairs for 6 strands total).

Stop here if you want to sew this onto your lily pad. Continue for a magnetic or removable flower.

Rnd 5: Pull a loop through the first unused BLO from Rnd 3 (the base of the flower), dec in each (6)

Cut the yarn and pull through. Add a magnet if desired (be sure to check it's polarity) and sew closed.

Other patterns to try

Community posts

Community Showcase
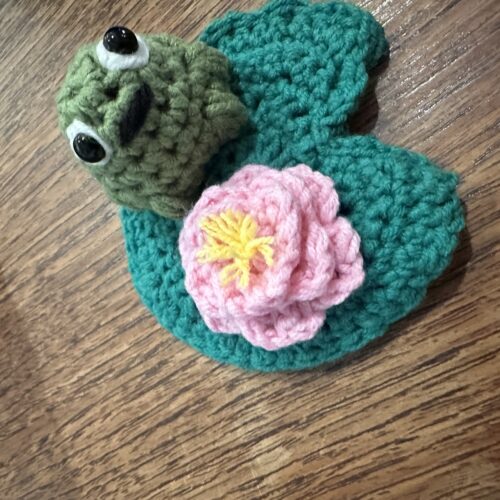
Submitted by aliasdannyboy

Chilling at the pad

Submitted by Kirsty

You need an account to submit your photo.
Commments

Add a comment