
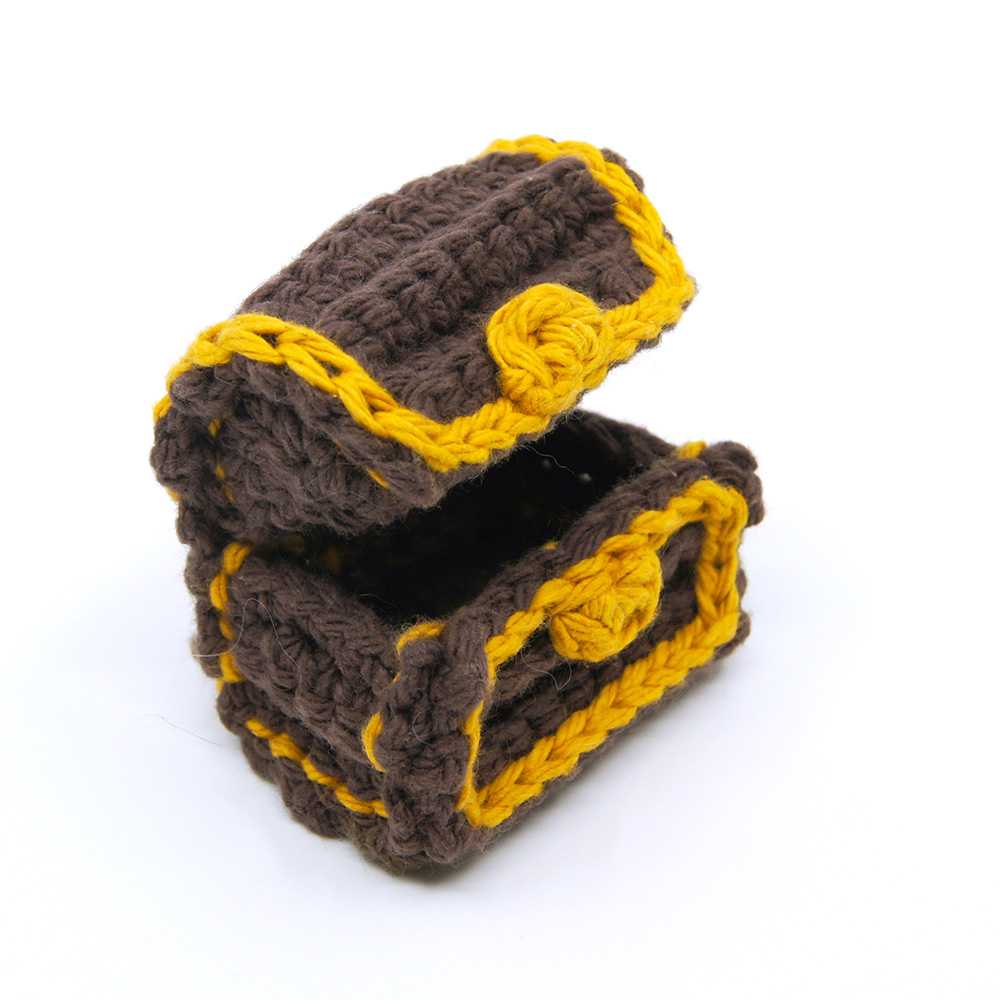
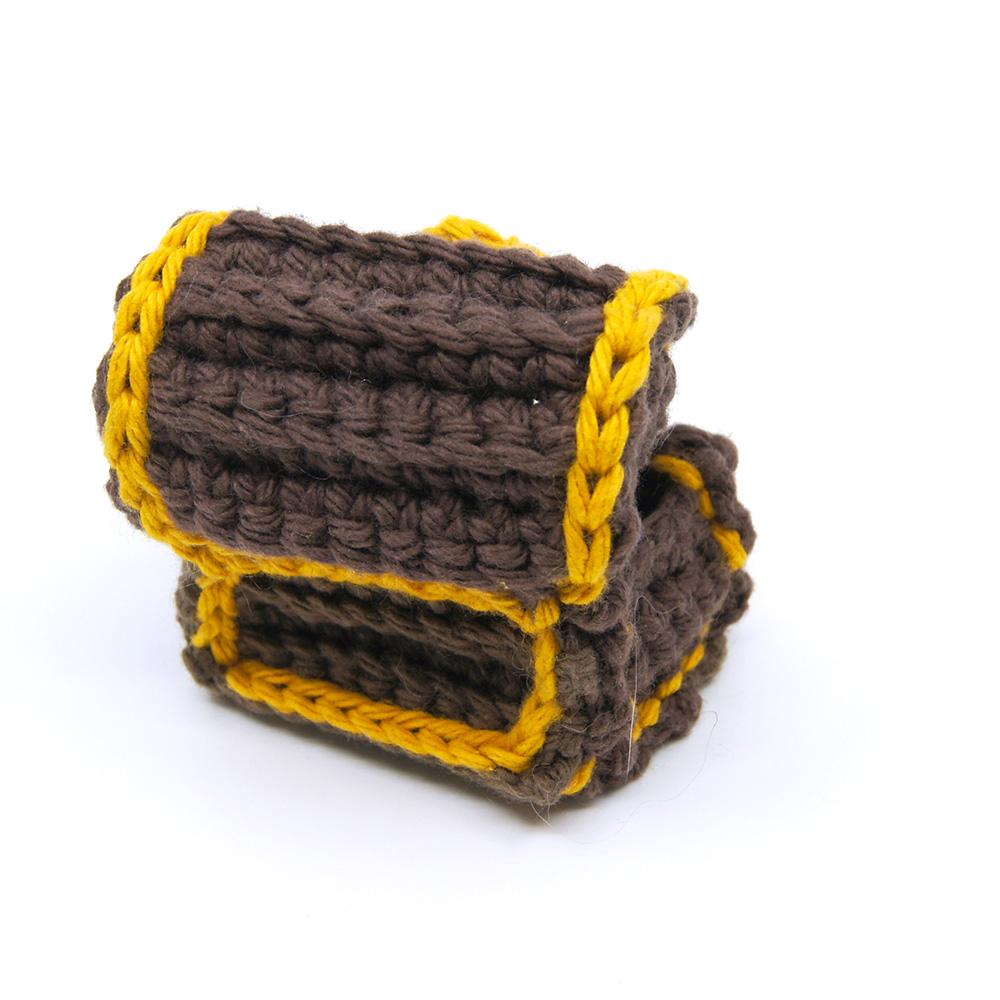
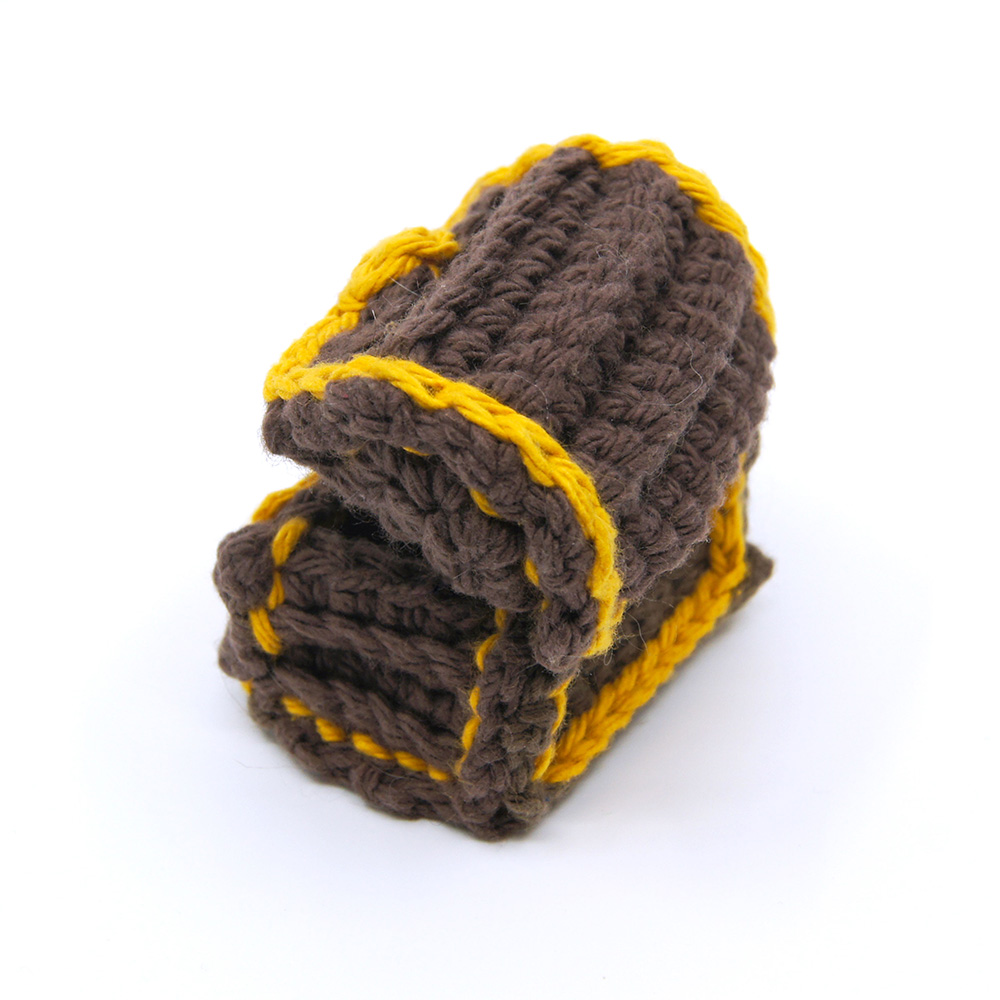
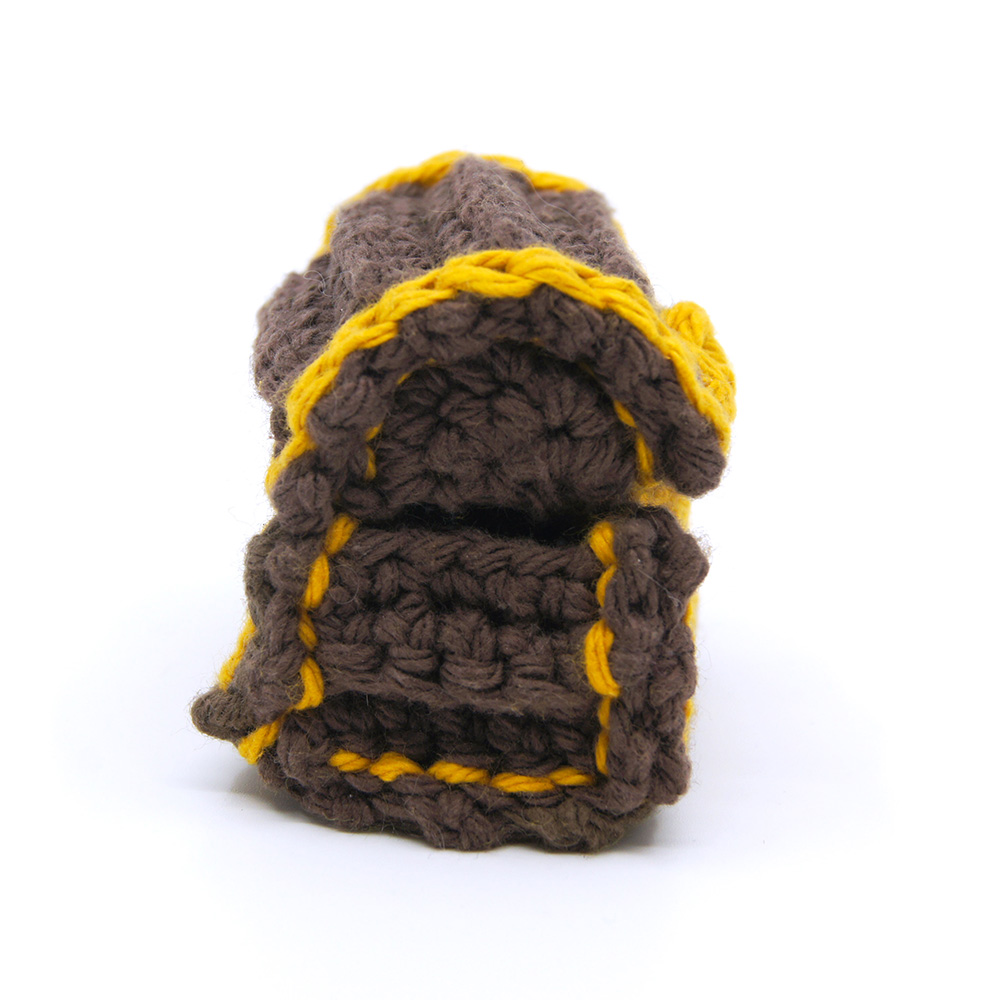
Treasure Chest Amigurumi

Medium
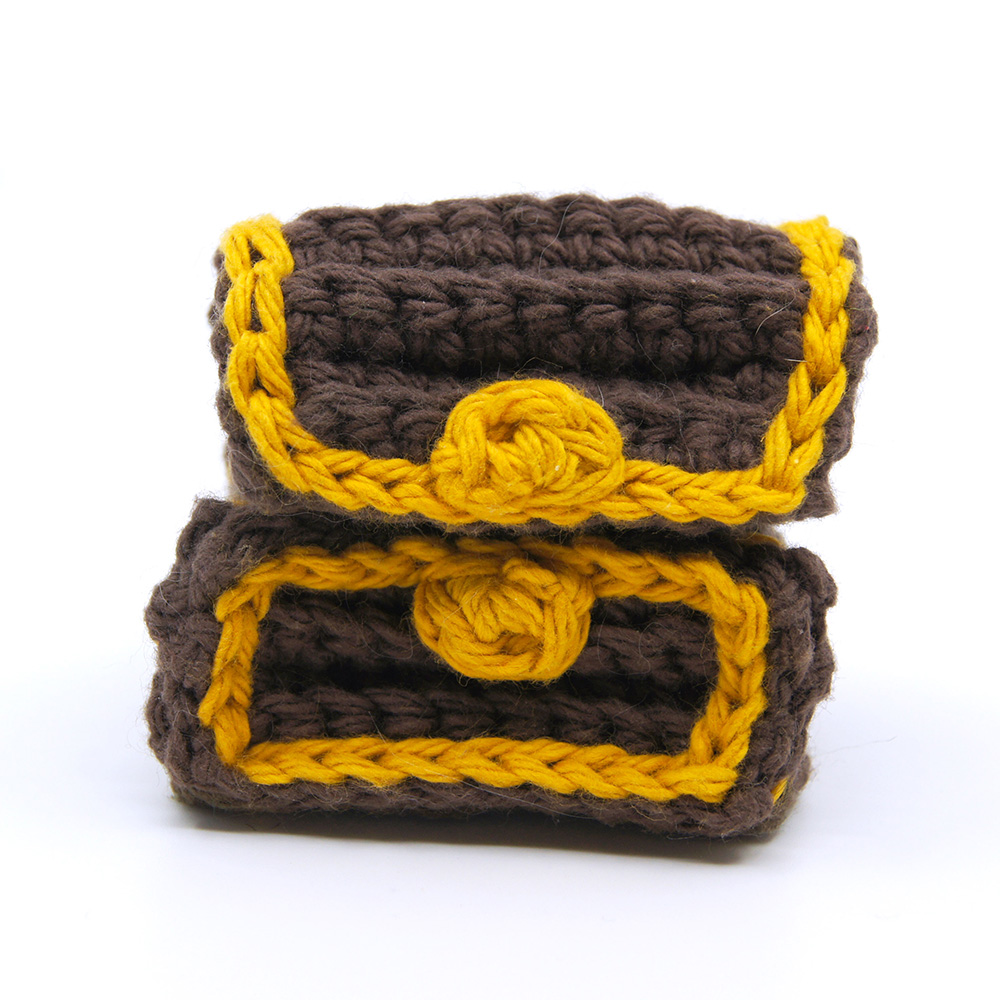
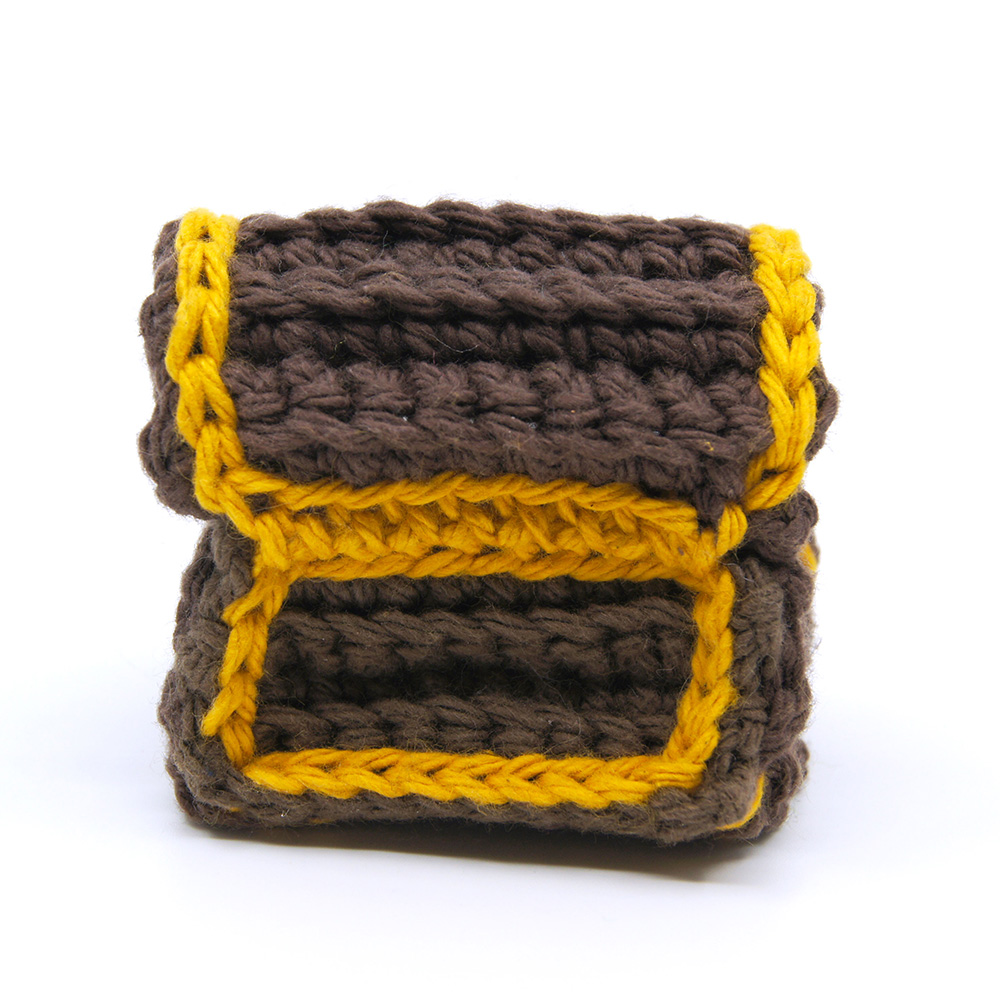
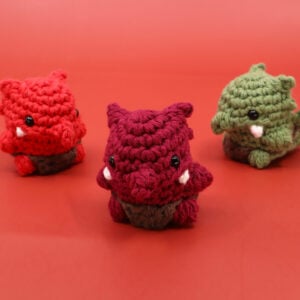
In this lesson, we’ll be crocheting a treasure chest! We’ll even be learning how to turn it into a monster mimic version! I use this pattern often in my new crocheters table top game, Stitch’d!

Louie's Loops
Designed by


What you'll create


What you'll learn
01 Construction
02 Arch (A)
03 Arch Sides (B)
04 Lock Half (F)
05 Connecting Top
06 Sides (C)
07 Front/Back (D)
08 Base (E)
09 Connecting Bottom
10 Sewing Together
11 Teeth (optional)
12 Tongue (optional)
13 Coins (optional)
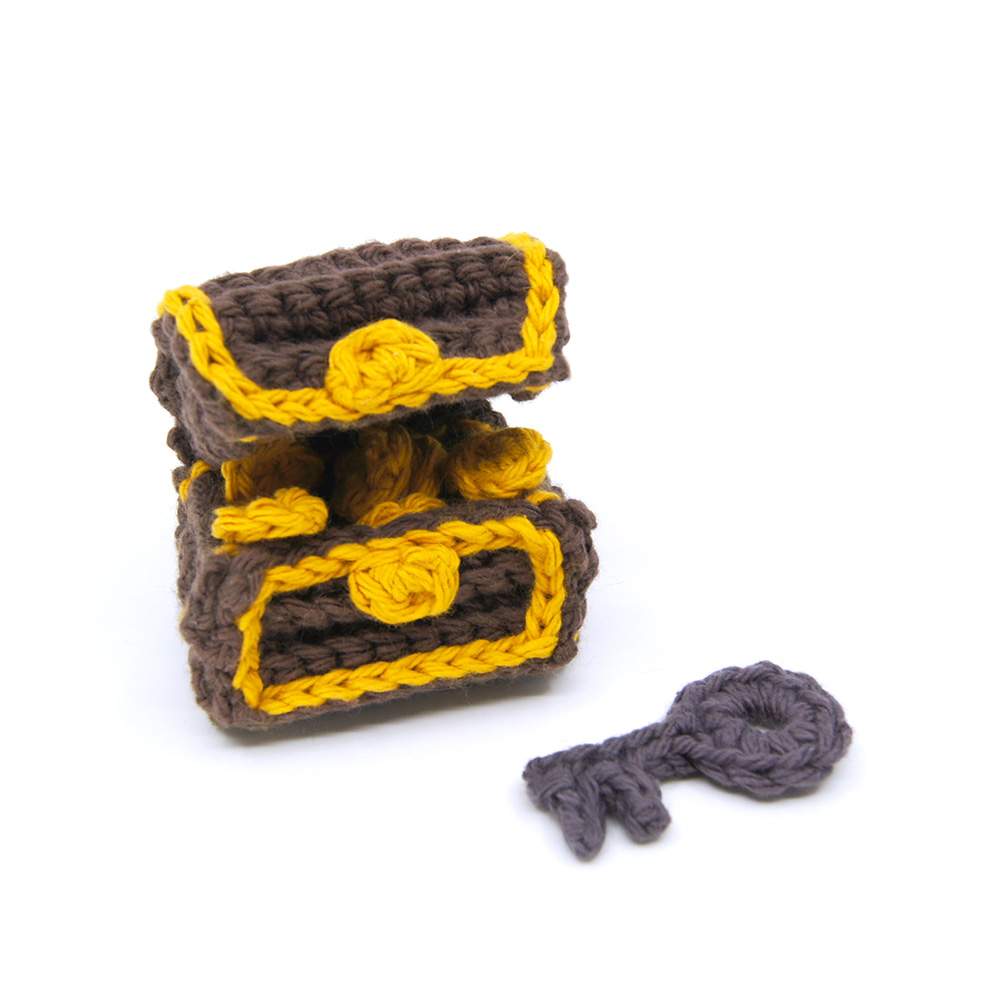
14 Key (optional)
What you'll need

Cotton Yarn
Weight

Colors
Brown (Main)
Gold (Accent)
White (Teeth, optional)
Pink (Tongue, optional)
Grey (Key)

Crochet Hook
G6 / 4.00 mm

Safety Bead
6 mm

Stuffing

Darning Needle
Abbreviations used
ch
Chain Stitch
st
Stitch
slst
Slip Stitch
sc
Single Crochet
inc
Increase
dec
Decrease (Sharp)
invdec
Invisible Decrease
FLO/BLO
Front / Back Loops Only
hdc
Half-Double Crochet
Useful information
Gauge
5 Rnds and 4 sts per 1”
Finished piece is about 2” tall
Worked
Flat
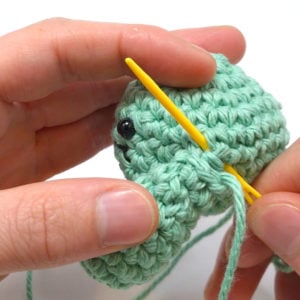
Useful Tutorials

Pattern steps
01 Construction
This pattern is constructed by attaching together 3 different parts for the top and 5 parts for the bottom and then combining everything with slip stitches. Use the chart below to know what parts go where.
Top
• A (Arch)
• B (Arch sides) (2)
• F (Lock half)
Bottom
• C (Sides) (2)
• D (Front / back) (2)
• E (Base)
• F (Lock half)
Other patterns to try


Community posts
Community Showcase
Crocheted this pattern? Be the first to show off your project by submitting a photo!
You need an account to submit your photo.


OMG, this is so cool!!! Thank you! Ü
So cute! And the pattern is amazing
This is great!!!