
Santa Claus Amigurumi

Hard
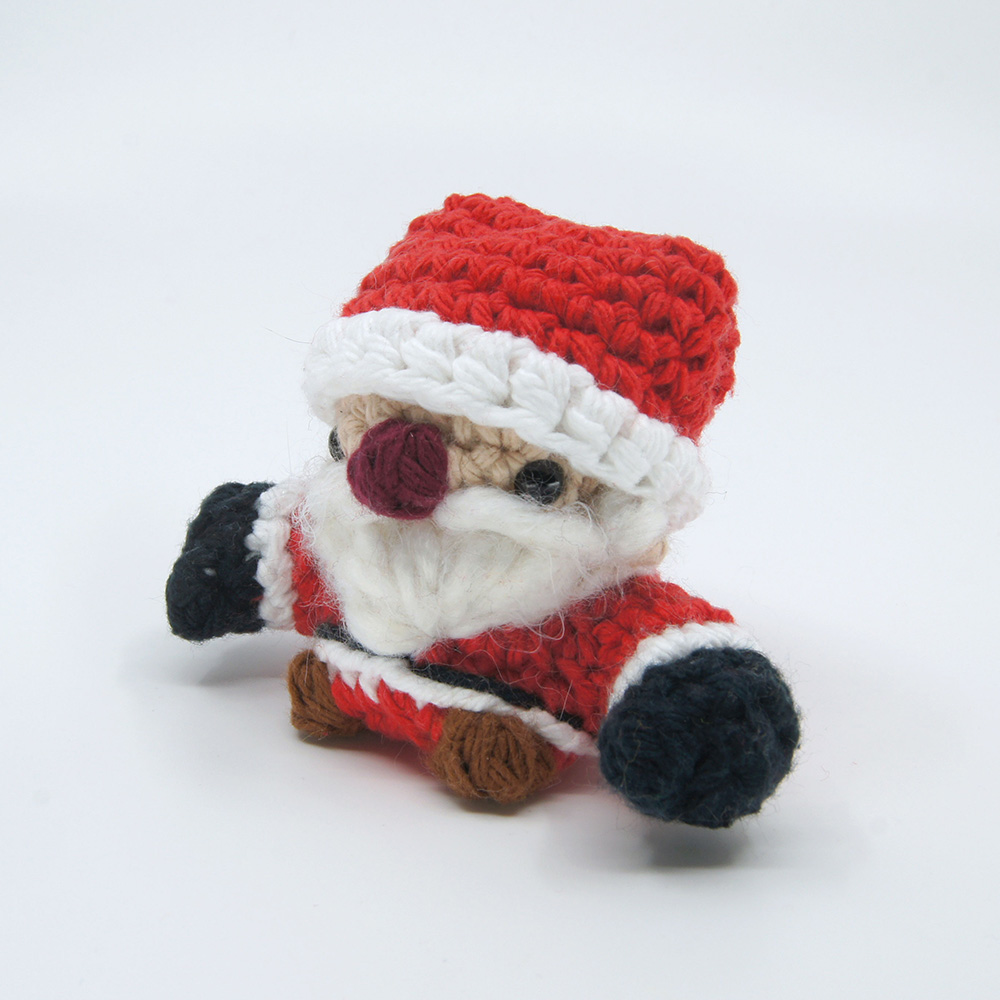
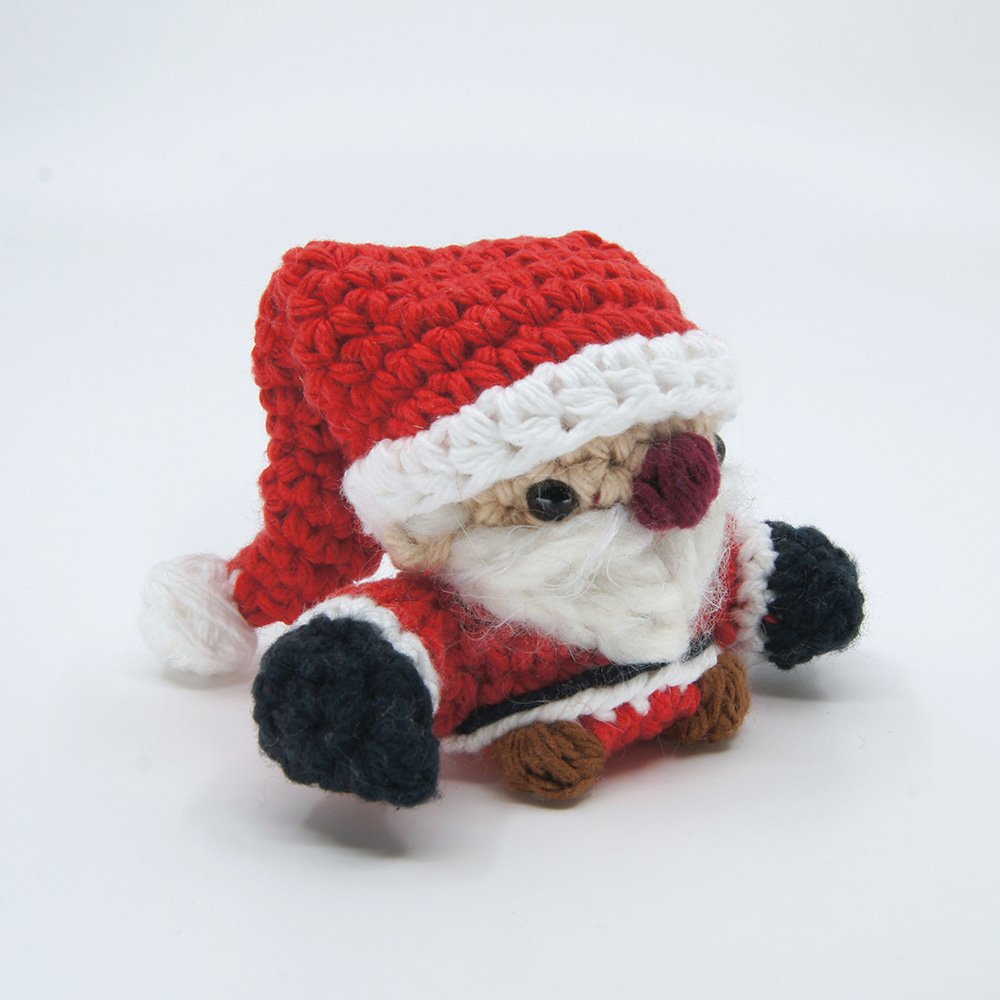
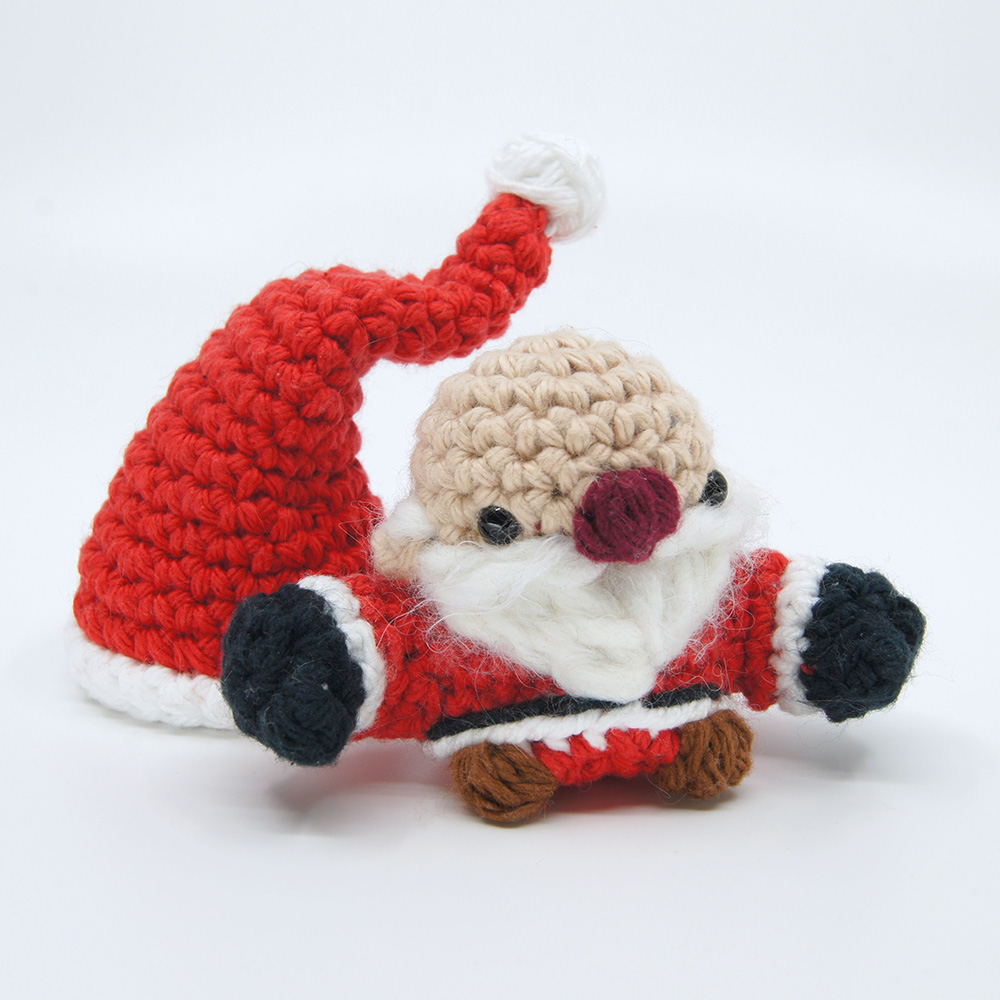
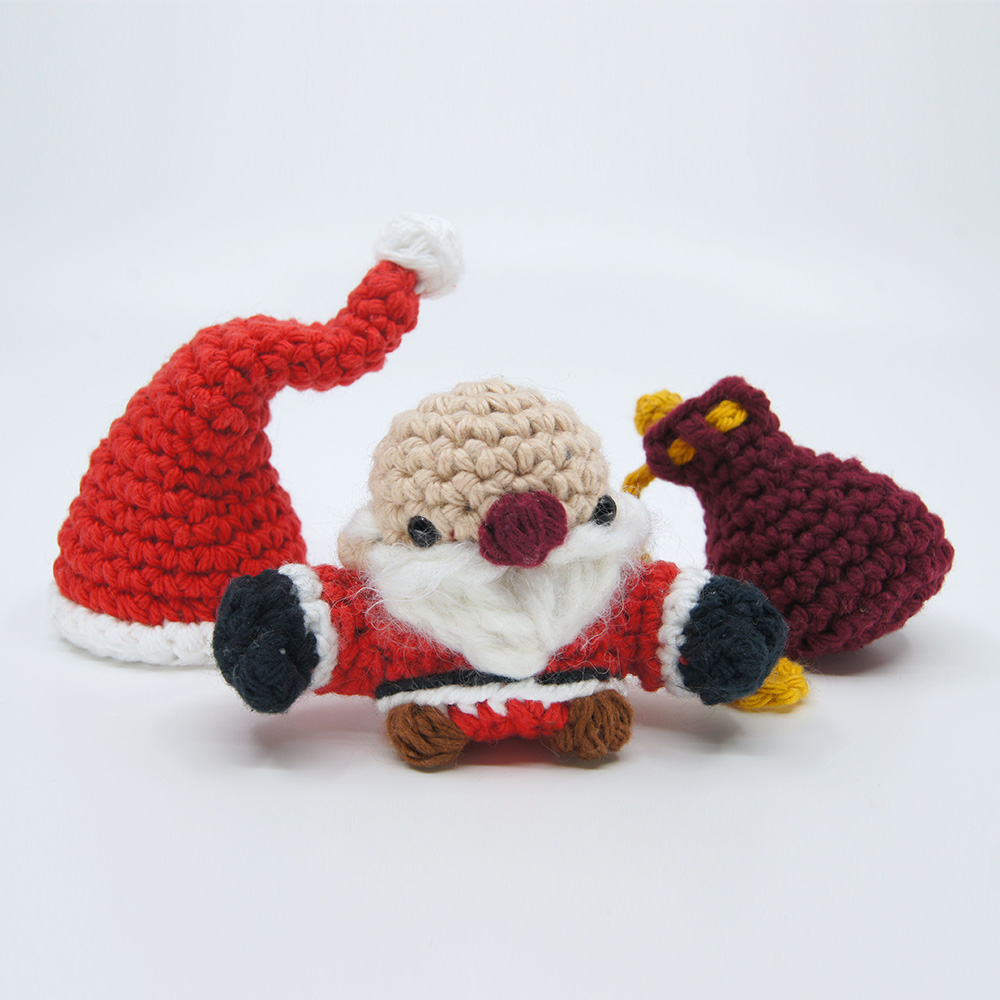
In this lesson we’ll be crocheting the great Saint Nicholas himself! This pattern not only teaches you how to make the jolly fat fella, but also how to turn him into a fun Christmas Tree ornament!

Louie's Loops
Designed by


What you'll create


What you'll learn
What you'll need

Cotton Yarn
Weight

Colors
Red (Clothing)
Beige (Skin tone)
White (Clothing accent)
Fuzzy White (Beard)
Brown (Boots)
Maroon (Nose and Sack)
Black (Gloves and Belt)
Gold (Sack rope)

Crochet Hook
G6 / 4.00 mm

Safety Bead (x2)
6 mm

Stuffing

Darning Needle

Pipe Cleaners

Coins
Abbreviations used
ch
Chain Stitch
st
Stitch
slst
Slip Stitch
sc
Single Crochet
inc
Increase
dec
Decrease (Sharp)
invdec
Invisible Decrease
FLO/BLO
Front / Back Loops Only
dc
Double Crochet
hdc
Half-Double Crochet
mbo
Mini Bobble Stitch
sc2tog
Single Crochet 2 Together
bo
Bobble Stitch (4-dc bobble)
Useful information
Gauge
5 Rnds and 4 sts per 1”
Finished piece is about 4.5” tall
Worked
In the Round unless otherwise stated
Useful Tutorials

Pattern steps
01 Arms
[Starting in Black]
Ch 2 or use magic loop method
Rnd 1: Work 6 sc in 2nd ch from hook or into magic loop (6)
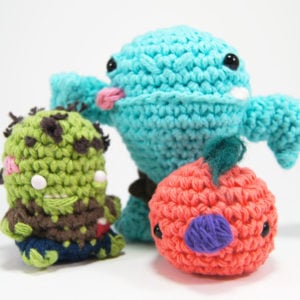
Other patterns to try


Community posts
Community Showcase
Crocheted this pattern? Be the first to show off your project by submitting a photo!
You need an account to submit your photo.


You have to crochet a wife to Santa
Love the pattern
The color changes are written super confusing in this pattern somehow, because every time I see the color change written in line with the row instructions I get confused about what color I was supposed to do the row in. I ended up with an entire extra row of white (which I’m leaving in because I already redid the red one once because I messed it up too). He’ll just be a taller Santa. I think it would be less confusing if the color change were written at the beginning of the next row OR with a note like [Change to white/beige for the next row].