
How to Crochet Better Color Changes

Beginner
Hey there! I’m Louie, and in this tutorial we’re going to be talking about crocheted color changes.
We’ll be talking less about how to make a color changes and more about how color changes behave, so if you want to learn how to actually make a color change, check out my first tutorial here and come back.
We’ll also be working with specifically single crochets and when working in the round or in a spiral without turning, the most common way to make amigurumi.

Louie's Loops
Designed by
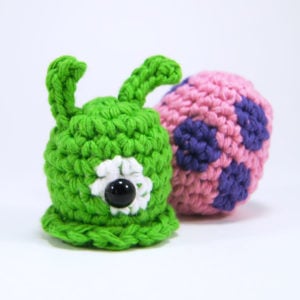
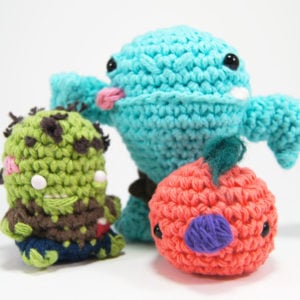
What you'll create
What you'll learn
What you'll need

Cotton Yarn
Weight

Colors
Color 1
Color 2

Crochet Hook
G6 / 4.00 mm
Abbreviations used
Pattern steps
01 The Single Crochet Dissected

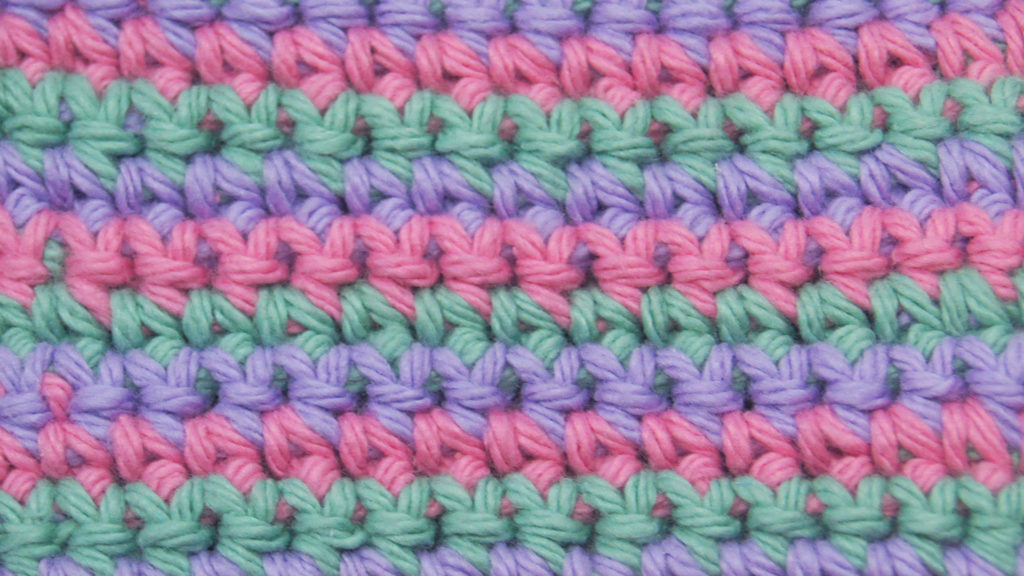
The Top Loop
This is the top of the single crochet. It is made first, by pulling through the two loops from the previous stitch with a new loop. Often this is thought as finishing up a single crochet, but you can think of it as starting a new stitch as well. The top loop can be any one solid color.

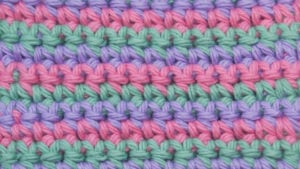
The "V"
This is the V like formation seen from the front of the stitch. This is made secondly for a single crochet and can be made a different color than the top loop.
Other patterns to try


Community posts
Community Showcase
Crocheted this pattern? Be the first to show off your project by submitting a photo!
You need an account to submit your photo.


