
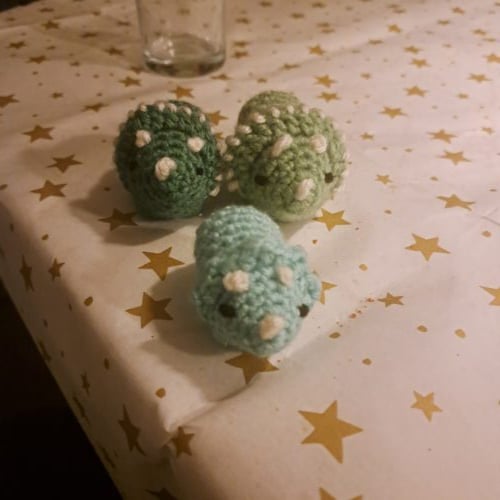
Triceratops Dinosaur Amigurumi

Beginner

Louie's Loops
Designed by


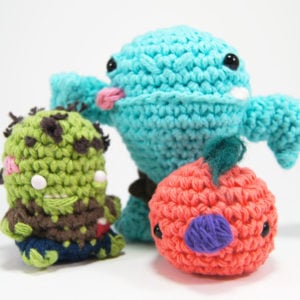
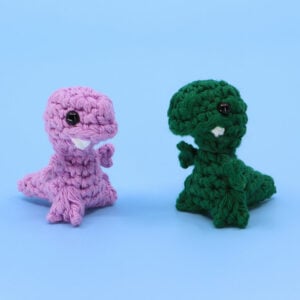
What you'll create


Video tutorials
Main Video
Lefty Version
Old Video Version
What you'll learn
01 Body
02 Adding Eyes
03 Horns
04 How to Crochet a Bobble Stitch (bo)
05 Body Continued
06 Sewing Closed
What you'll need

Cotton Yarn
Weight

Colors

Crochet Hook
G6 / 4.00 mm

Safety Bead (x2)
6 mm

Darning Needle

Stuffing
Abbreviations used
ch
Chain Stitch
st
Stitch
slst
Slip Stitch
sc
Single Crochet
inc
Increase
invdec
Invisible Decrease
FLO/BLO
Front / Back Loops Only
dc
Double Crochet
hdc
Half-Double Crochet
bo
Bobble Stitch (4-dc bobble)
mp
Mini Picot
Useful information
Gauge
5 Rnds and 4 sts per 1”
Finished piece is about 3” tall
Worked
In the Round unless otherwise stated
Useful Tutorials

Pattern steps

01
Body
04:56
[All in Color A] Magic loop
sc = Single Crochet
inc = Increase (sc 2 in one st)
(#) = How many stitches in the round (aka 'Rnd').
Rnd 1: sc 6 into the magic loop (6)
Rnd 2: [sc 1, inc 1] 3 times (9)
Rnd 3: [sc 2, inc 1] 3 times (12)
Rnd 4: [sc 3, inc 1] 3 times (15)
Rnd 5: [sc 4, inc 1] 3 times (18)
FLO = worked in the Front Loops Only
mp = Mini Picot (ch 2, slst in the first ch made to form a point)

FLO = Front Loop Only

mp = Mini Picot
Rnd 6: sc 6, working in the FLO, sc 1, [hdc 1, mp, hdc 1] repeat 5 times, sc 1 (18 [+5 mp])
Alternate Frill Option (Advanced)
Use the following Rnd, in place of Rnd 6 above, to create an alternate version of the frill crown which is slightly larger and has a white edging. I’ve made a second full length video for it which you can watch here!
*Note: dcinc = Double Crochet Increase (2dc in the same stitch)
Rnd 6*: sc 6, working in FLO, sc 1, hdc 1, dcinc 1, dc 1, dcinc 1, dc 2, dcinc 1, dc 1, dcinc 1, hdc 1, sc 1 (22)
Using a strand of white yarn begin going around the outer stitches of the frill towards the center. When you reach the center hide the end down through the center of the frill and into the body. Repeat this same process on the opposite side of the frill so that the white stitches are both pointing inward towards the center of the face.
02
Adding Eyes
45:03
To add the eyes I'll be using safety eyes to make things easier, but you can also use bullion knots (aka french knots) instead.
Bonus video tutorial for Bullion Knots here.
Add eyes into Rnd 3, sts 6 and 11. They should line up with the corner spikes of the frill.
03
Horns
47:53
Qty 3
There are 2 ways to make the horns. The easiest way is to simply embroider the horns on by weaving a strand of white yarn from the inside between 2 adjacent stitches on the head, and double knotting from the inside to secure.
My favorite method, however, is to crochet the horns and attach on the inside in a similar method.
Crocheted Horns (make 3):
[All in White] Make a slip knot and Ch 2,
Skip the first ch and pull tight, sc 1 in 2nd ch.
Ch 1, cut the yarn and pull through leaving somewhat long ends to use for attaching.
Attach the horns by pulling your tail ends through 2 adjacent sts, and knotting on the inside. You can use a needle for this, but this can be done more easily by using your hook. Attach the horns in the following locations:


04
How to Crochet a Bobble Stitch (bo)
1:01:10

Step 1:
Yarn over and insert hook into the stitch.

Step 2:
Yarn over again and pull through.

Step 3:
Yarn over a 3rd time and pull through
only 2 loops.

Step 4:
Repeat steps 1 – 3 four times total for a classic bobble stitch.

Step 5:
Yarn over and pull through all the loops on the hook.
Pro tip: Use more of a scooping motion when pulling through to more easily finish the stitch.
05
Body Continued
57:53
Rnd 7: sc 6, working into the unused BLO from Rnd 5, sc 12 (18)
bo = Bobble Stitch (see above)
Rnd 8: sc 1, bo 1, sc 2, bo 1, sc 13 (18)
Rnds 9 - 11: sc in each st (18 x 3)
Rnd 12: sc 2, bo 1, sc 2, bo 1, sc 12 (18)
Rnd 13: sc in each (18)
invdec = Invisible Decrease (working in the FLO of the next 2 sts simultaneously, sc 1)


Rnd 14: [sc 1, invdec 1] 6 times (12)
Stuff mostly.
Rnd 15: invdec 1, sc 2, invdec 4 (7)
Rnd 16: invdec 1, sc 1, invdec 1, stop early (5)
Cut the yarn and pull through. Stuff fully using a stick or the back of your crochet hook before sewing closed. (See next section for detailed instructions)
06
Sewing Closed
1:27:41
To sew closed, after stuffing fully, thread the tail end onto a darning needle. Work the needle and tail end through the FLO (front loops only) of the last 5 sts of the last Rnd of the body. Pull tightly to close shut, and hide the end back into the body before cutting it close.


Other patterns to try


Community posts
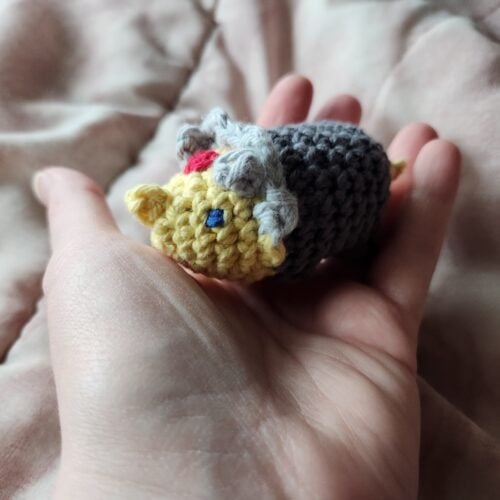
Community Showcase
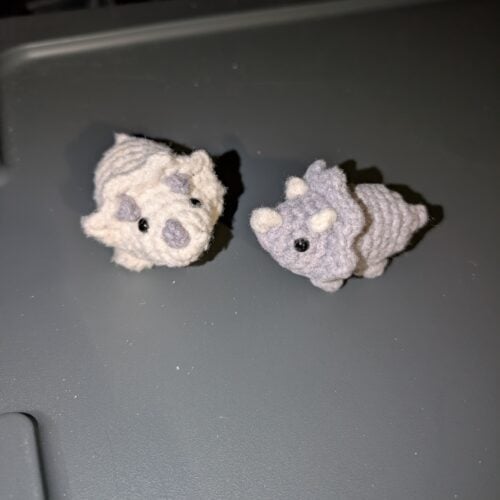
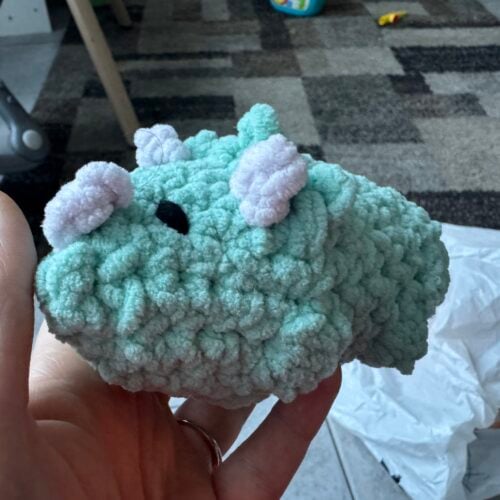
Lil triceratops
Submitted by christmas0310
Slug
Submitted by @StarProwlerKnits
Larry
Submitted by coreyv

Triceratops
Submitted by fox-girl
Triceratops Dinosaur
Submitted by kasey1418
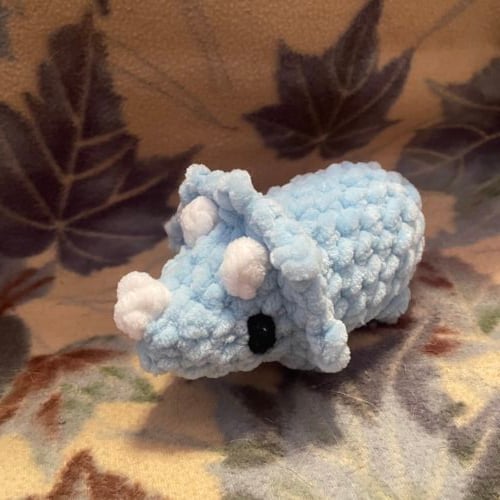
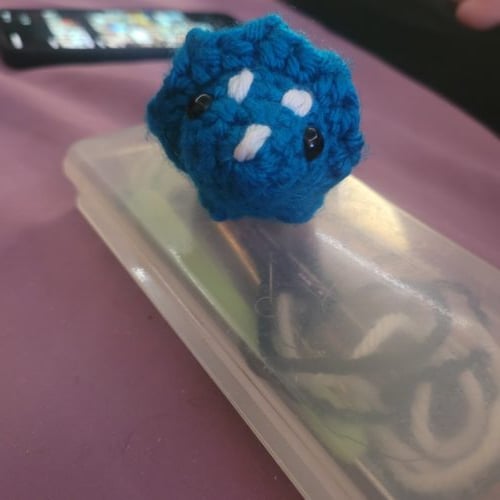
adorable blue triceratops
Submitted by maya123
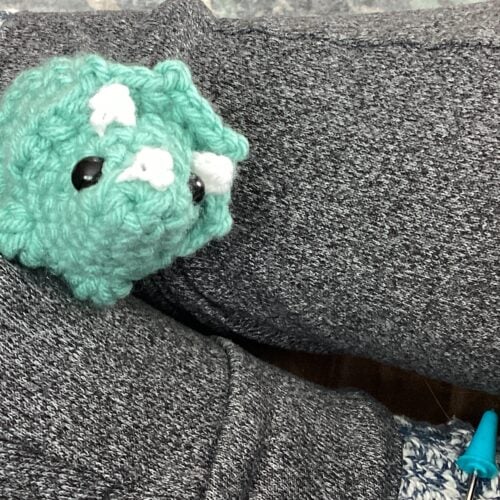
Triceratops
Submitted by Instagram @shannon_tomlo
Submitted by beccymcn

Submitted by samsleep
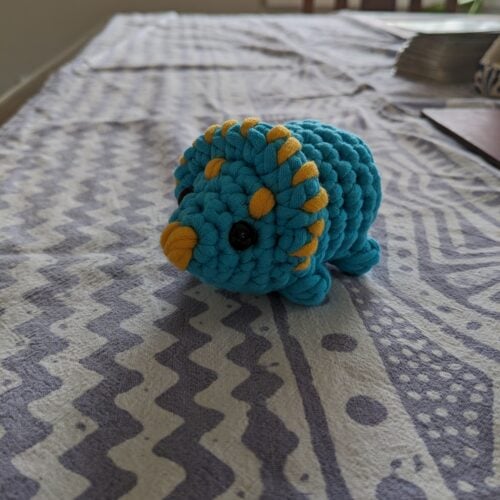
Triceratops
Submitted by blair_dunday


Just found this video yesterday, so easy to follow. Have already made 2 for our local hospital in Beaudesert Australia, for sick kids attending the E.D. department. One thing on the instructions above the m.p. Mini Picot has been omitted from the abreviations.
this pattern is
awesome, thank you for the website
Thank you for the free pattern and helpful video! Where can I post a picture of my completed triceratops?
You can post it on Instagram
Thanks for the design, I hope to make some soon! 🙂
I LOOOOOVE this pattern, it was so easy. I’m gonna make some in different colours for my friends. Thank you s much
Hi,
The reason I am writing this publicly and not through a DM is that it makes me angry and sad at the same time, how these people are treating you right here on your page and spread hateful things all over on facebook about you, because I think you don’t deserve it.
Don’t mind the hate comments Louie, what they are doing to you is totally unfair. They stole your free pattern and tried to make money out of it, you have every right to be upset. You tried to communicate this a civilized way, nothing wrong with that.
I am with you on this. Keep up the good work, I love your patterns, tutorials and ideas very much.
hey lowie it says that you have to sew the horns onto the back and head
This was my first crochet stuffed animal and it was so much fun to make!