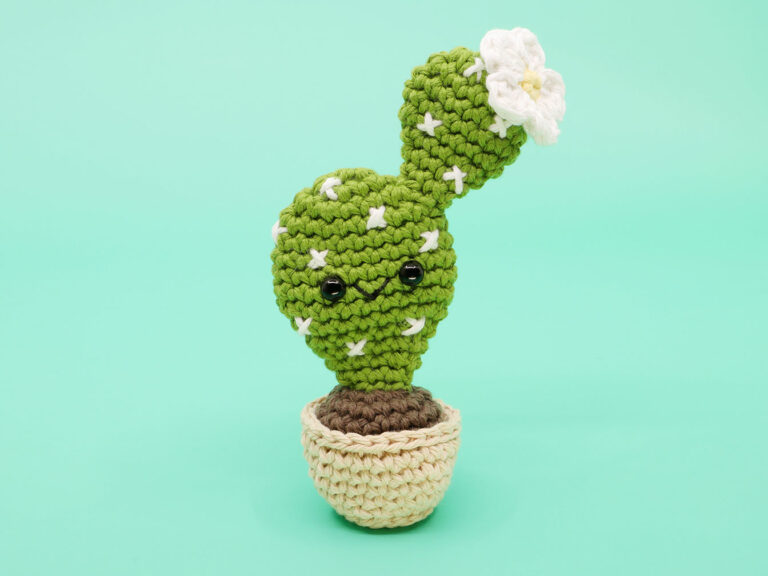
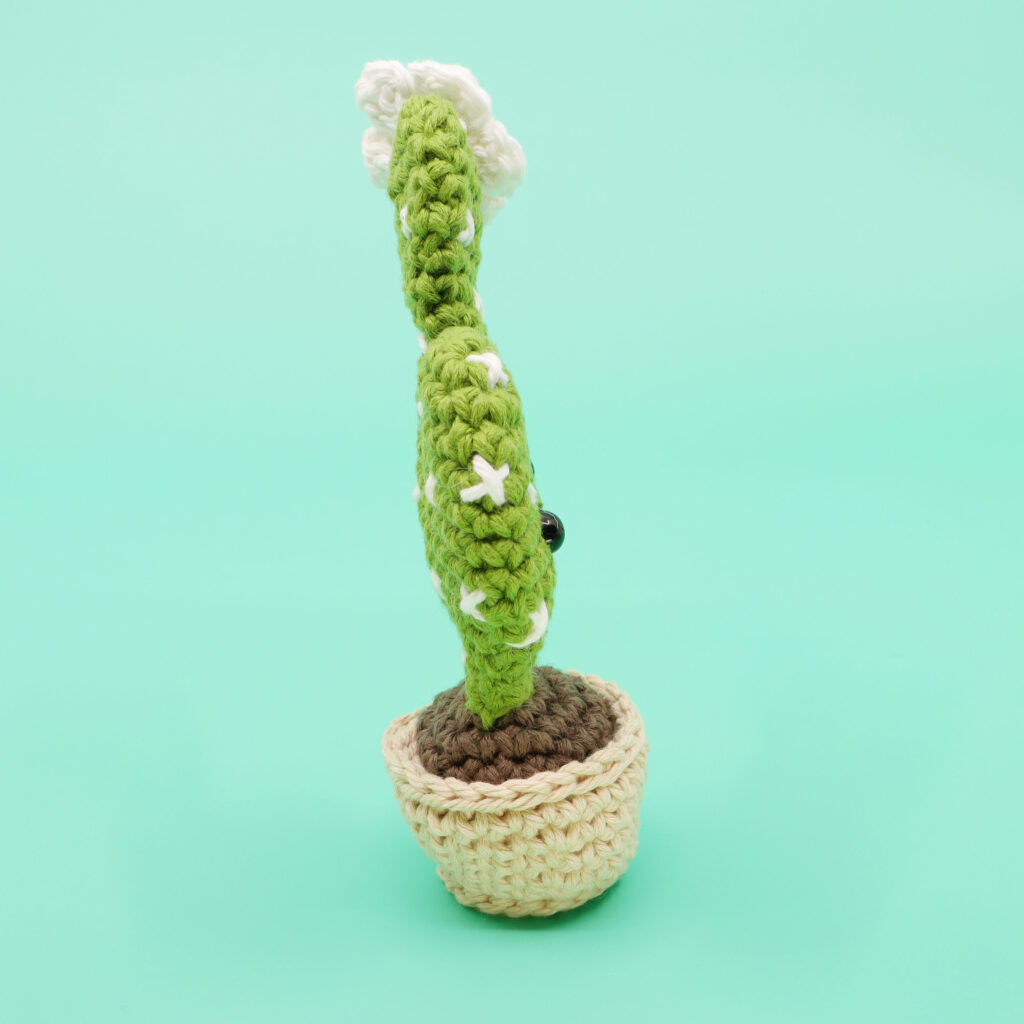
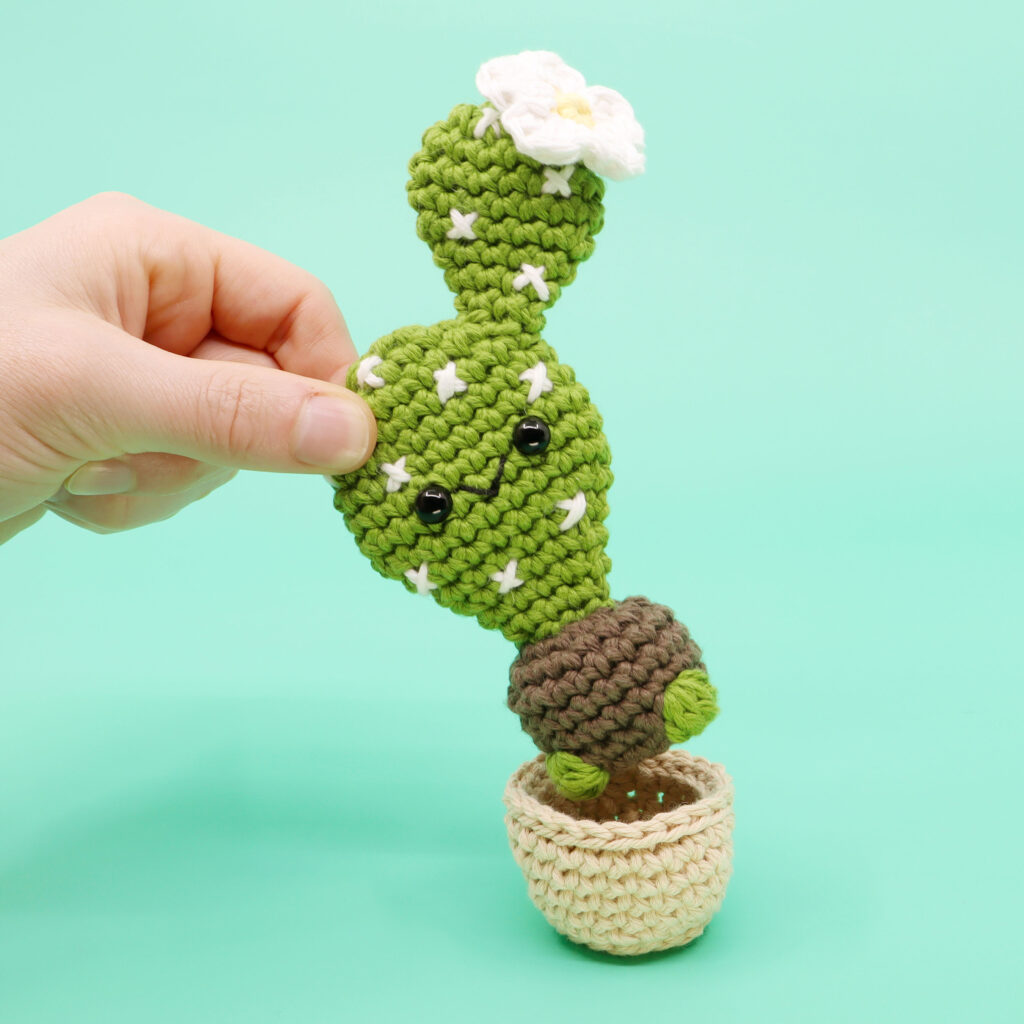
Franky the Flat Cactus Amigurumi

Medium
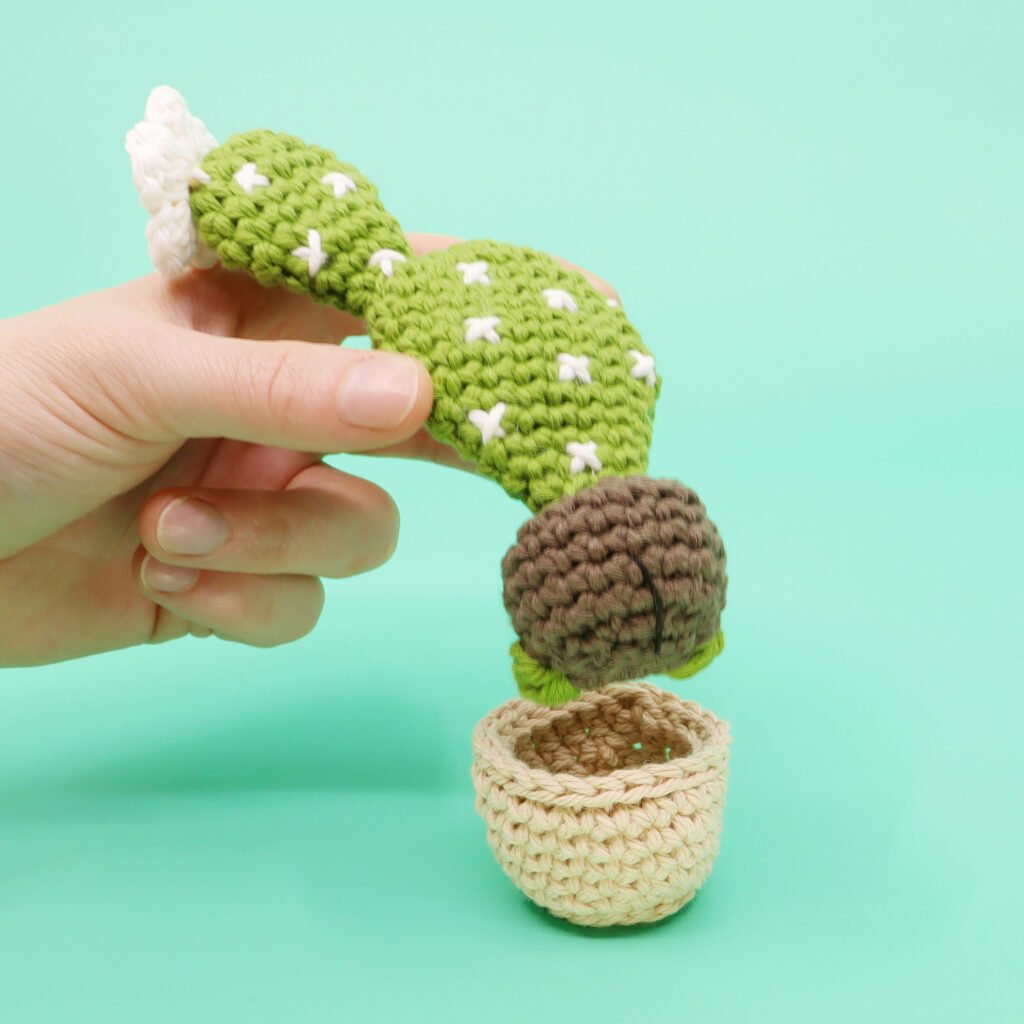
In this amigurumi crochet pattern we’ll be crocheting a flat cactus! This flat cactus amigurumi pattern is designed to teach you how to sew together pieces, as well as a new technique for adding secure spikes on your cactus. This tutorial is designed for crocheters with some slight experience, but includes a full length video tutorial just in case, so you never miss a stitch!

Louie's Loops
Designed by


What you'll create

What you'll learn
01 Flat Cactus Body
02 Adding Faces
03 Flat Segment
04 Small Dirt Filler
05 Adding Feet
06 X Stitch Spikes
07 Normal Flower
08 Small Pot
What you'll need

Cotton Yarn
Weight

Colors
Green (Main color)
Beige (Pot)
Brown (Dirt color)
White or Black (Spikes and Flower)
Yellow (Flower)

Crochet Hook
G6 / 4.00 mm

Safety Bead (x2)
8mm
Black Thread (Face)

Stuffing

Darning Needle
Abbreviations used
ch
Chain Stitch
st
Stitch
slst
Slip Stitch
sc
Single Crochet
inc
Increase
invdec
Invisible Decrease
FLO/BLO
Front / Back Loops Only
dc
Double Crochet
hdc
Half-Double Crochet
bo
Bobble Stitch (4-dc bobble)
Useful information
Gauge
5 Rnds and 4 sts per 1”
Size
about 5 inches long
Worked
In the Round


Pattern steps
01 Flat Cactus Body
[All in Green]
Magic loop
Rnd 1: sc 6 into the magic loop (6)
Other patterns to try


Community posts
Community Showcase
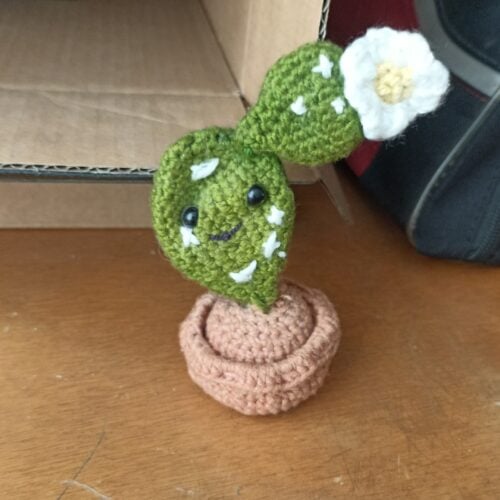
Cactus
Submitted by @federicogarcia532
You need an account to submit your photo.


