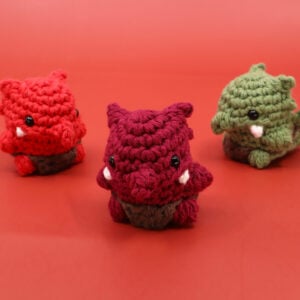
Dragon Amigurumi

Hard

Louie's Loops
Designed by


What you'll create


What you'll learn
What you'll need

Cotton Yarn
Weight

Colors

Crochet Hook
G6 / 4.00 mm

Safety Bead (x2)
6 mm

Stuffing

Darning Needle
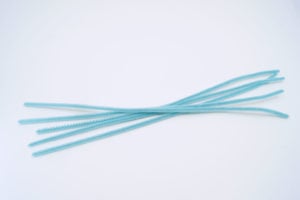
Pipe Cleaners
Abbreviations used
ch
Chain Stitch
st
Stitch
slst
Slip Stitch
sc
Single Crochet
inc
Increase
invdec
Invisible Decrease
FLO/BLO
Front / Back Loops Only
dc
Double Crochet
hdc
Half-Double Crochet
tr
Tripple (Trebble) Crochet
sc2tog
Single Crochet 2 Together
sbo
Spiky Bobble Stitch
mp
Mini Picot
Useful information
Gauge
5 Rnds and 4 sts per 1”
Finished piece is about 11” long
Worked
In the Round unless otherwise stated
Useful Tutorials

Pattern steps
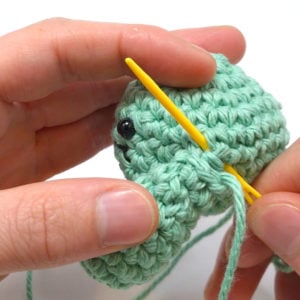
01 Arms
[All in Color A]
Magic loop
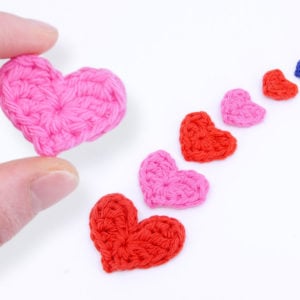
How to crochet the Spiked Bobble (aka “sbo”)
(7:20)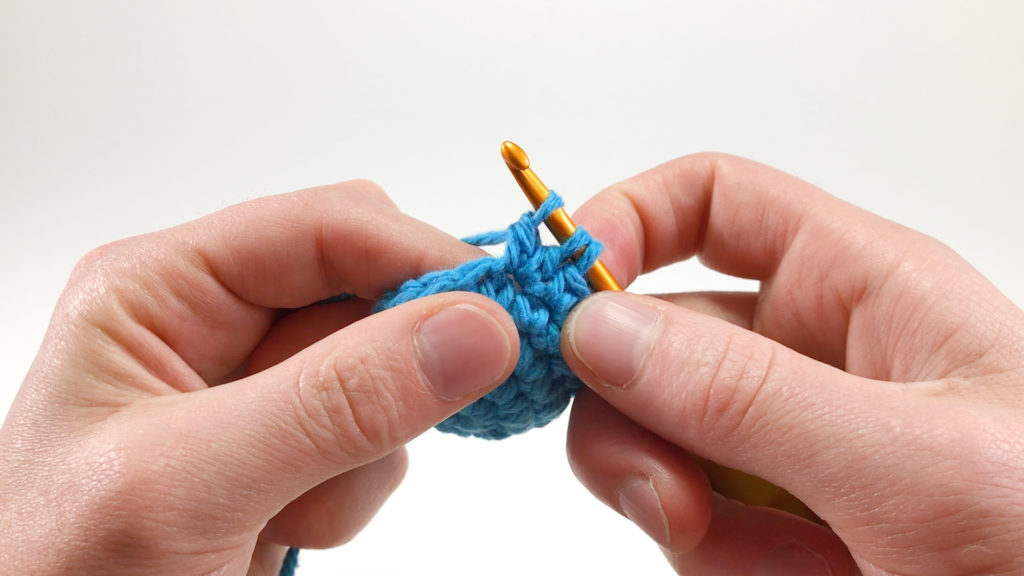
Step 1: Work 2 double crochet into one stitch, leaving the last loop of each on the hook.

Step 2: With the loops still on the hook, work a mini picot (ch 2, sl.st into the 2nd ch from the hook)
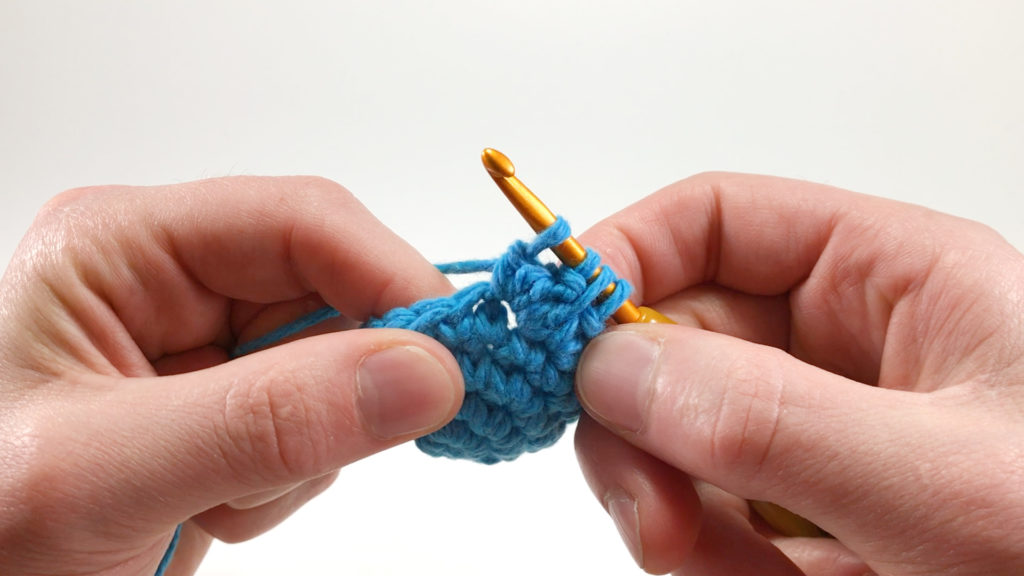
Step 3: Work 1 more double crochet into one stitch, leaving the last loop of each on the hook.
Other patterns to try


Community posts
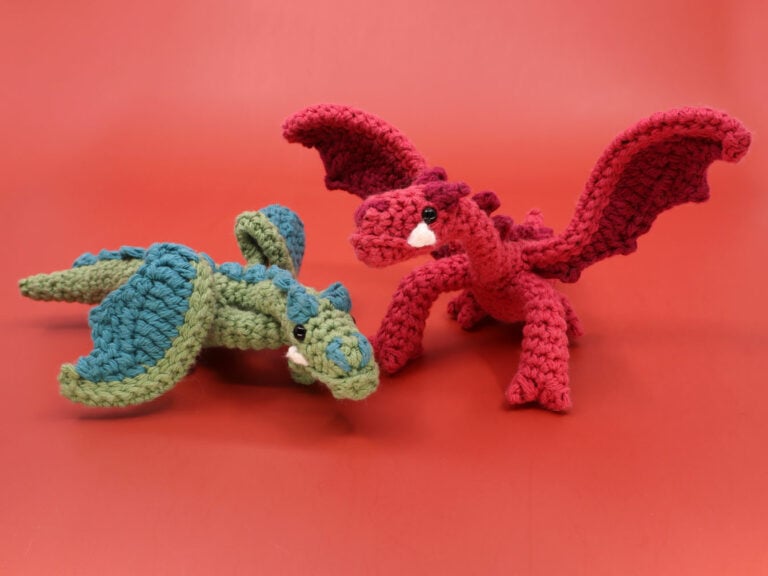
Community Showcase
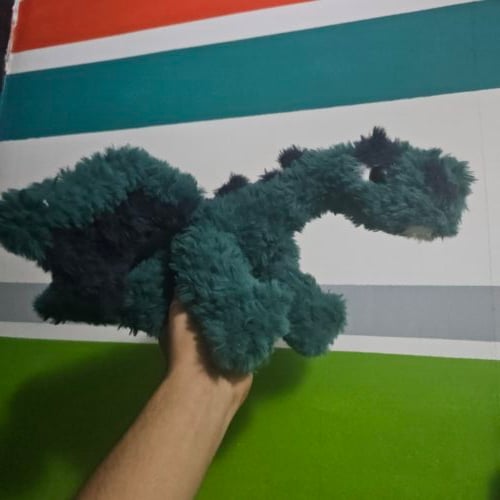
Big dragon
Submitted by chufe

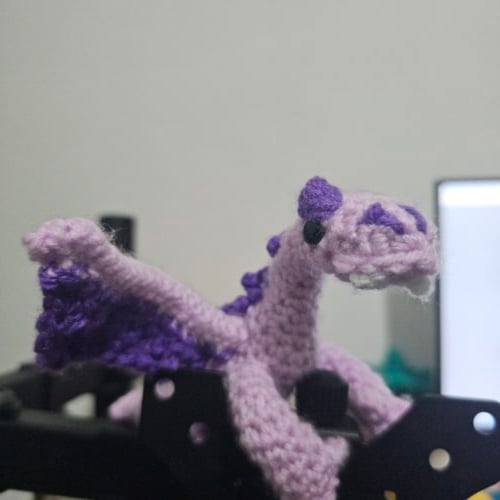
Dragon
Submitted by @federicogarcia532

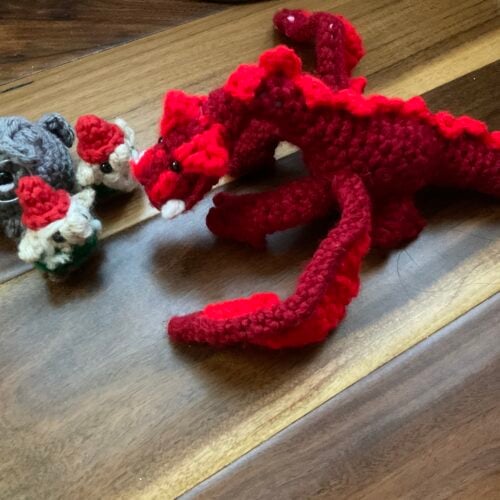
Mighty beast
Submitted by rezi
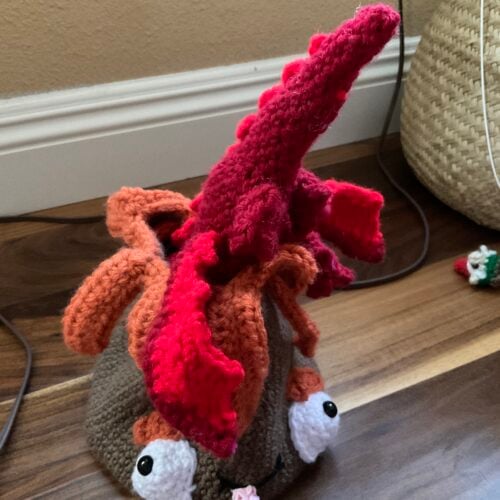
The dragon retreats
Submitted by alexander_hu


Amazing can’t wait for the kiy
Kit
Love it! Quite a challenge for me. Going to make a couple more to get the limbs right and of course try different colours.