What did Navi say when Link couldn’t open the door?
“Triforce”
I originally made this shield for a crocheted Link finger puppet, but I thought this would make a pretty cool pin!
The Materials:
•The Yarn (Worsted Weight)
– Blue (Shield / Sword)
– Grey (Shield / Sword)
– Yellow (Triforce)
– Red Thread (Sheild Detail)
•Size G6/4.00mm Hook
•Stuffing
•Needle
Gauge : 5 Rnds and 4 sts per 1”
Finished piece is about 2” tall
Worked in the round
The Stitches:
– Ch : Chain stitch
– St : Stitch
– Sl.st : Slip Stitch
– Sc : Single Crochet
– Dec/Inc : Decrease/Increase
– M.p : Mini Picot (Ch 2, sl.st in BLO of the 2nd ch from the hook)
Color Changes:
[See Color PDF for full instructions and video]
This pattern requires a few color changes. Be sure to check the note at the end of each Rnd before you make the round to know when to change colors. Carry colors required for each round along with you before you need to do a color change.
For color changes with Color/Color (ex: 1 Red/Blue), make the first pull through with the first color (Red), and next with the second color (Blue)
Color Abbreviations:
Grey = Gr
Blue =Bl
The Pattern
[Starting in Bl (Blue)]
Ch 2 or use magic loop method
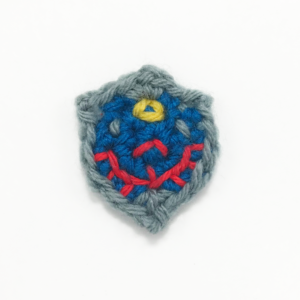
(02:42) Rnd 1: Work 6 sc in 2nd ch from hook or into magic loop (6) [All Bl]
(03:36) Rnd 2: inc (sc 2) in each st around (12) [All Bl]
Rnd 3 has strange color changes in it, so for this Rnd only I’ll be placing the color changes after the sts to make it easier.
(05:00) Rnd 3: M.p (Gr), sc 1 (Gr/Bl), inc with ch 1 between sts (Gr), sc 1 (Gr/Bl), M.p (Gr), sc 4 (Gr/Bl), inc with m.p between sts (Gr), sc 3 (Gr/Bl), sl.st (Gr)
Cut the yarn, pull through leaving a somewhat long end.

(10:15) Hide the Grey end by going around the first m.p made, then going back into the last sl.st made. Hide the Blue end into the sts going towards the center.
(13:38) Embroider on a Triforce triangle using Yellow yarn.
(15:55) Embroider on a bird using Red thread or Red yarn split in two.
(22:00) Embroider on the Grey markings by using the tail end.
Use the two Blue ends (the one from
the beginning and the end) to sew
the shield onto Link.
This tutorial is brought to you by…
• Monthly patterns and projects
• Full video tutorials for each pattern
• Access to the Club Crochet® Library
• Kits mailed directly to your door with all the materials to make one of that months patterns.