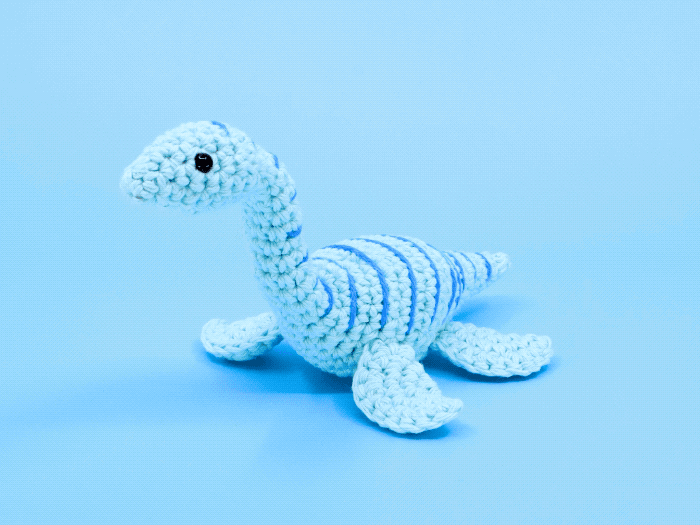
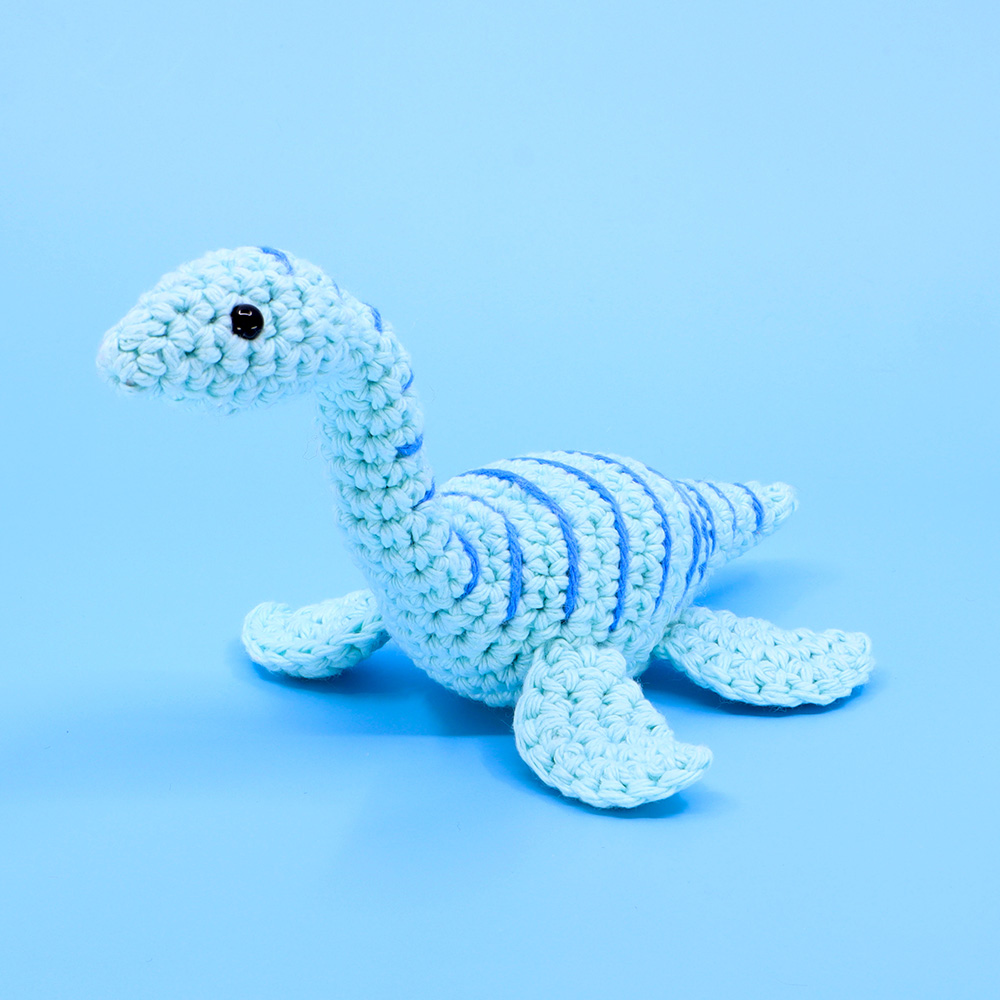
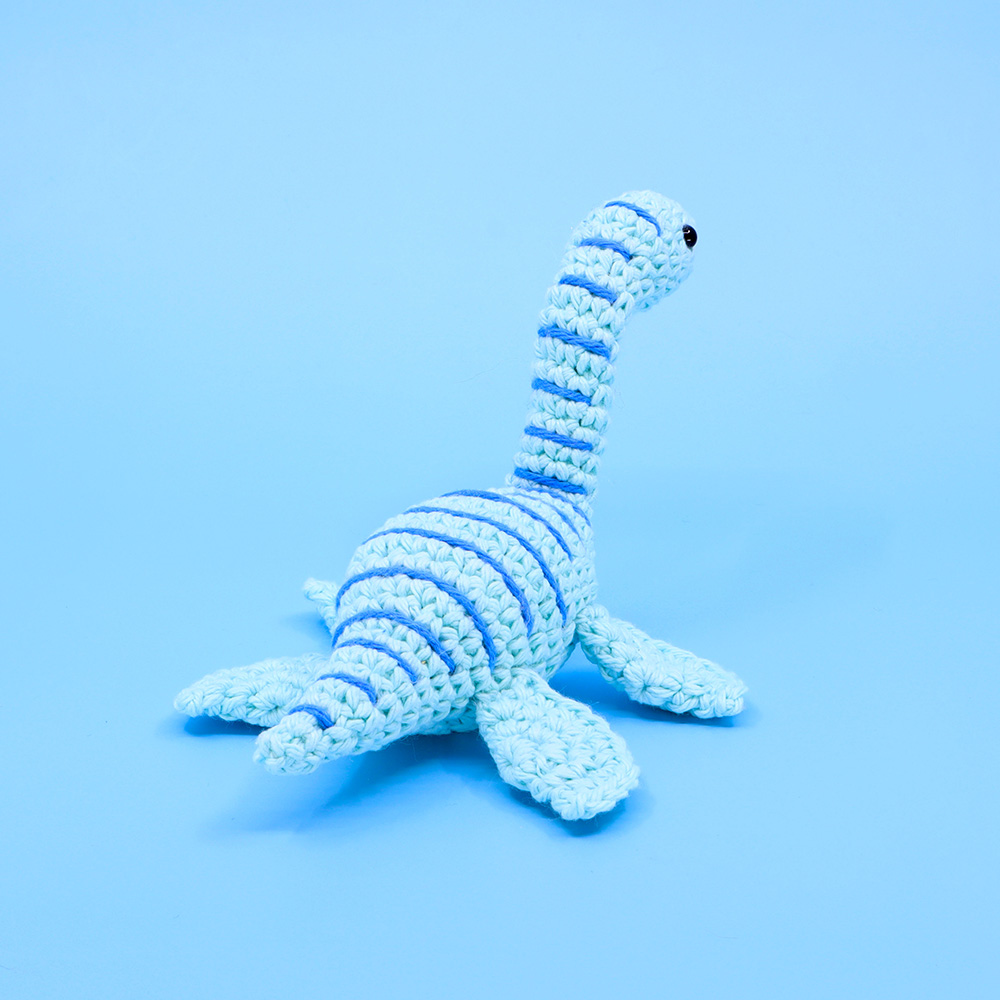
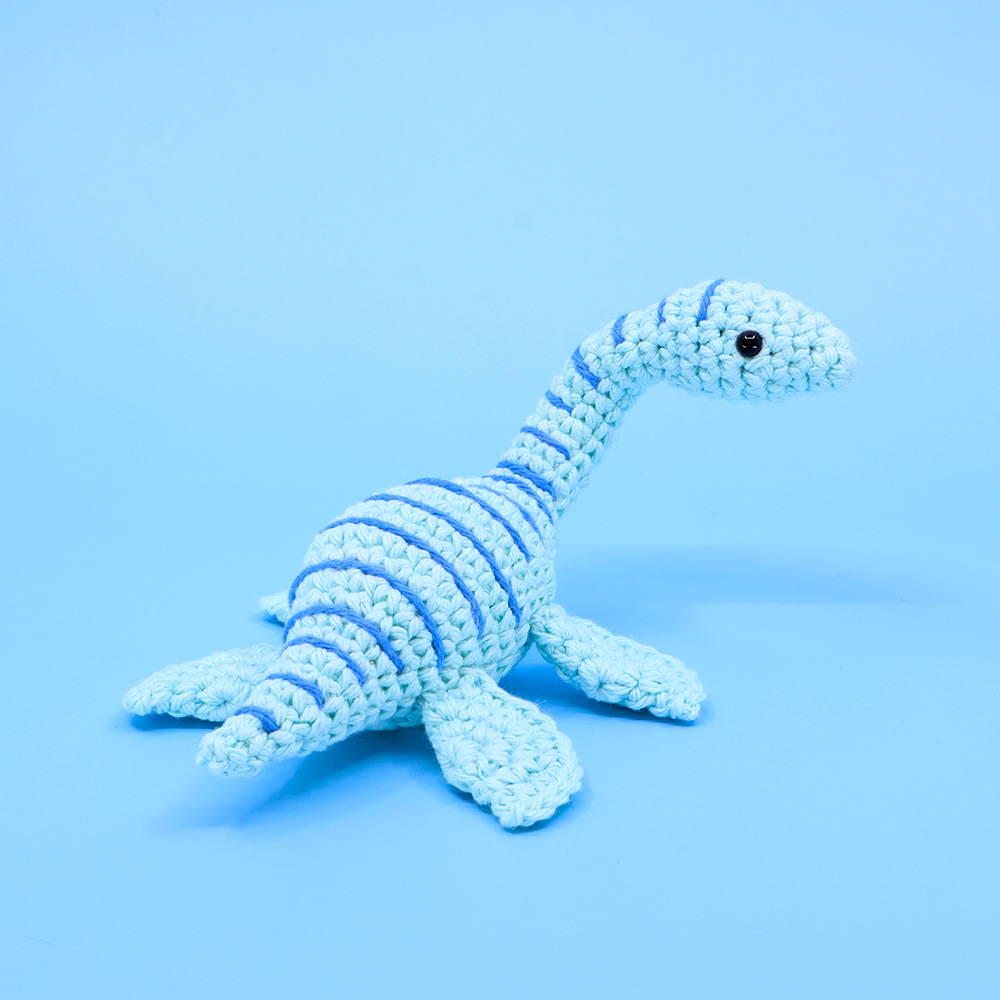
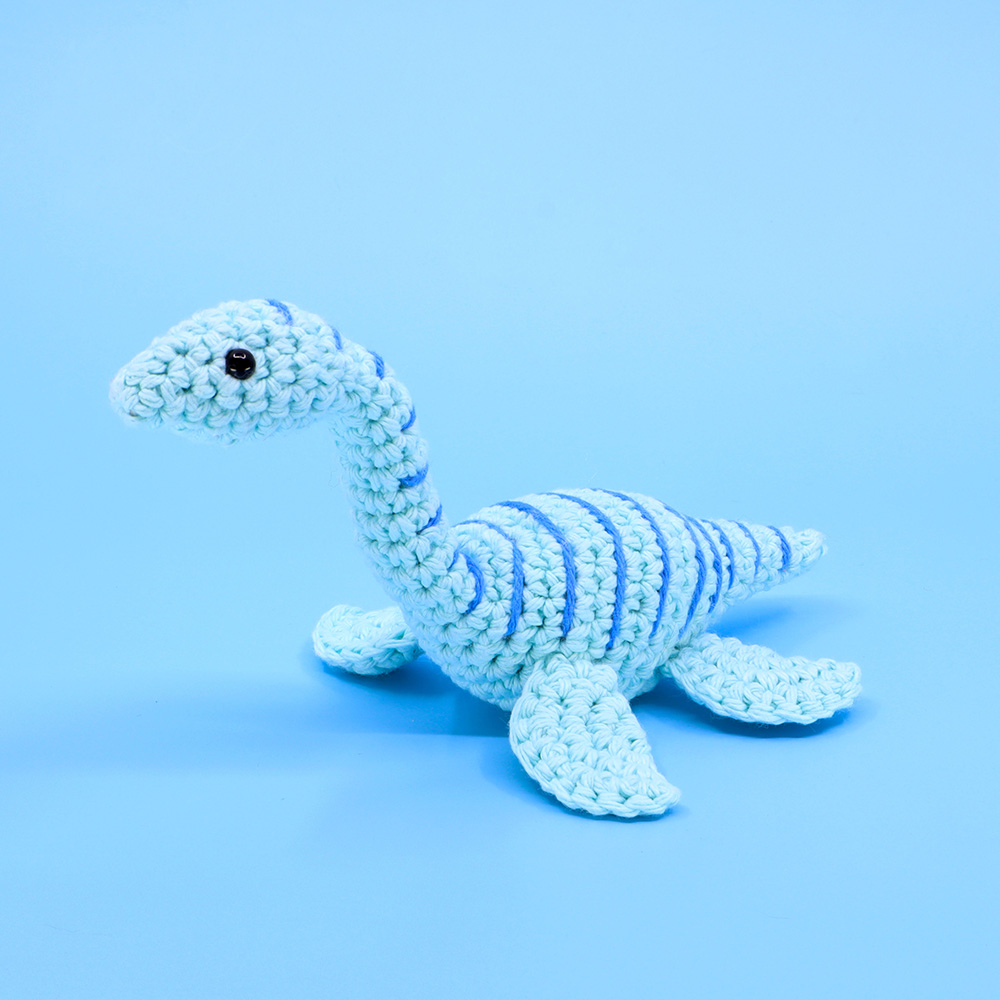
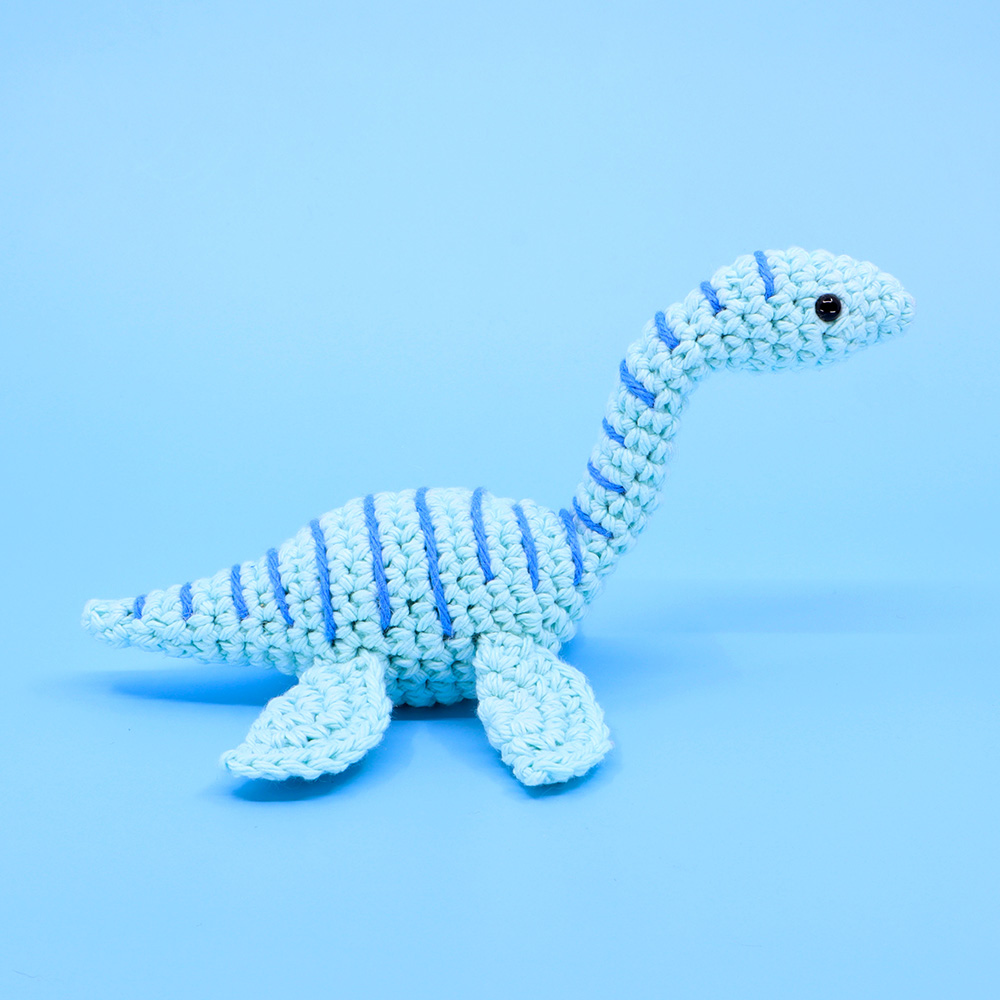
Plesiosaur Dinosaur Amigurumi

Easy
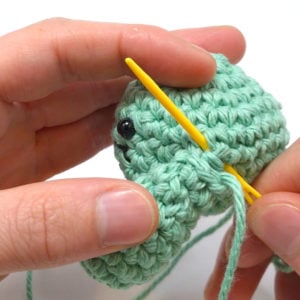
In this amigurumi crochet pattern we’ll be crocheting a Plesiosaurus! Plesiosaurs are long necked water dinosaurs from the Triassic Period somewhat resembling the Lock-Ness Monster or even Lapras from Pokemon. This amigurumi crochet pattern is pretty easy and beginner friendly, most of it is relatively straight forward, but we’ll be using a new technique for seaming the fins together with out using a needle that I think you’ll really enjoy.

Louie's Loops
Designed by


What you'll create

What you'll learn
What you'll need

Cotton Yarn
Weight

Colors
Color A (Main)
Color B (Secondary)

Crochet Hook
G6 / 4.00 mm

Safety Bead (x2)
6 mm

Stuffing

Darning Needle
Abbreviations used
ch
Chain Stitch
st
Stitch
slst
Slip Stitch
sc
Single Crochet
inc
Increase
invdec
Invisible Decrease
FLO/BLO
Front / Back Loops Only
Useful information
Gauge
5 Rnds and 4 sts per 1”
Size
Finished piece is about 3” tall
Worked
In the Round (unless otherwise stated)
Useful Tutorials

Pattern steps
01 Fins
[All in Color A]
Magic loop
Rnd 1: working in the magic loop, sc 6 (6)
Other patterns to try


Community posts
Community Showcase
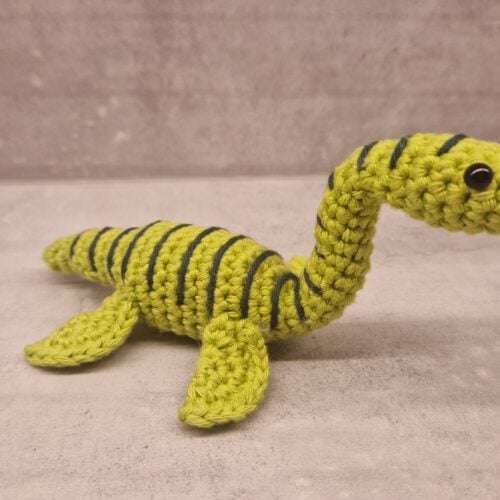
Green Plesiosaurus
Submitted by lagommycket
You need an account to submit your photo.


Hmmmm don’t like the fact that you have to become a member and pay 6 dollars a month or wait a long time to earn credits to unlock the pattern….Besides that the pattern itself is really good.
Hey I saw the even more mini one where can I find that I’m making a set for a preschool clas and I think it’d fit better
I love how the result looks
just joined club crochet because I saw this Plesiosaur pattern. I’m a beginner but followed along (the end product looks a bit wonky but I’ll work on that) Plesiosaurs are my favourite dinosaur and now I get a miniature one! super awesome!!!!
That’s adorable! Love your patterns.