Super Mario Amigurumi

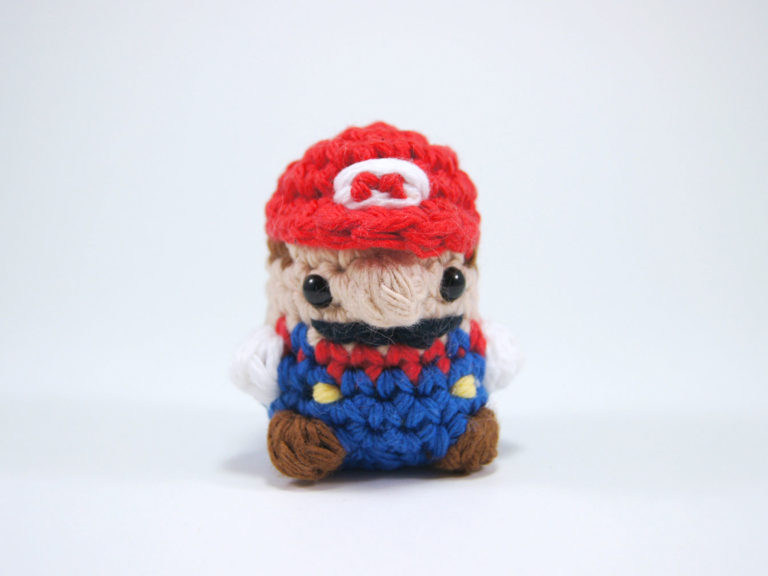
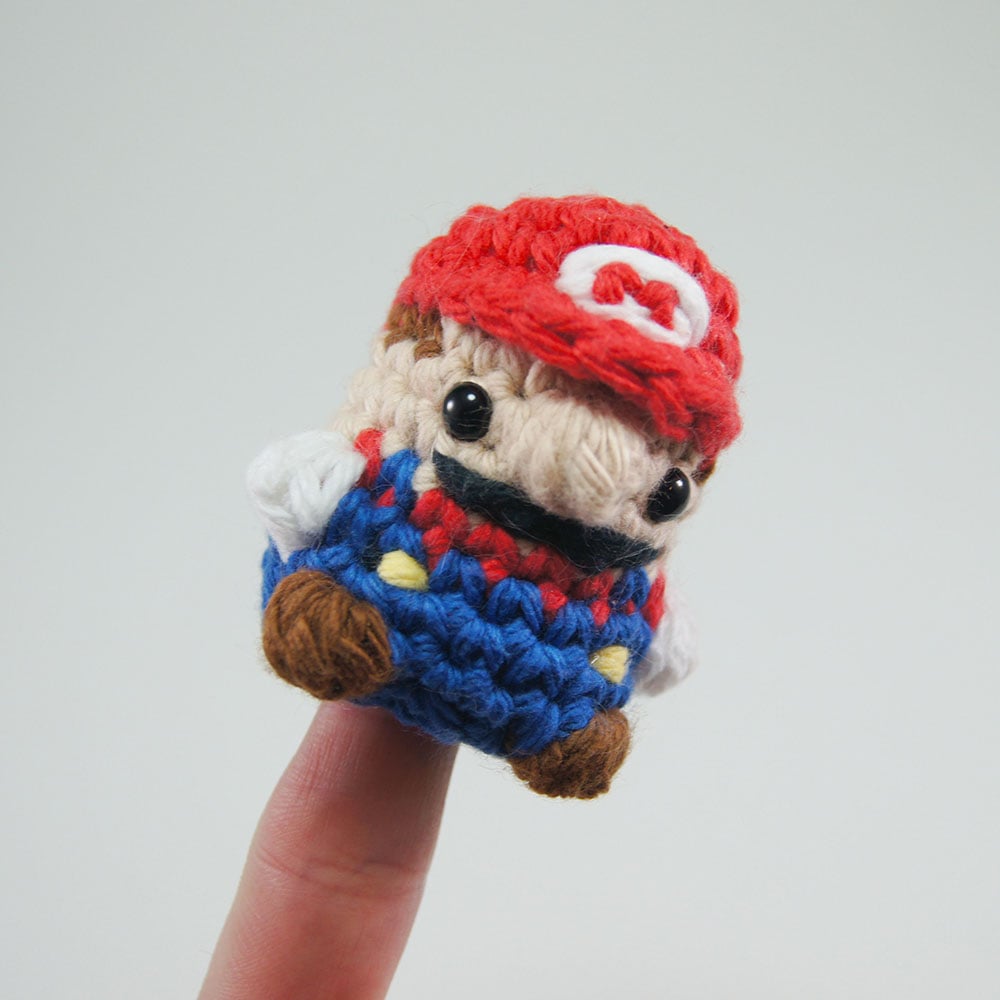
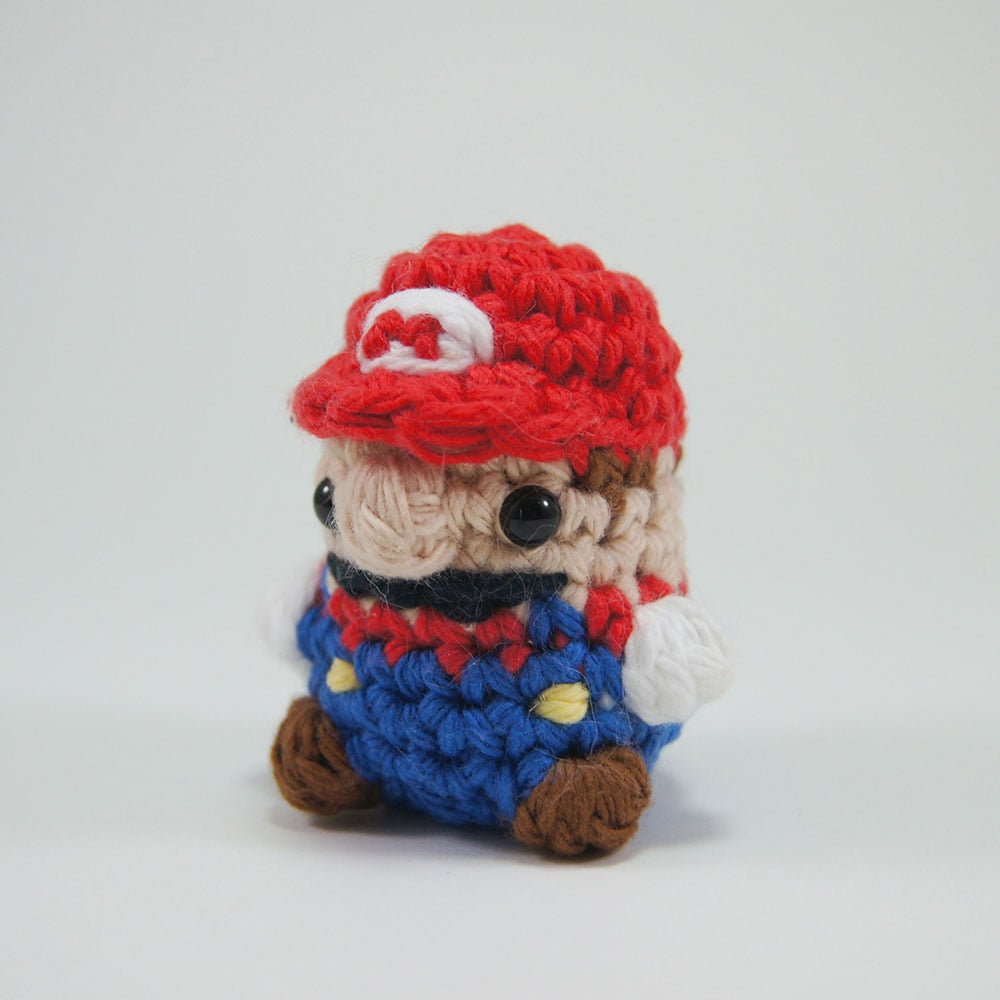
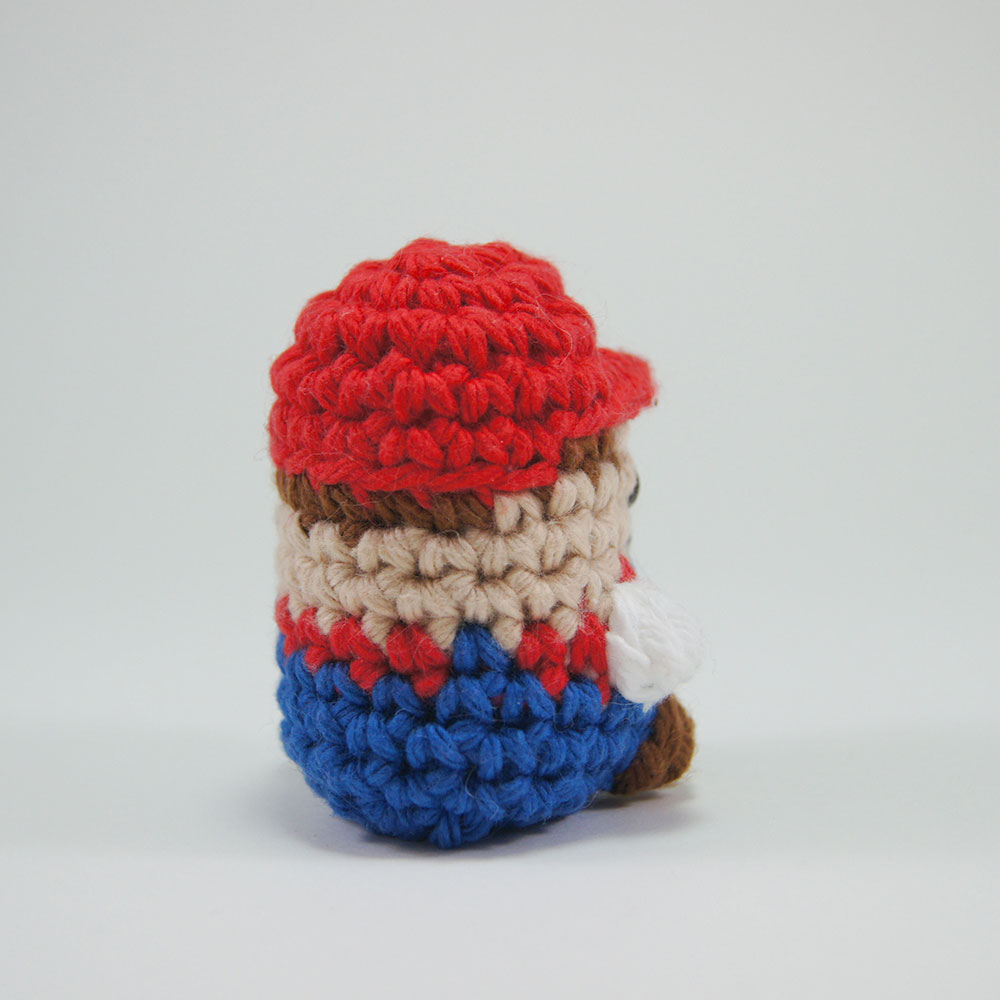
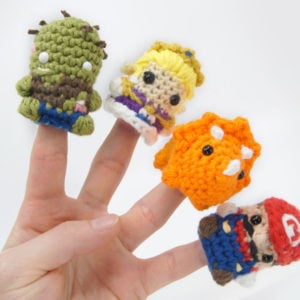
In this lesson, we’ll be crocheting our favorite Italian plumber, Mario from Super Mario Bros! This amigurumi pod-person pattern is no-sew, and can even be made into a finger puppet!

Get this pattern with a Pattern Membership ($5/month) or by purchasing.

Already have access? Log in here

What you'll create

What you'll learn

What you'll need

Cotton Yarn

Weight

Colors

Beige (Skin)
Brown (Hair and Shoes)
Blue (Pants)
Black (Mustache)
Yellow (Buckles)
Red (Shirt)
White (Arms and Hat)
Crochet Hook Size G6 / 4.00mm

Crochet Hook

G6 / 4.00 mm

Safety Bead

6 mm

Stuffing

Darning Needle

Abbreviations

ch

Chain Stitch

st

Stitch

slst

Slip Stitch

sc

Single Crochet

inc

Increase

dec

Decrease (Sharp)

invdec

Invisible Decrease

FLO/BLO

Front / Back Loops Only

bo

Bobble Stitch (4-dc bobble)

yo

Yarn Over

Other Useful Info

Gauge

5 Rnds and 4 sts per 1”
Finished piece is about 2.5” tall

Worked

In the Round unless otherwise stated

Color AAbbreviations

Br = Brown
B = Blue
R = Red
T = Tan
W = White

- Season 8 -

Get some sand in your stitches with this new season inspired by beaches and shores!

The Pattern

Use the checkboxes to track your progress
(1:23) The time codes match to the pattern video

01Body

[Starting in Red] (for Luigi replace Red with Green throughout this pattern)
Ch 2 or use magic loop method

Rnd 1: Work 6 sc in 2nd ch from hook or into magic loop (6)

Rnd 2: inc in each st (12)

Rnd 3: [sc 1, inc] repeat 6 times (18)

Rnd 4: sc in each st (18)

*Split:
This technique involves pulling through with two separate strands of yarn and working into the FLO and BLO with each loop to create a flap.

We will do a split in the following Round (Rnd 5). Pull through with two loops of yarn to complete Rnd 4, one in Red and one in Beige.

Rnd 5A: Using the Tan loop: Working into the BLO, sc 6. Cut the yarn and pull through. Go back to the Red loop.

Rnd 5B: Using the Red loop: Working into the FLO, sc 1, hdc 4, sc 1.

Working into both loops and around the cut tail end of the Tan loop, sc 10

[Change to Brown]

Working into the BLO, sc 2 (18 total)

Color changes start here. Check the end of Rnds for color changes.

Rnd 6: Working into the tan sts from Rnd 5A, sc 6, working in BLO, sc 10, working in both loops, sc 2 (18)
[6 T, 2 Br, 1 T, 6 Br, 3 T]

Click here for help with the bobble stitch (bo)

Rnd 7: sc 3, bo 1, sc 14 (18) [All Tan]

Rnd 8: sc in each st (18) [All Tan]
(For Luigi, repeat Rnd 8)

Embroider on the Logo on the hat using white yarn, then red yarn for the letter “M”

Rnd 9: sc in each st (18)
[1 R, 1 B, 4 R, 1 B, 3 R, 1 B, 4 R, 1 B, 2 R]

Add eyes in the stitches around the nose (bo from Rnd 7).

Add a mustache under the nose in Black yarn.

Rnd 10: bo 1, sc 7, bo 1, sc 9 (18)
[1 W (bo), 7 B, 1 W (bo), 9 B]

Rnd 11: sc in each st (18) [All Blue]

Rnd 12: sc 2, bo 1, sc 4, bo 1, sc 10 (10)
[2 B, 1 Br (bo), 4 B, 1 Br (bo), 10 B]

Embroider two yellow buttons on the overalls in Rnd 9.

To turn your Mario into a finger puppet, stop pattern here and follow these instructions to finish.

Rnd 13: [sc 1, dec 1] repeat 6 times (12) [All Blue]

Rnd 14: dec in each st (6) [All Blue]

Stuff the piece, cut the yarn and pull through leaving a long enough end to sew closed.

Other Patterns You Might Like

- Season 8 -

Get some sand in your stitches with this new season inspired by beaches and shores!

Community Posts

Community Showcase

Crocheted this pattern? Be the first to show off your project by submitting a photo!

You need a Basic account or higher to submit your project.

3 thoughts on “Super Mario Amigurumi”

  1. ROW 6 HAS AN ERROR. skip the first 2 brown stitches and start with the tan color. This will equal 18 stitches and your face will be nice and aligned.

Leave a Comment