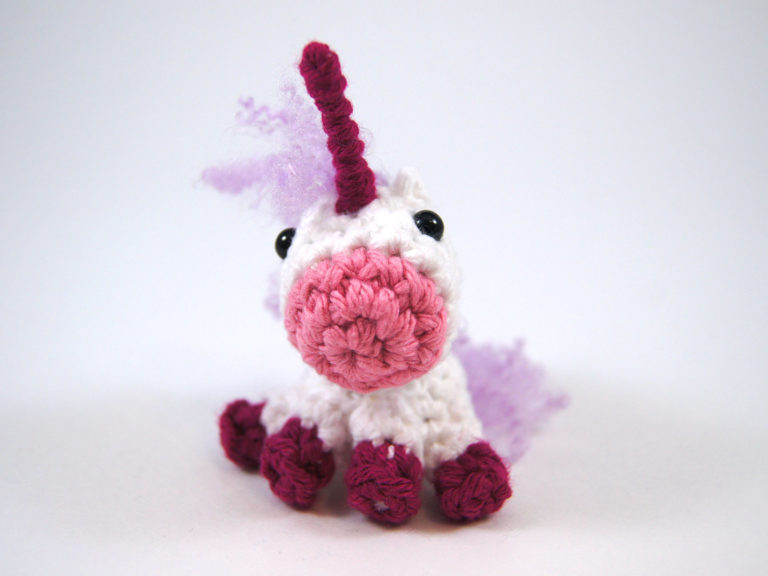
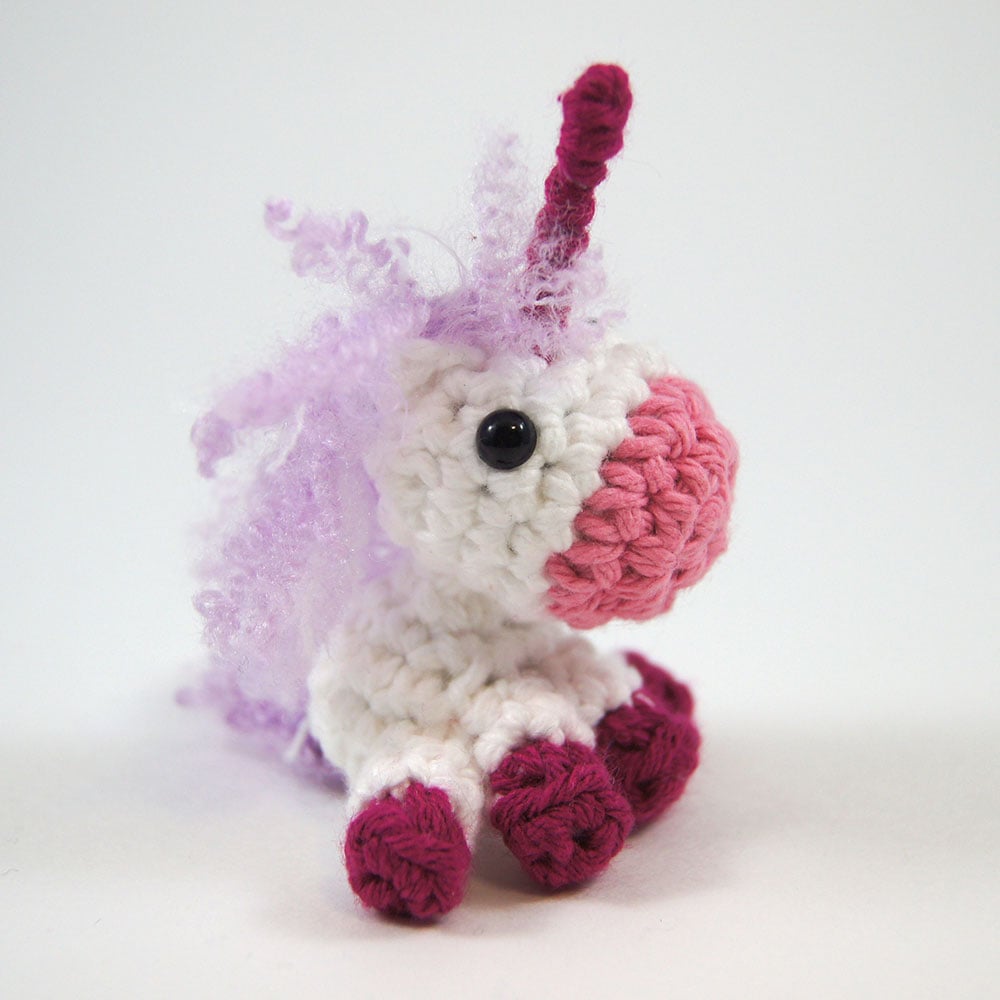
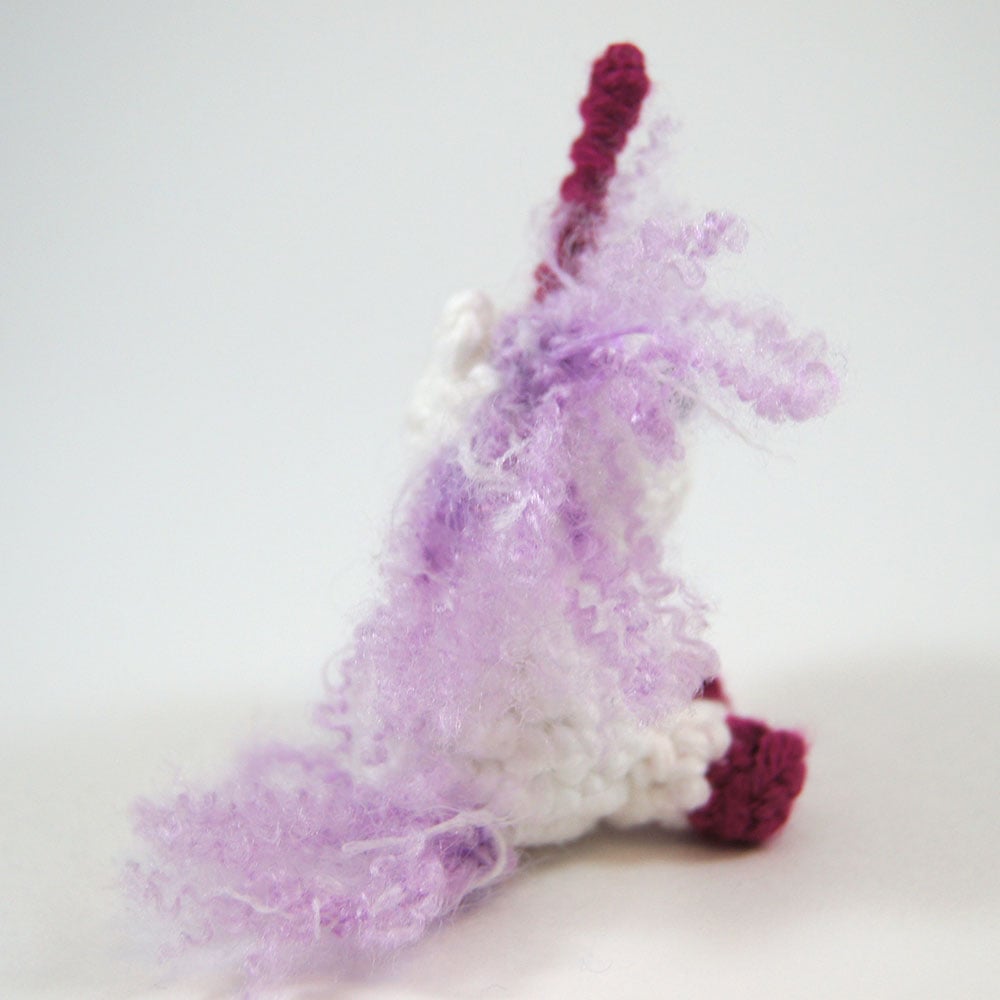
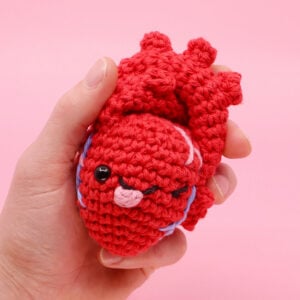
Unicorn Mini Amigurumi

Easy

Louie's Loops
Designed by


What you'll create


What you'll learn
What you'll need

Cotton Yarn
Weight

Colors

Crochet Hook
G6 / 4.00 mm

Safety Bead (x2)
6 mm
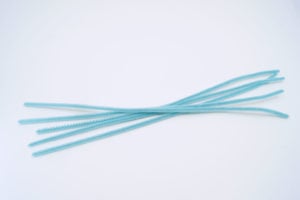
Pipe Cleaner

Stuffing

Darning Needle
Abbreviations used
ch
Chain Stitch
st
Stitch
slst
Slip Stitch
sc
Single Crochet
inc
Increase
dec
Decrease (Sharp)
invdec
Invisible Decrease
FLO/BLO
Front / Back Loops Only
Useful information
Gauge
5 Rnds and 4 sts per 1” Finished piece is about 2” tall
Worked
In the Round unless otherwise stated
Color Changes
This pattern requires a few color changes. Be sure to check the note at the end of each Rnd before you make the round to know when to change colors. Carry colors required for each round along with you before you need to do a color change.
For color changes with Color/Color (ex: 1 Red/Blue):
Make the first pull through with the first color (Red), and next with the second color (Blue).
Pattern steps
01 Ears
[All in Color A]
Ch 2, Working into the back loop of the 2nd ch from the hook, sc 1
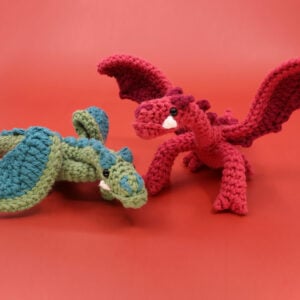
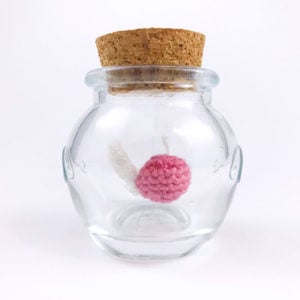
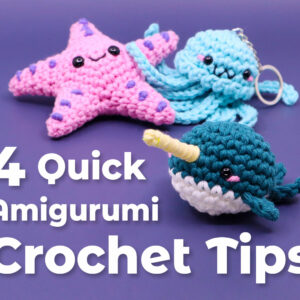
Other patterns to try


Community posts
Community Showcase
Crocheted this pattern? Be the first to show off your project by submitting a photo!


Error in written pattern:
Head: Round 2
Should read: ( SC 3 in 1 , Inc, SC ) repeat two times =12
I loved making this little guy! It’s my first one and I will try again.. didn’t quite get all of it right…. and that ok!
1