These time codes correlate to the video for this lesson
01
Crocheting Dots
(00:00)
We’ll be starting in the middle of a piece and using all single crochet stitches for this tutorial. Rnd 1 below is just the first round using color changes for these dots, not the first Rnd for your piece.
Rnd 1
sc 1 in half White, half Color A so that your White stitch is over the Color A.
Rnd 2
Starting in the half color change from Rnd 1, sc 2 in all white
Rnd 3
Starting in the first white st from Rnd 2, sc 3 in all white
Rnd 4
Starting in the 2nd white st from Rnd 3, sc 2 in half Color A, half White so that your Color A half is over the White half.
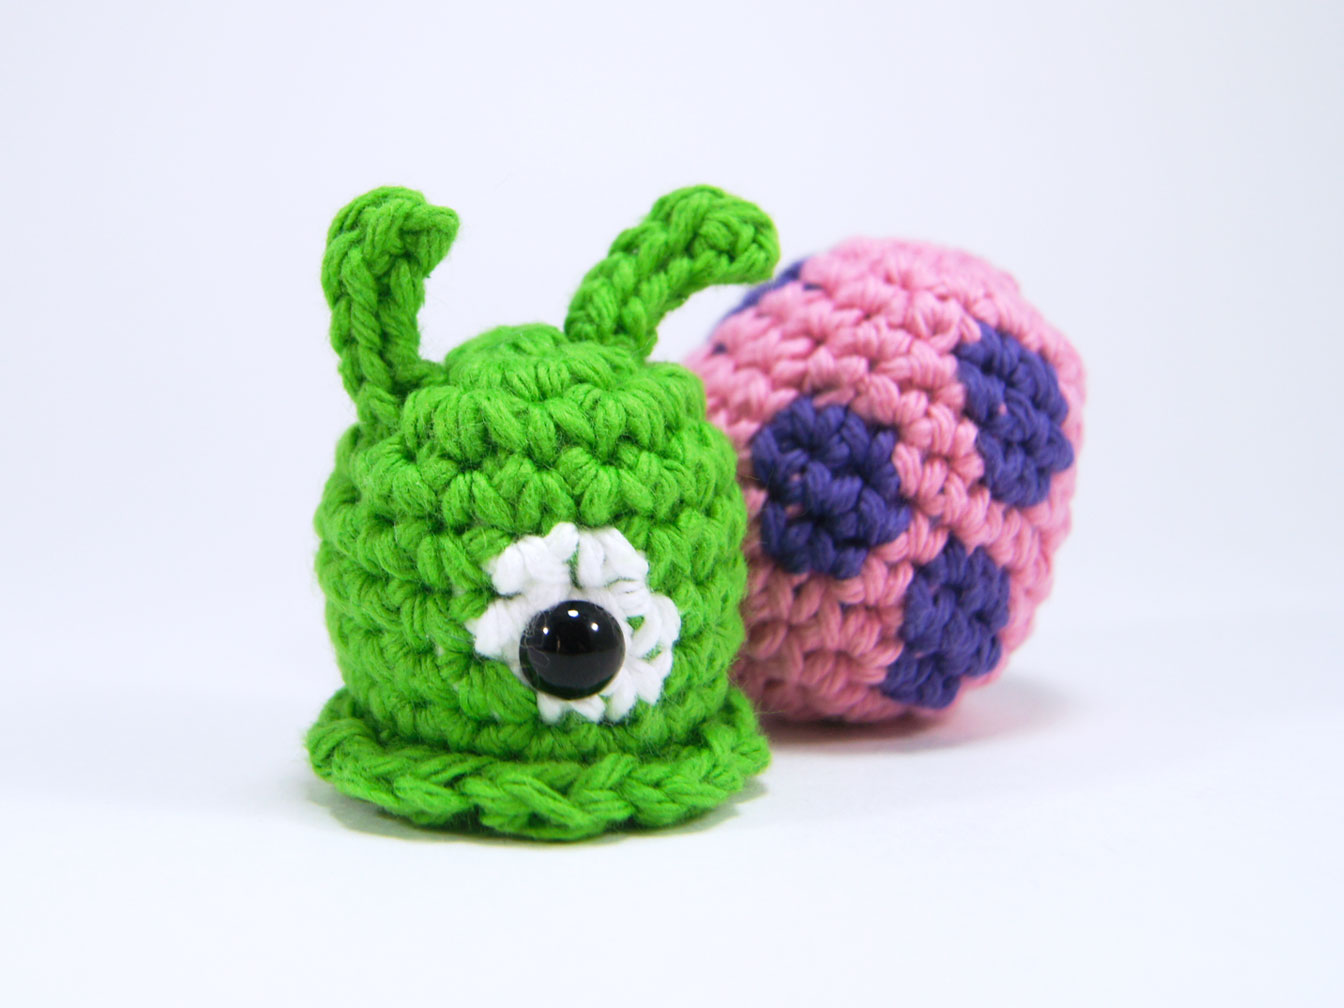
Continue your piece in all Color A. Use a safety eye to add an iris to your color changed dot!
Make sure that each dot is at least one stitch away from each other or it could get messy.


Thanks for the info!
There is something wrong with the video. It is all shakey