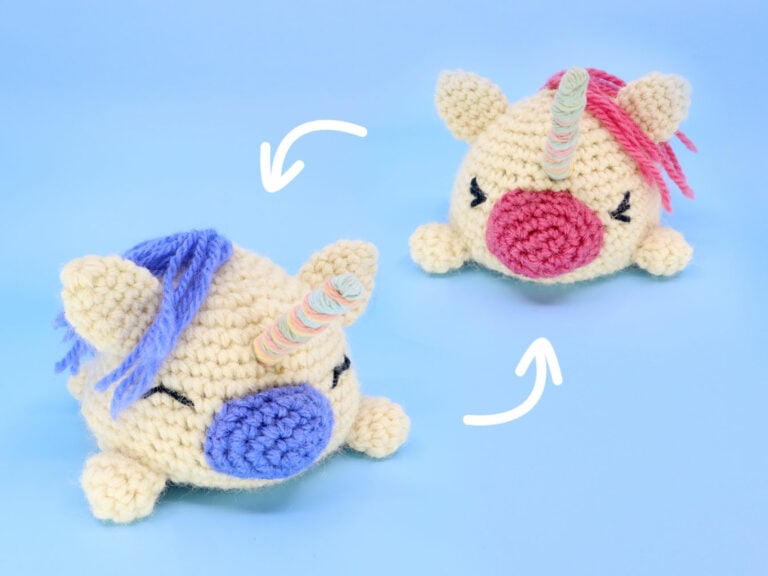
Reversible Unicorn Amigurumi

Beginner
In this amigurumi crochet pattern we’ll be making a reversible unicorn. This beginner amigurumi pattern features a full video tutorial along with it’s written instructions below.

Louie's Loops
Designed by


What you'll create


What you'll learn
What you'll need

Cotton Yarn
Weight

Colors
Off-White (Main)
Color A (Mane, Tail and Nose)
Color B (Mane, Tail and Nose)
Black (Eyes)
Rainbow (Horn)

Crochet Hook
G6 / 4.00 mm
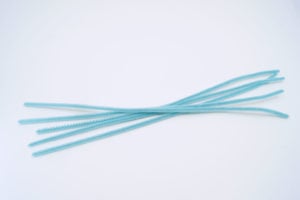
Pipe Cleaners

Stuffing

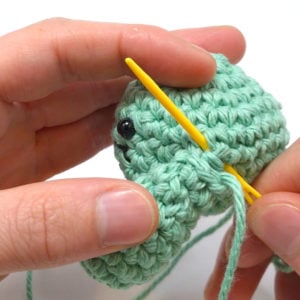
Darning Needle
Abbreviations used
ch
Chain Stitch
st
Stitch
slst
Slip Stitch
sc
Single Crochet
inc
Increase
invdec
Invisible Decrease
FLO/BLO
Front / Back Loops Only
Useful information
Gauge
5 Rnds and 4 sts per 1”
Size
Finished piece is about 3” tall
Worked
Worked in the round (without turning)
Useful Tutorials

Pattern steps
01 Feet
[All in Off-White]
Magic loop
Rnd 1: working in the magic loop, sc 6 (6)
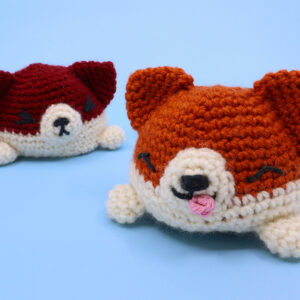
Other patterns to try


Community posts
Community Showcase
Crocheted this pattern? Be the first to show off your project by submitting a photo!
You need an account to submit your photo.


This pattern is so cute! I’ve made it for a friend’s birthday, I’m hoping they love it! Its the first pattern I’ve made by club crochet, and really, it was so fun and easy! The check boxes are really helpful to remind you what you’ve done, what you need to do, and they also helped keep me on task! But fyi there is a slight mistake on rows 19-23, it should be just sc around (42)!
It is Sc all, just said differently. If you are wondering what the x5 is, that means you repeat it for 5 rounds.
I love this pattern~ but just FYI, rows 19-23 should be sc crochet around (42)
My coworker loved the reversible corgi, I might have to make him a reversible unicorn to go with it!
This is really cool