
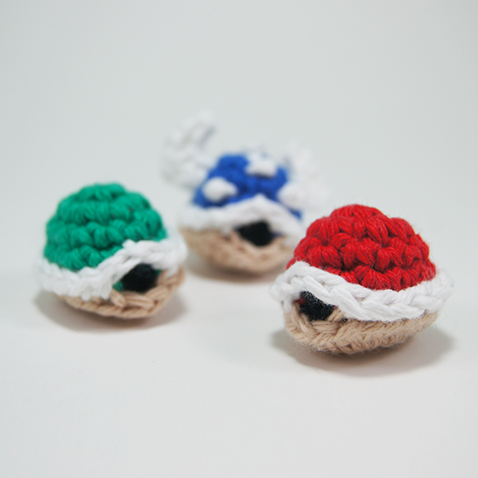
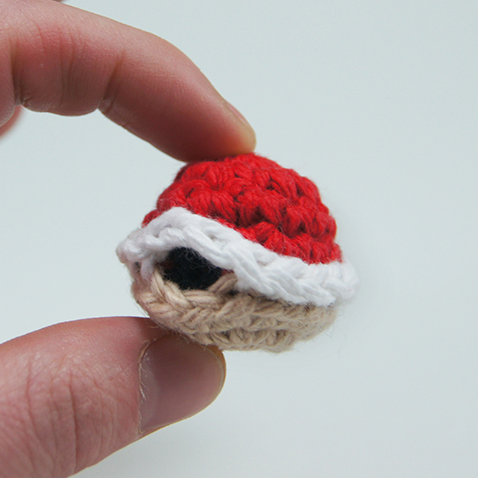
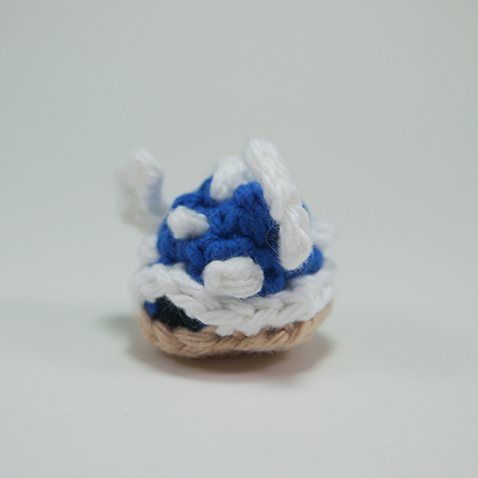
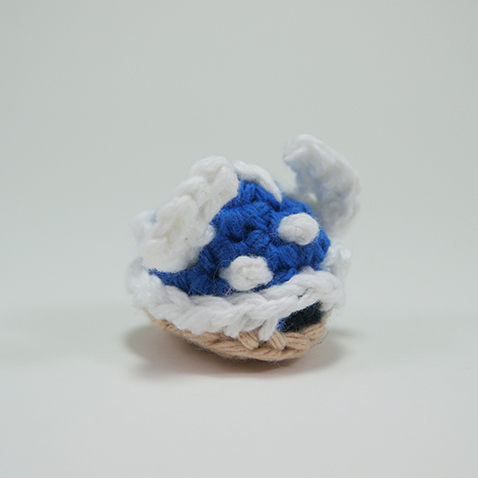
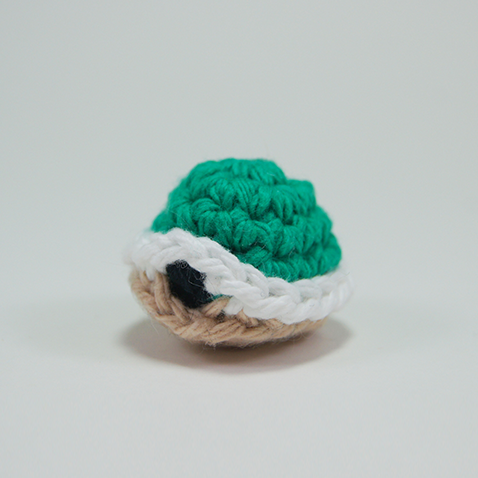
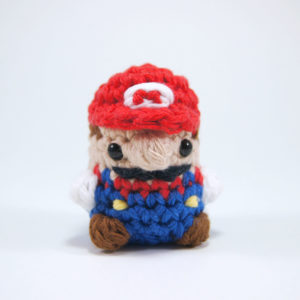
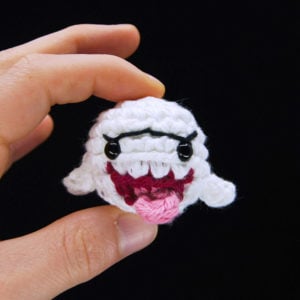
Miniature Koopa Shell


What you'll create

Video tutorials
Main Video
What you'll learn
What you'll need

Cotton Yarn
Weight

Colors

Crochet Hook
G6 / 4.00 mm

Stuffing

Darning Needle
Abbreviations used
ch
Chain Stitch
st
Stitch
slst
Slip Stitch
sc
Single Crochet
inc
Increase
dec
Decrease (Sharp)
invdec
Invisible Decrease
FLO/BLO
Front / Back Loops Only
hdc
Half-Double Crochet
Useful information
Gauge
5 Rnds and 4 sts per 1”
Finished piece is about 2.5” tall
Worked
In the Round unless otherwise stated
Useful Tutorials
Pattern steps

01
Base
1:50
[All in Tan]
Ch 2 or use magic loop method
Rnd 1: Work 6 sc in 2nd ch from hook or into magic loop (6)
Rnd 2: inc in each st (12)
Rnd 3: [sc 1, inc] repeat 6 times (18)
Cut the yarn and hide the end.
02
Shell
7:42
[Starting in Shell Color]
Ch 2 or use magic loop method
Rnd 1: Work 6 sc in 2nd ch from hook or into magic loop (6)
Rnd 2: inc in each st (12)
Rnd 3: sc in each st (12)
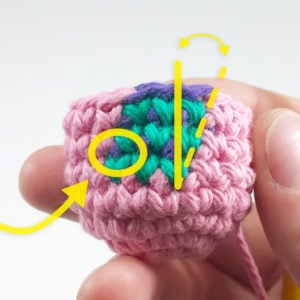
Rnd 4: sc 1, inc, sc 1, [Change to Black] inc, [Change to Shell Color] sc 1, inc, sc 1, inc, sc 1, [Change to Black] inc, [Change to Color] sc 1, inc (18)
[Change to Black for the rest of the Shell top]
Underlined = Working into the BLO
Regular = Working into both loops
Rnd 5: sc 1, dec, sc 1, dec, sc 1, dec, sc 1, dec, sc 1, dec (12)
Rnd 6: dec in each st (6)
Stuff the piece, cut the yarn and pull through leaving a long enough end to sew closed. Try to make the tail end stick straight out from the bottom.
03
Border
21:00
[All in White]
Ch 19
Cut the yarn and pull through leaving a long enough end to sew all the way around the piece.
04
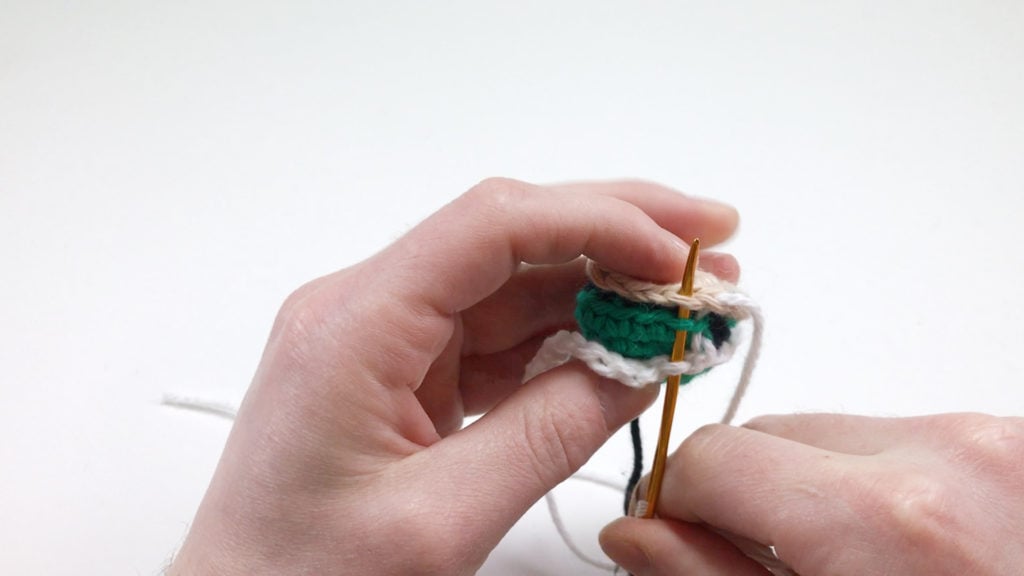
Sewing Together
22:11
It is highly suggested to see the video instructions for this portion, as it is hard to explain
Place the Shell and Base facing each other and sew the black tail end of the Shell out the top of the Base to hold it in place.
Using the long end of the Border chs on a needle, enter the Shell just before the beginning of Rnd 4 (above where the Red stitches end). Exit the Top under the front loop of the first stitch from Rnd 4.
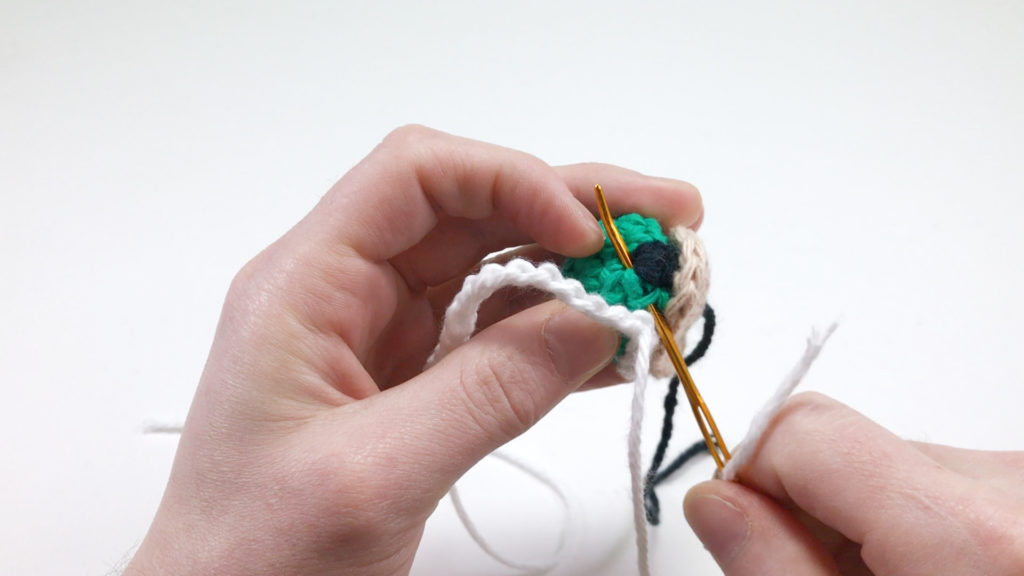
Now enter the back loop of the next ch along the Border.
Next enter the front loop of the next stitch along the Shell.
Finally enter the back loop of the adjacent stitch along the Base.
Continue this process to sew the Border, Shell, and Base together. When you get to a hole (black stitches from Rnd 4 of the Shell) leave the Base for two stitches and go around the black stitches on the Shell sewing on the Border. There should be three stitches and chs used for each hole.
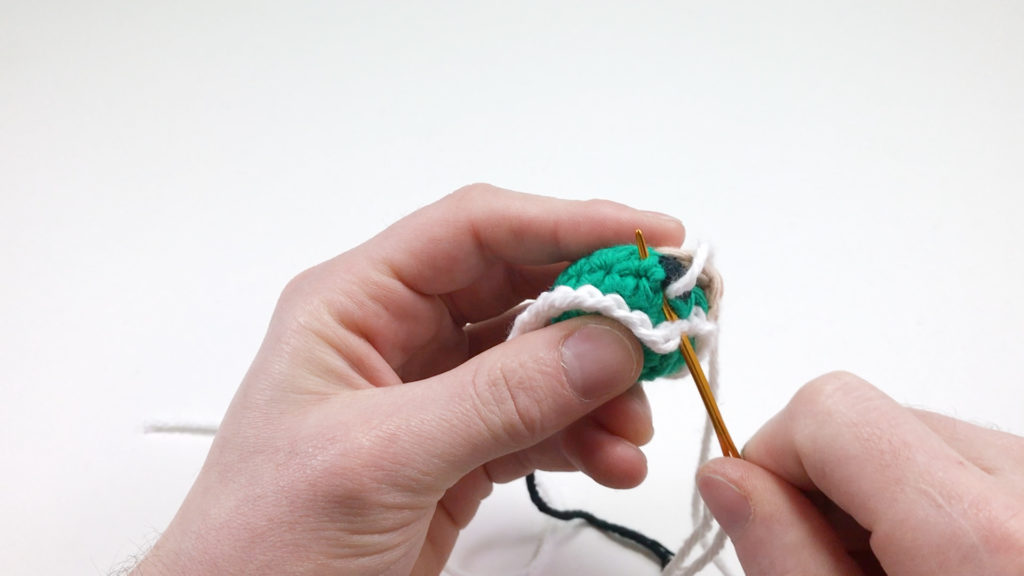
When you come back around to where you began, use the other tail end from the Border to sew into the Shell and out through the top of the Base. Then use the original tail end from the Border to make a hidden end around the first ch and out through the Base.
Cut the ends and hide them in.
05
Spikes
32:57
Qty 7
[All in White]
Ch 2
Working into the BLO of the 2nd ch from the hook, sc 1
Ch 1, cut the yarn and pull through.
Sew these all onto the shell. 3 around each hole and 1 sticking from the top.
06
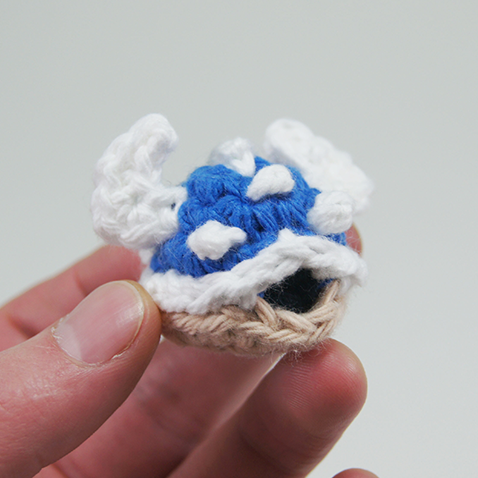
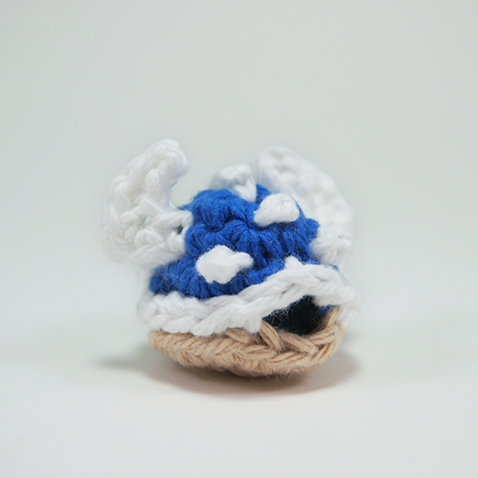
Wings
33:44
Qty 2
[All in White]
Ch 5
{} = Worked into the same st/ch
Working into the BLO of the 2nd ch from the hook,
sl.st 1, sc 1, ch 1, {sc 1, ch 1, sc 1}, sc 1 (5 sts not counting chs)
Sew these onto each side of the shell.
Other patterns to try


Community posts
Community Showcase
Crocheted this pattern? Be the first to show off your project by submitting a photo!


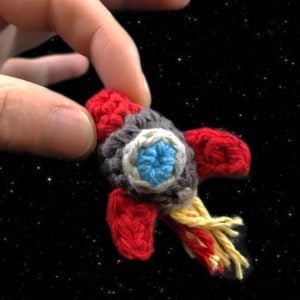
For anyone reading this before doing the pattern : if you do the blue shell, do the spikes RIGHT AFTER having done the top part of the shell and BEFORE sewing the top and bottom part of the shell, it’ll be way easier to sew on the spikes, I struggled way too much but didn’t want to redo it lol
Is the last sc and inc missing in round 5 of the shell? Assuming those are BLOs?
This pattern was wonderful!