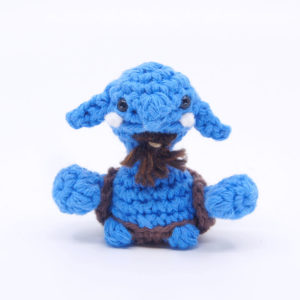
WIP – Goblin Puppet Amigurumi

Medium difficulty

Medium

6+ hours

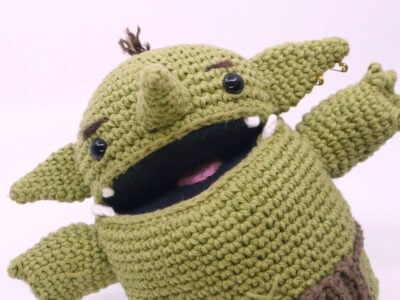
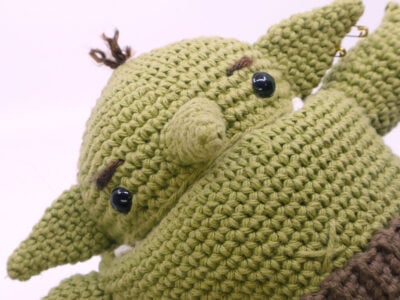
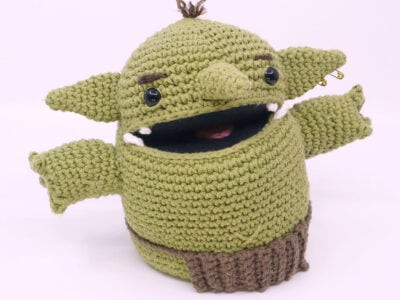
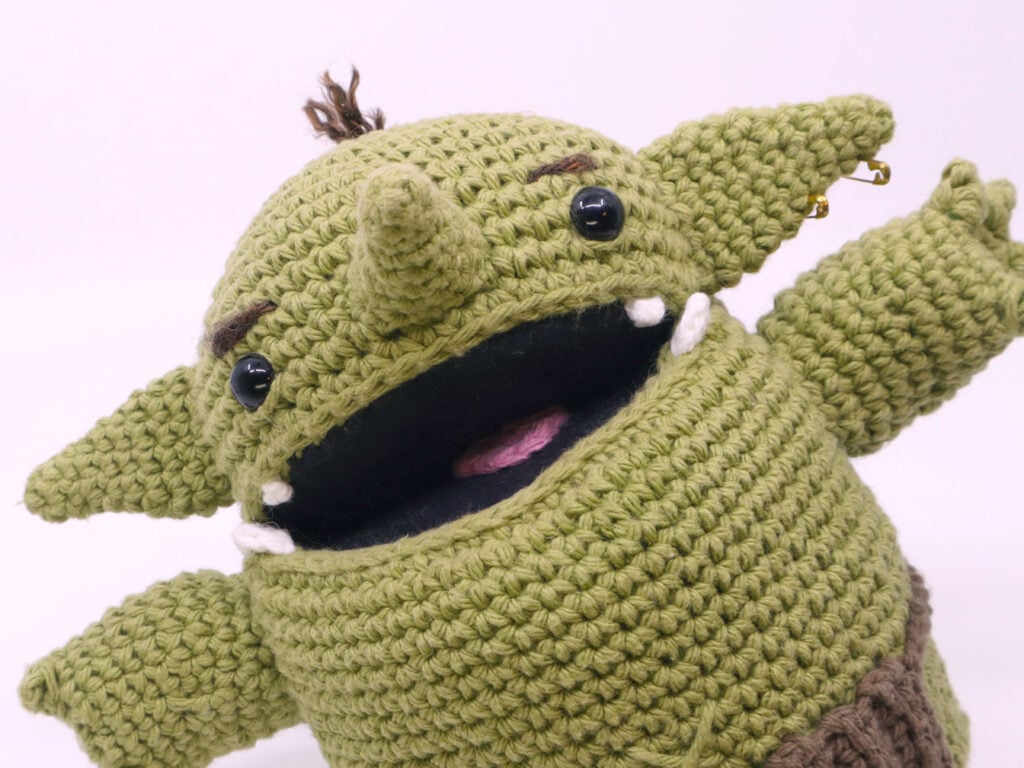
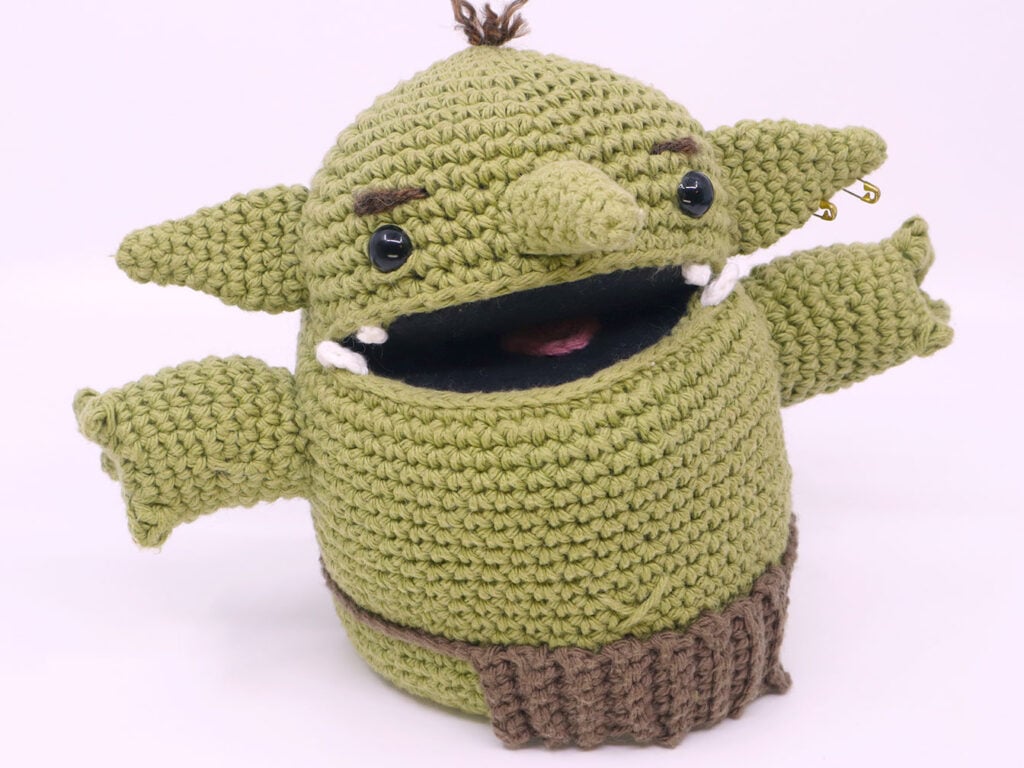
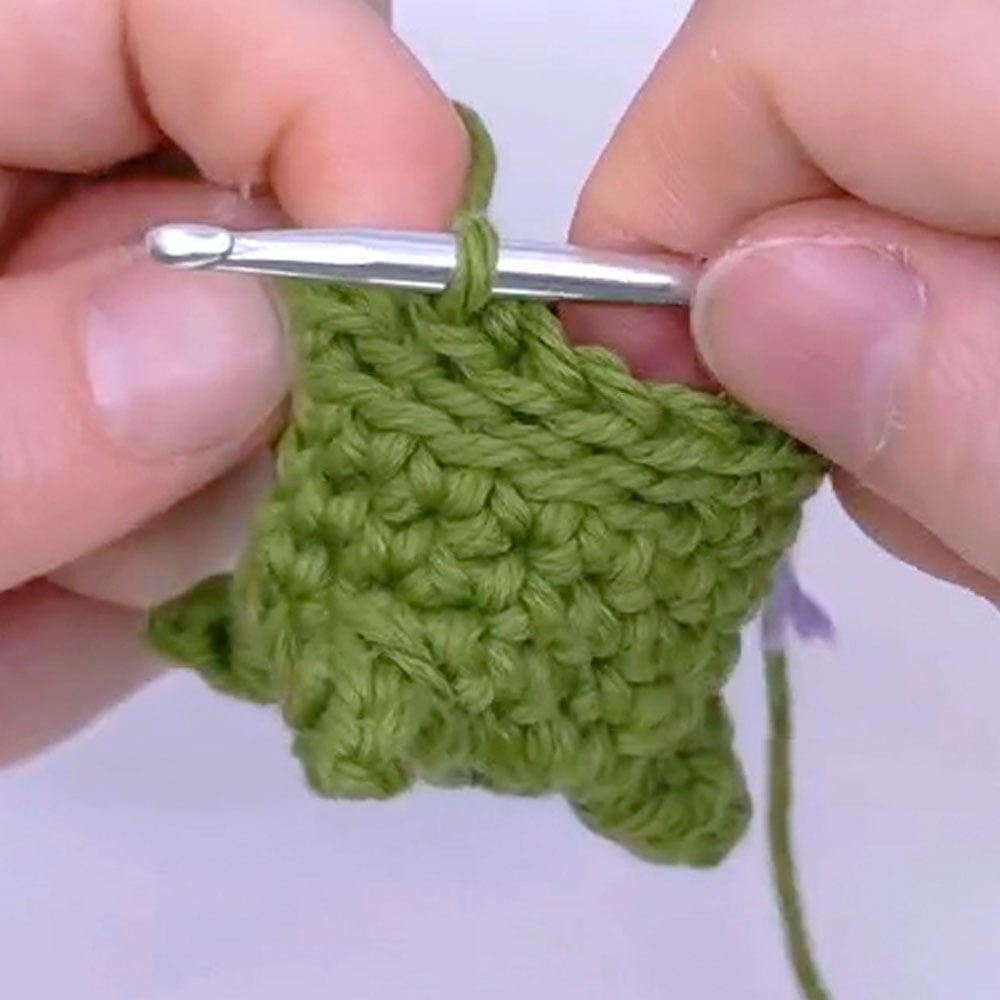
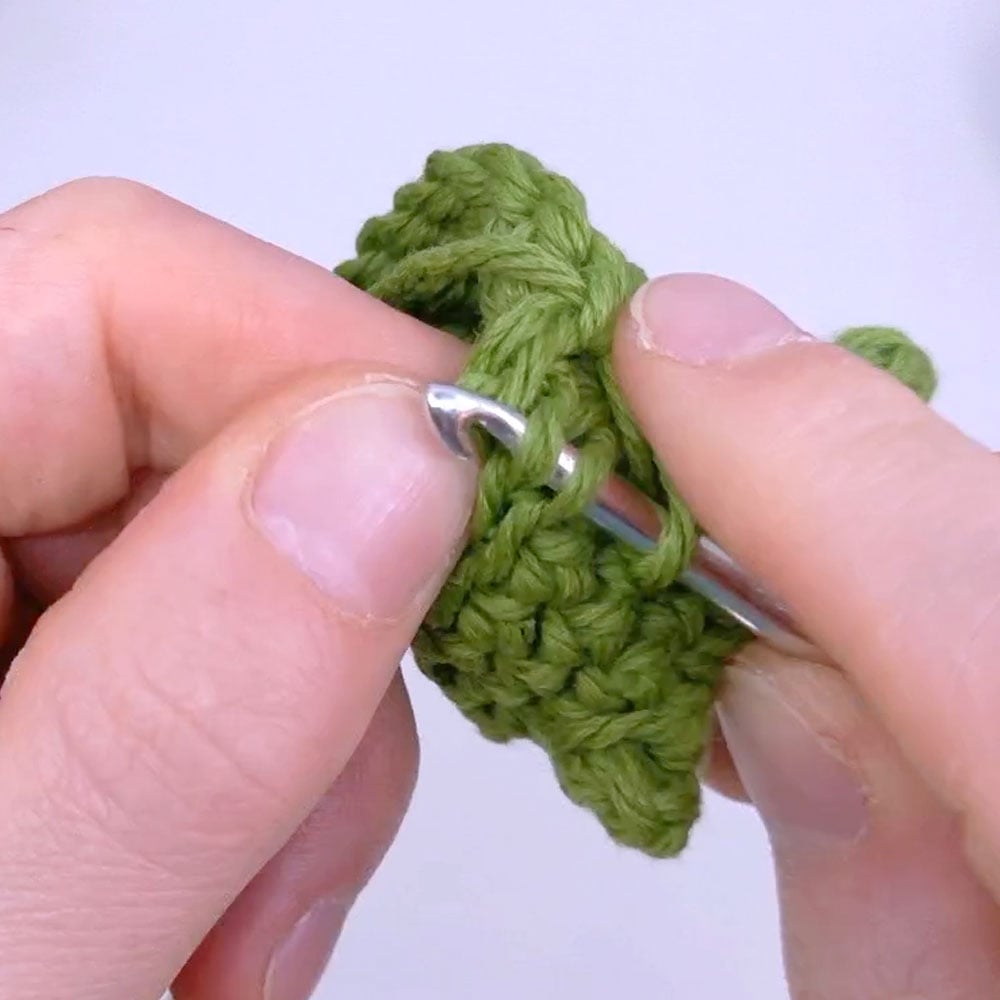
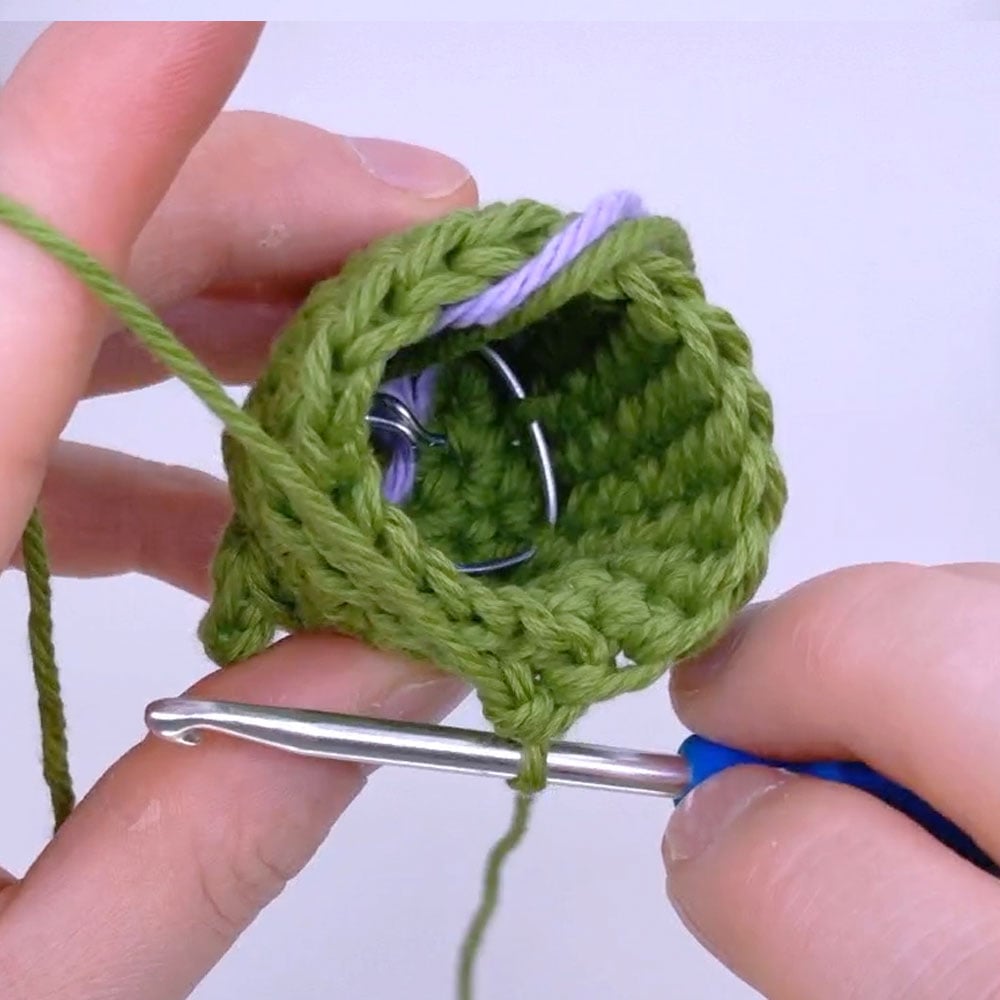
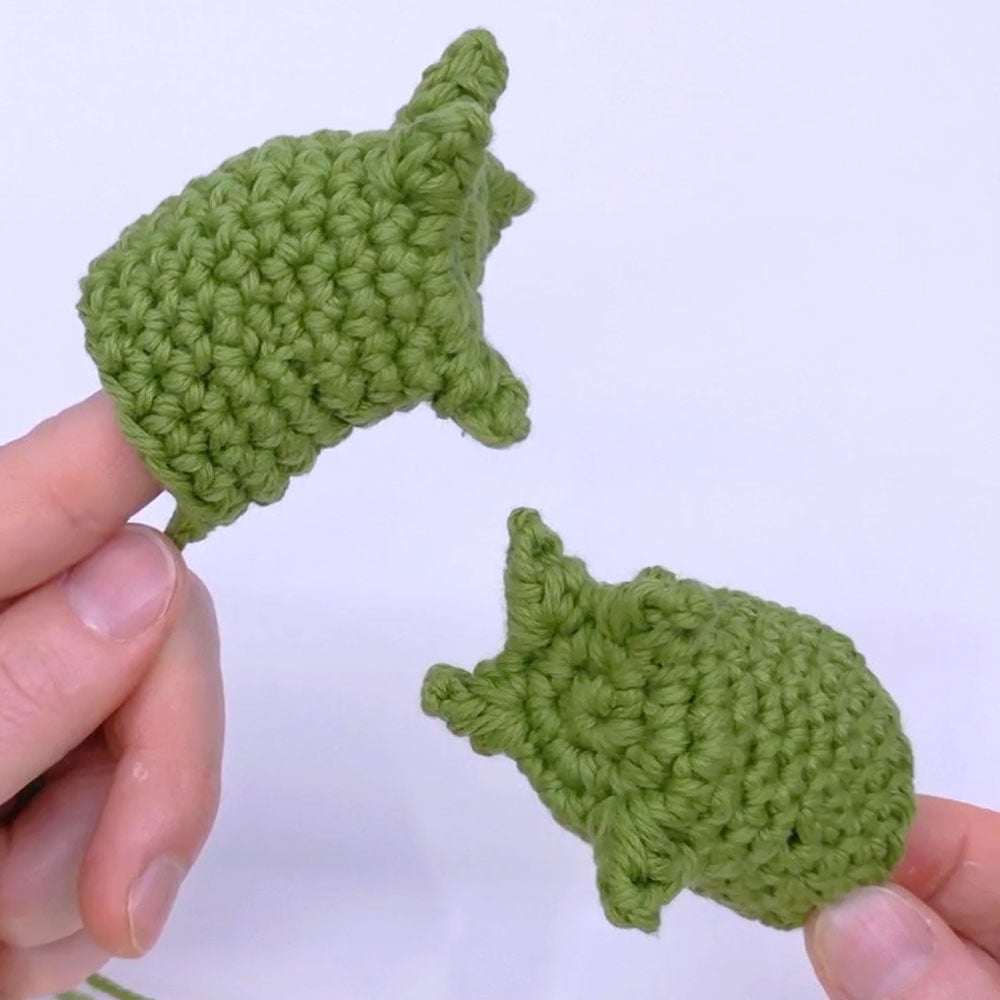
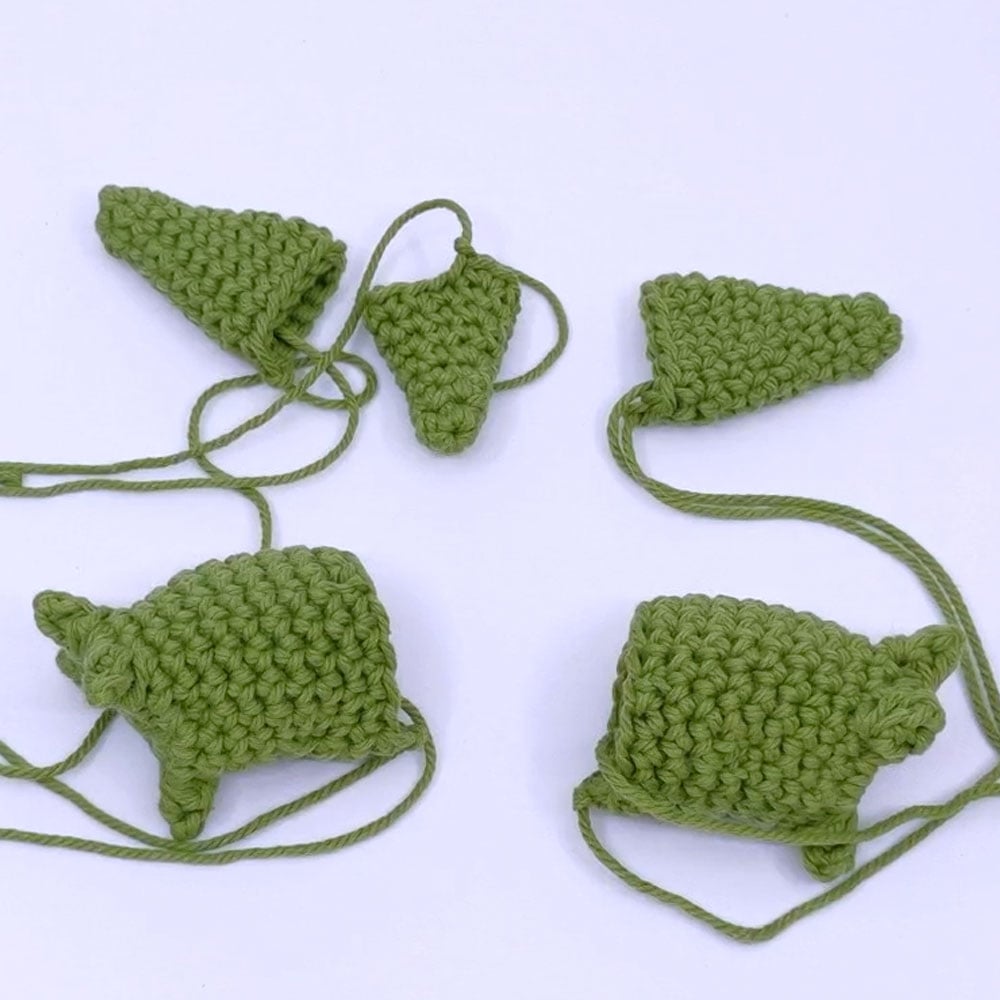
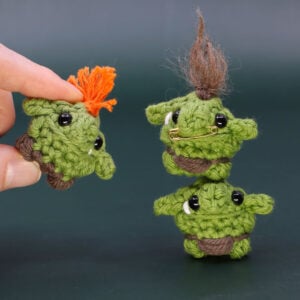
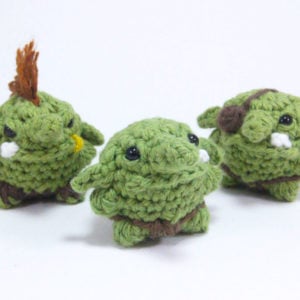
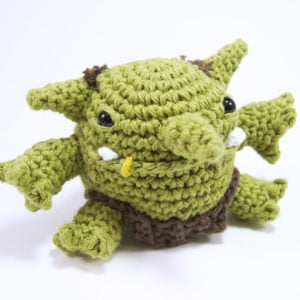
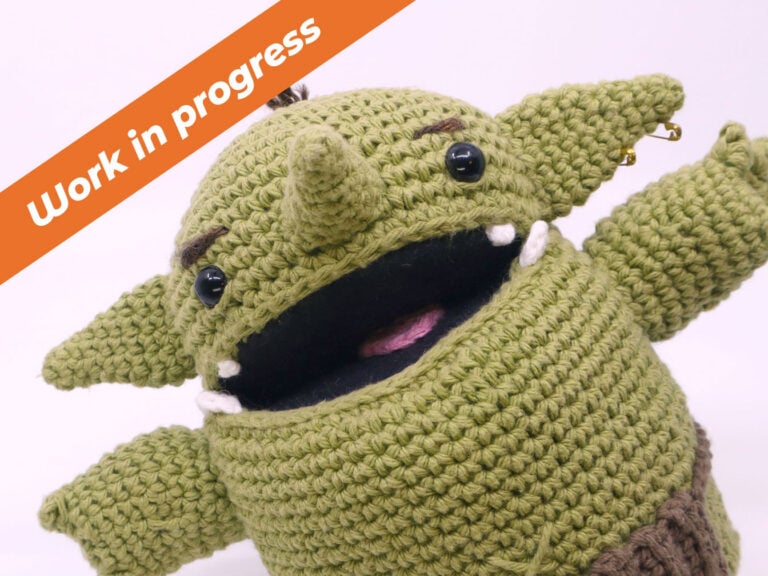
In this work in progress pattern we'll be crocheting all the parts for our own Goblin Puppet! This design is a work in progress and currently in development, crochet along with us in our weekly livestreams to watch it get designed in real time.

Louie's Loops

Designed by

What you'll learn

What you'll need

Cotton Yarn

Weight

Colors

White
Crochet Hook Size G6 / 4.00mm

Crochet Hook

G6 / 4.00 mm

Safety Bead (x2)

12 mm

Stuffing

Darning Needle

Abbreviations used

ch

Chain Stitch

st

Stitch

slst

Slip Stitch

sc

Single Crochet

inc

Increase

invdec

Invisible Decrease

FLO/BLO

Front / Back Loops Only

Pattern steps

Use checkboxes to track progress Click to reset
2:45
Time codes match to the main video

01 Ears and Nose

[All in Green]
Magic loop

Rnd 1: sc 4 in the magic loop (4)

Rnd 2: [sc 1, inc 1] repeat 2 times (6)

Rnd 3: sc in each st (6)

Rnd 4: [sc 2, inc 1] repeat 2 times (8)

Rnd 5: sc in each st (8)

Rnd 6: [sc 3, inc 1] repeat 2 times (10)

Rnd 7: sc in each st (10)

Rnd 8: [sc 4, inc 1] repeat 2 times (12)

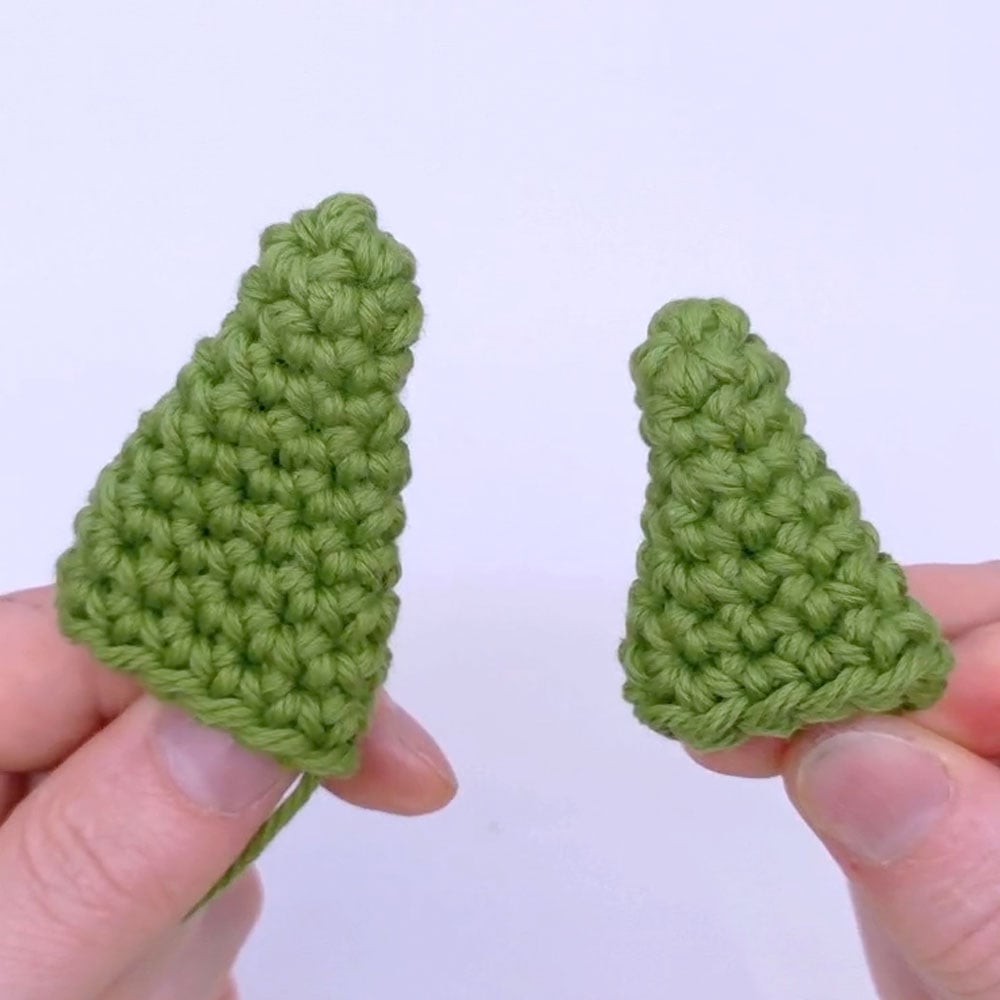
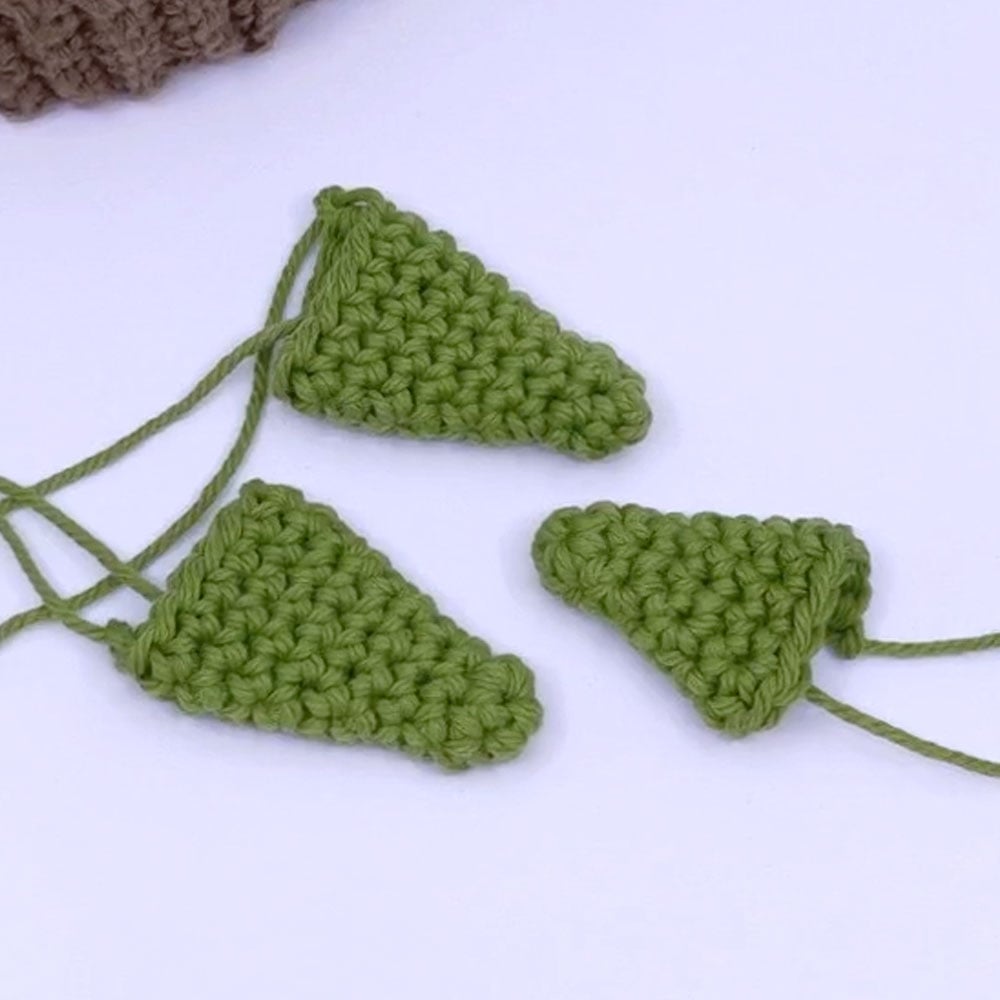
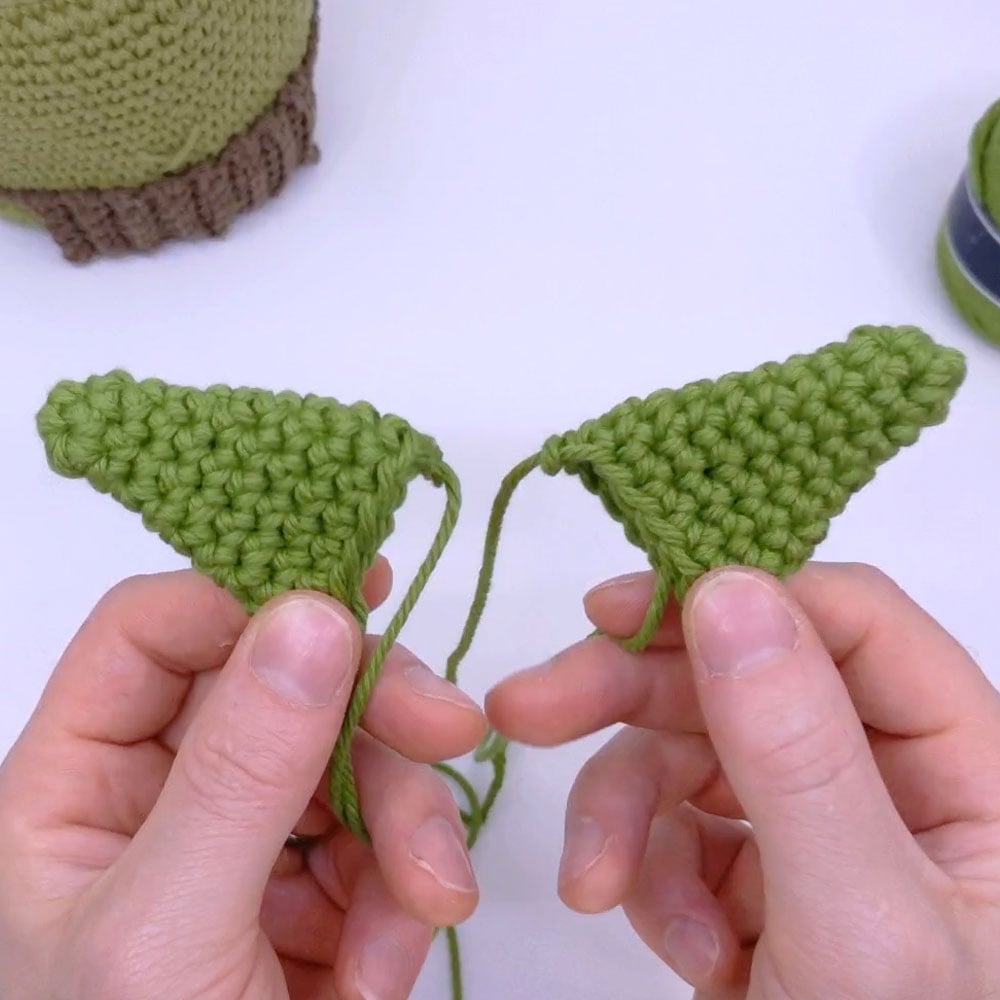
Slst 1 and cut yarn and pull through here to finish the nose. Continue for an ear.

Rnd 9 - 10: sc in each st (12 for 2 Rnds)

Slst 1, cut the yarn and pull through to finish an ear. Sew onto the head.
02 Arms

[All in Green]
Magic loop

Rnd 1: sc 6 in the magic loop (6)

Rnd 2: inc in each st (12)

{...} = Worked in the same stitch

Rnd 3: [sc 1, {sbo 1, sc 1}] repeat 3 times, sc 1, inc 1, sc 1, {sbo 1, sc 1,} sc 1, inc 1 (18)

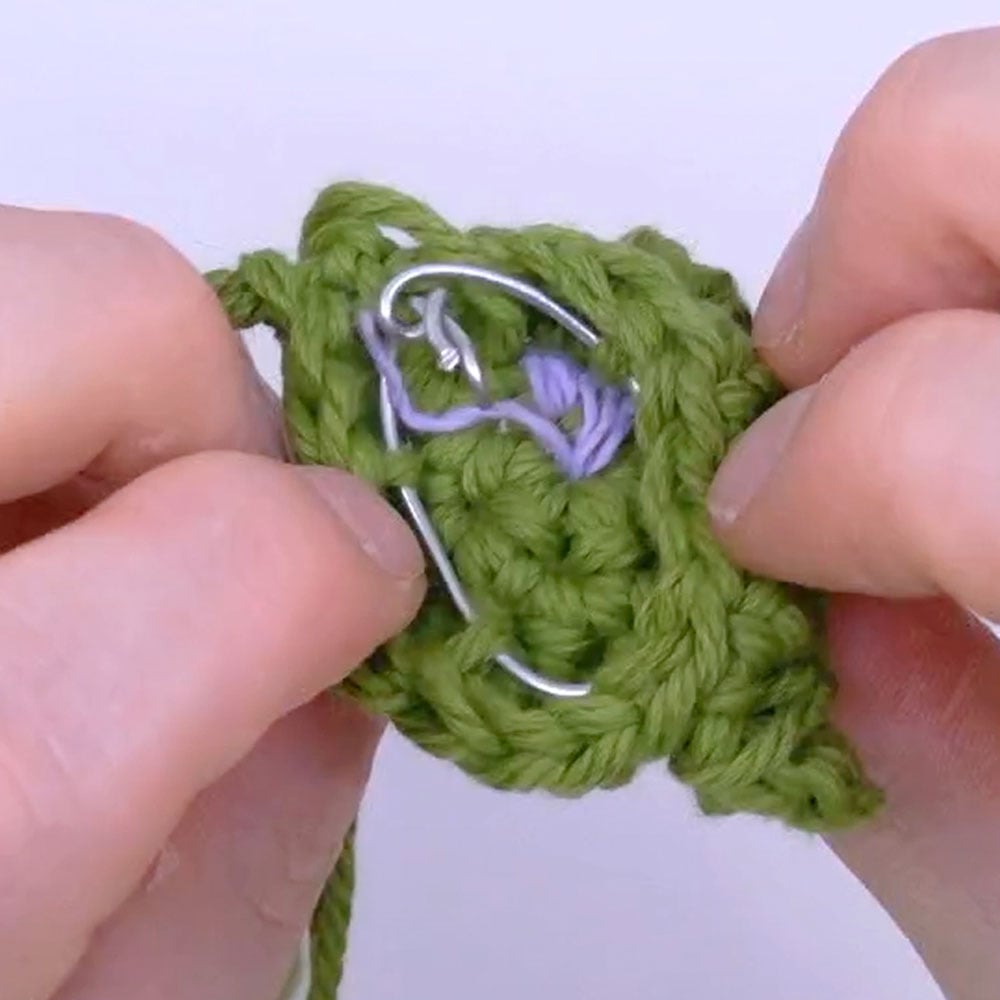
Rnd 4: working around wire every few stitches, sc in each st (18)
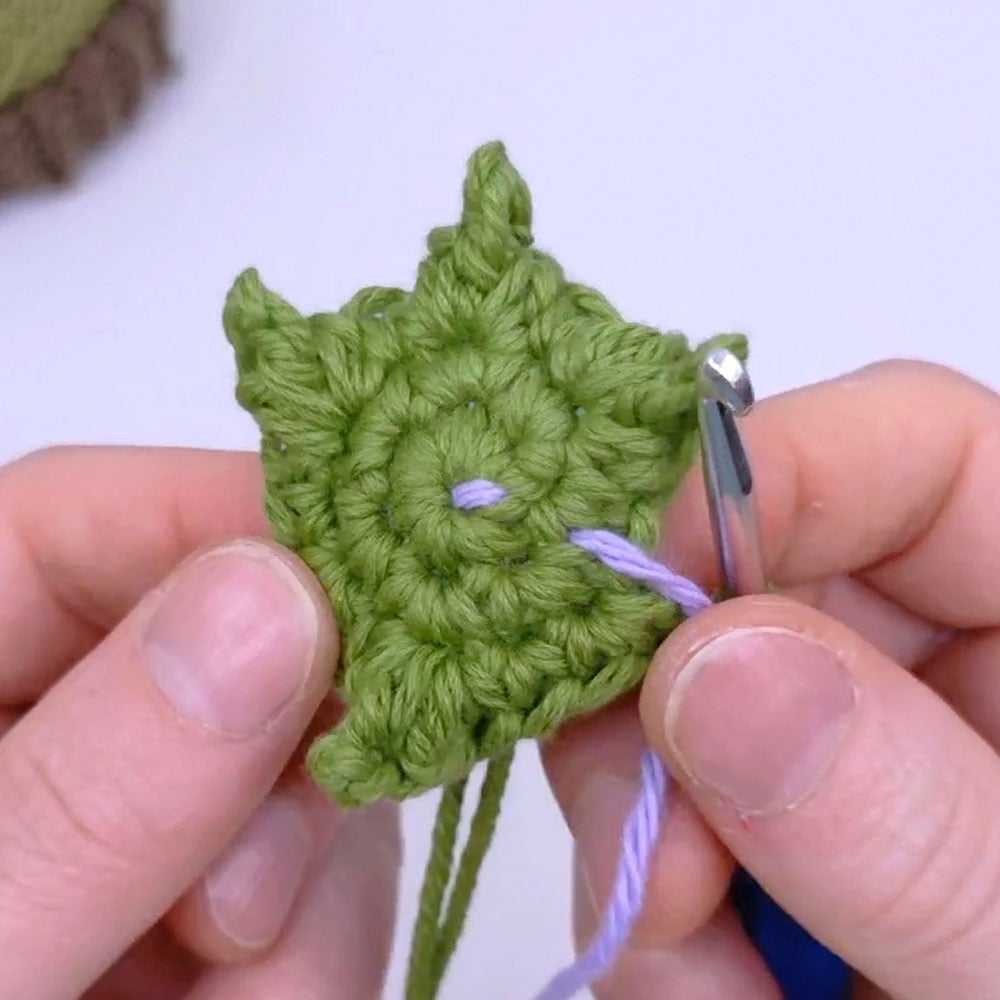
Rnd 5 - 6: sc in each st (18 for 2 Rnds)

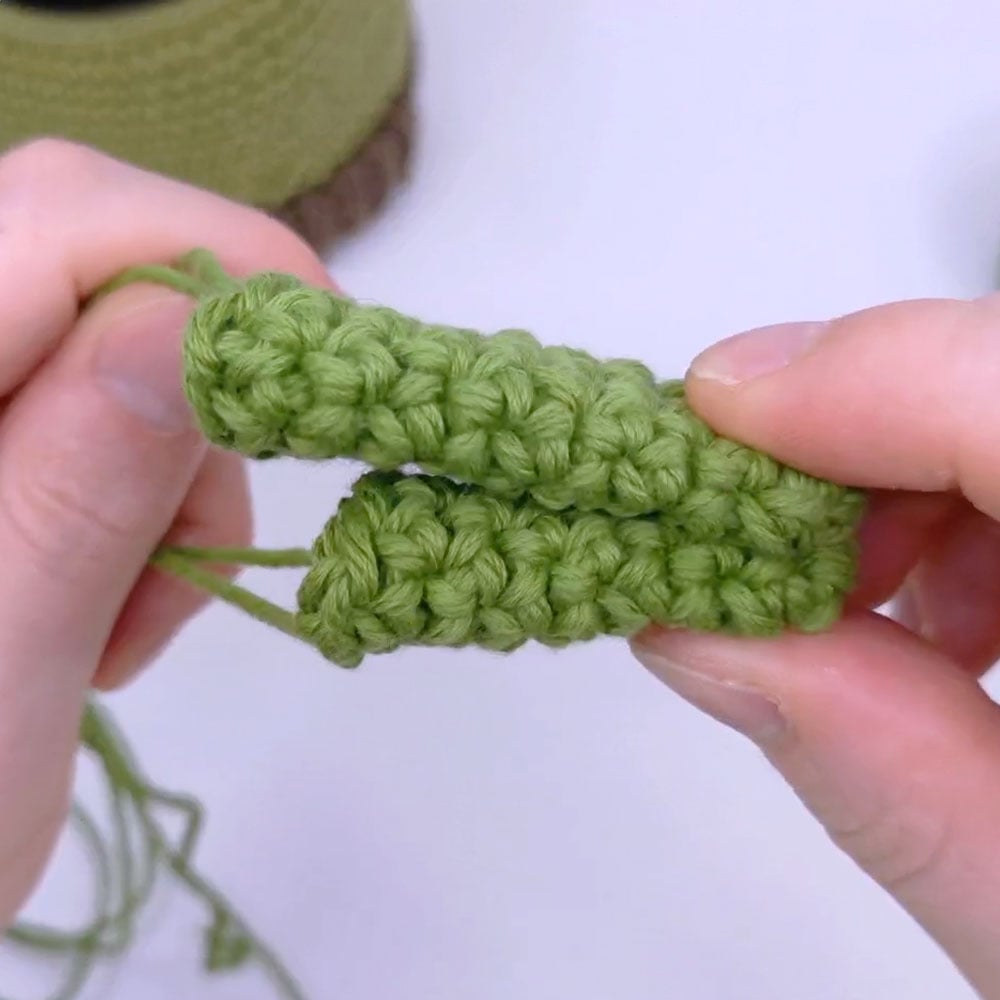
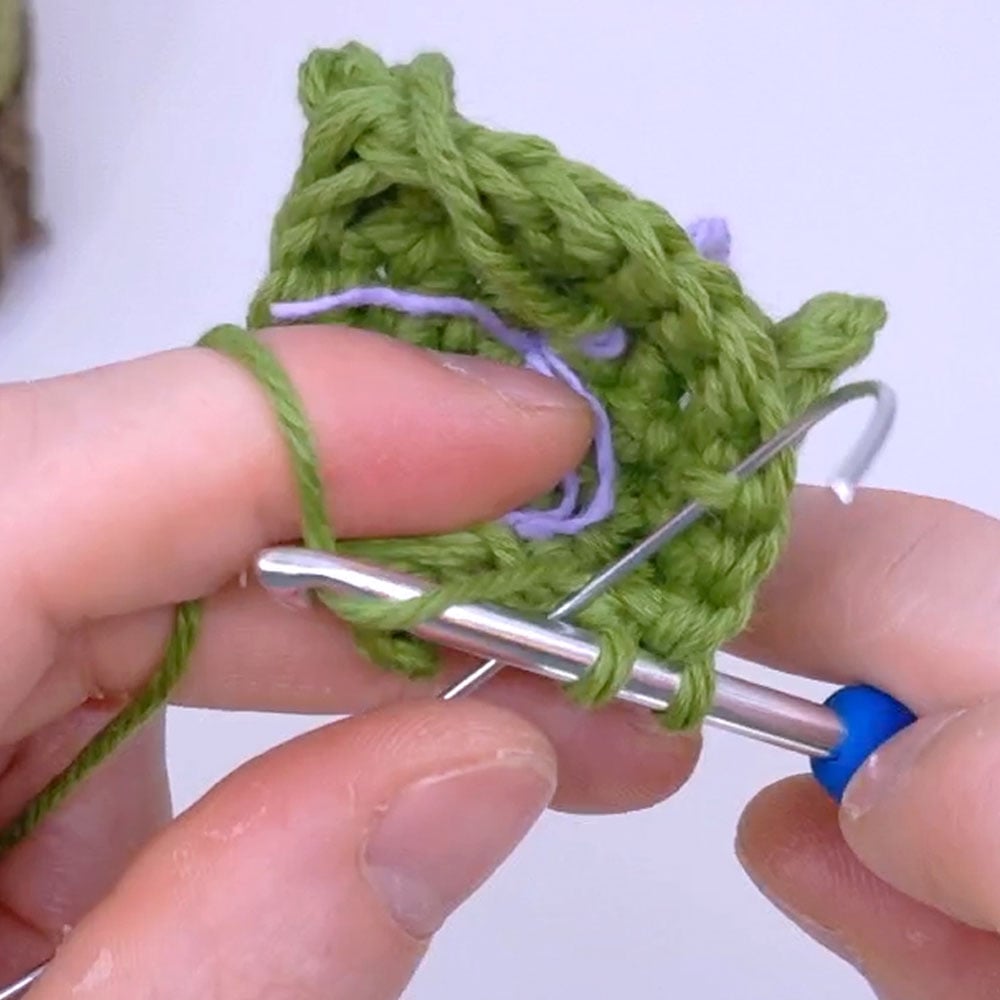
Rnd 7 - 8: sc 12, slst 5 into BLO, sc 1 in both loops (18 for 2 Rnds)
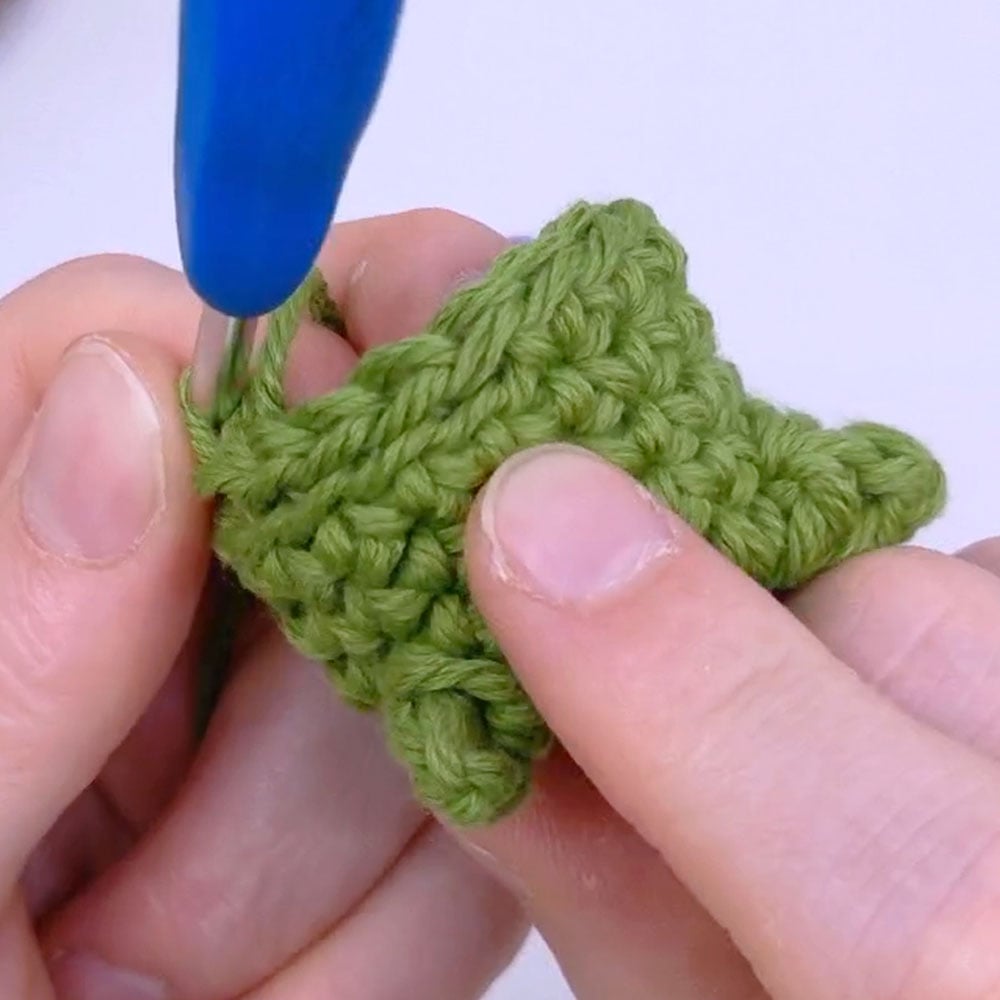
Rnd 9: sc 12, sc 5 into the unused FLO from Rnd 7 and 6, sc 1 in both loops (18)
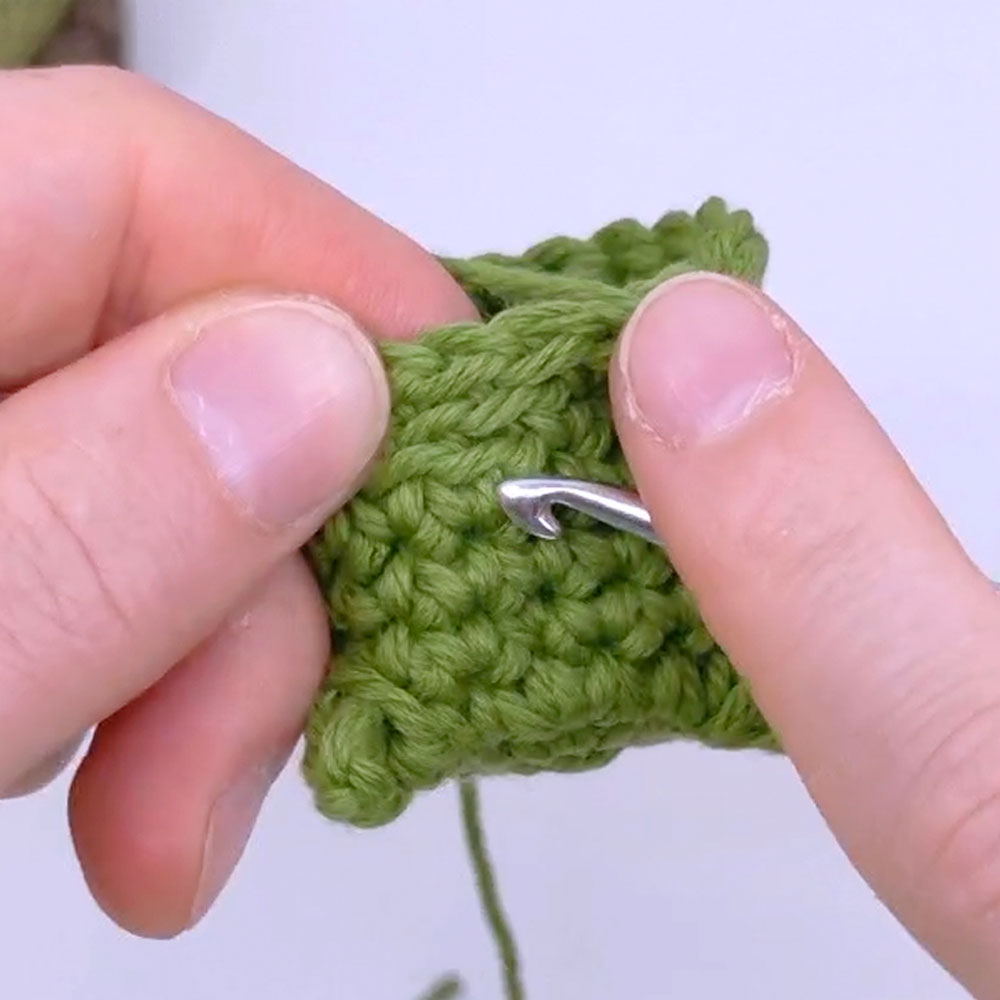
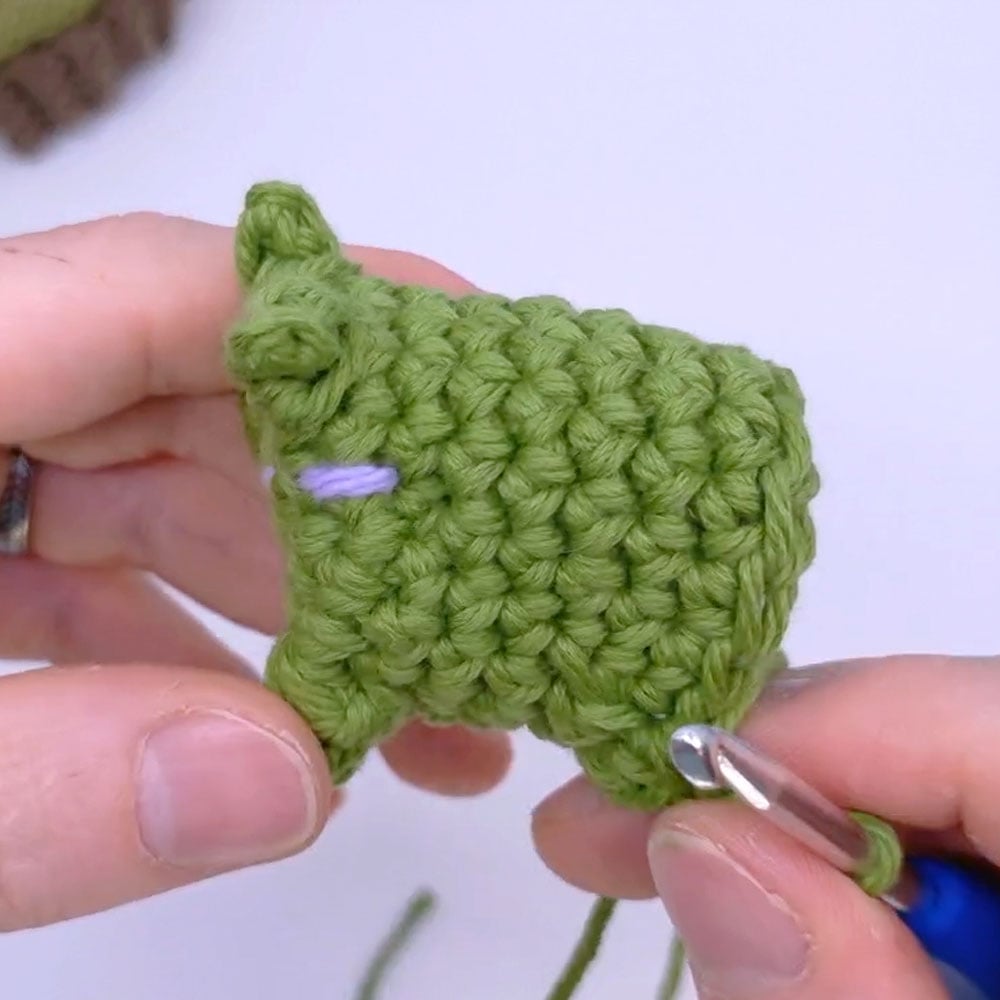
Rnd 10 - 11: sc in each st (18 for 2 Rnds)

Rnd 12: [sc 4, invdec 1] repeat 3 times (15)

Slst, cut the yarn and pull through. Sew onto the body.
03 Teeth

[All in white]
Make a slipknot

Small Tooth: ch 3, pull tight, Working in the BLO, of the 3rd ch from the hook sc 1, ch 1, cut the yarn and pull through

Big Tooth: ch 4, pull tight, Working in the BLO, of the 3rd ch from the hook sc 1, hdc 1, ch 1, cut the yarn and pull through

04 Tongue

[All in Pink]
Make a slipknot

ch 5, Working in the BLO, of the 3rd ch from the hook dc 1, hdc 1, inc, turn your piece 180*, Working into the top loops of the chs, sc 1, hdc 1, {dc 1, ch 2, slst}

Cut the yarn and pull through. Weave your tail end through the same st you ended on, and up the tip of the tongue, and back down the base of the tongue to create a line. Sew into the back of the mouth piece.

05 Head

[All in Green]
Magic loop

Rnd 1: sc 5 into magic loop (5)

Rnd 2: inc in each st (10)

Rnd 3: [sc 1, inc 1] repeat 5 times (15)

Rnd 4: [sc 2, inc 1] repeat 5 times (20)

Rnd 5: [sc 3, inc 1] repeat 5 times (25)

Rnd 6: [sc 4, inc 1] repeat 5 times (30)

Rnd 7: [sc 5, inc 1] repeat 5 times (35)

Rnd 8: [sc 6, inc 1] repeat 5 times (40)

Rnd 9: [sc 7, inc 1] repeat 5 times (45)

Rnd 10: [sc 8, inc 1] repeat 5 times (50)

Rnd 11 - 15: sc in each st (50 for 5 Rnds)

Rnd 16: sc 10, ch 25, skip 20 sts, sc 20 (55)

Rnd 17: sc in each st and ch (55)

Rnd 18 - 22: sc in each st (55 for 5 Rnds)

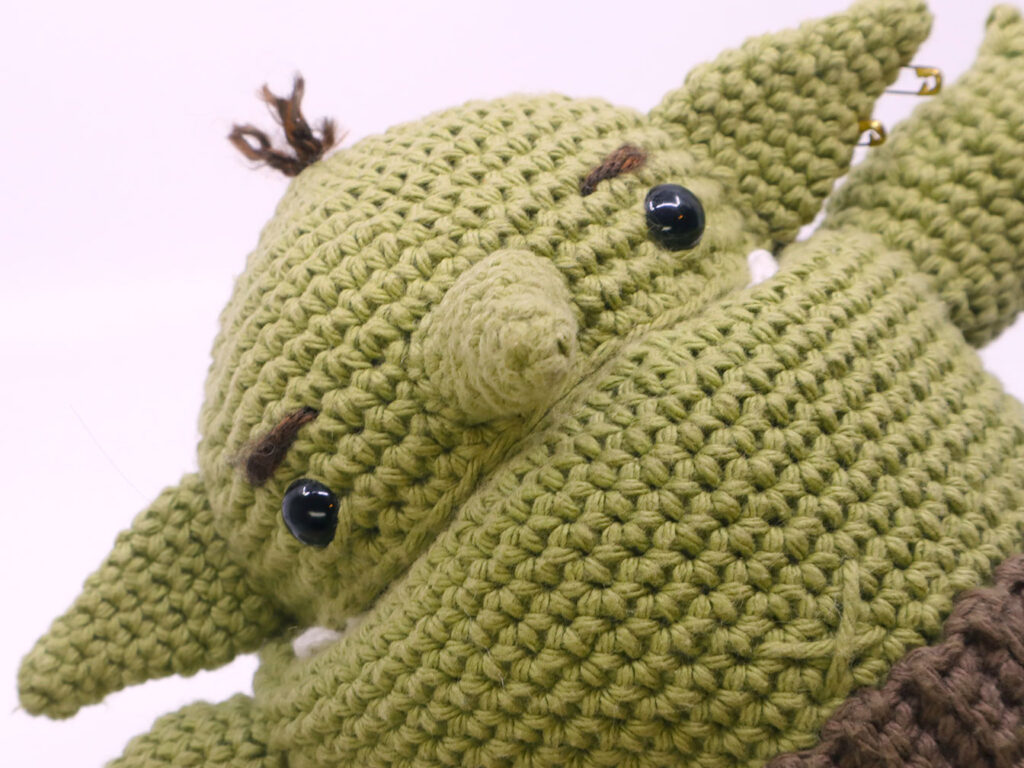
Sew the nose on in the center between Rnds 10 and 14. Stuff the nose before sewing completely.

Add the eyes in Rnd 13, into sts 13 and 25.

Sew the ears on flat 1 st away from the corners of the mouth between Rnds 9 - 15. Do not stuff.

06 Mouth Piece

For this part you will need:
Cardboard
Scissors (used to cut cardboard)
Black felt (or color of choice)
Hot Glue/Hot Glue Gun

Begin by cutting out two half circles to fit in the mouth.
You can do this by inserting the cardboard into the mouth and using the top lip as a template to draw your half circle. It should fit snug behind the top lip.

Once you have a good shape, use it to cut a second semi circle. Lay them beside eachother, forming an oval shape, and tape them together only on one side of the cardboard. The side you tape will be the inside of the mouth piece.

Cut out an oval of felt bigger than your cardboard oval.
Place your felt covering the taped side of your cardboard. Hot glue the felt the to edges of the cardboard. You want some felt hanging further than the cardboard to use for sewing.

For better control of the mouth you can make a tube for your thumb. This can be done by wrapping your thumb in tape, rolling up light cardboard, like a cereal box, and taping it together, or whatever you can come up with!

Tape your tube to the bottom back of your mouth piece next to the edge.

Now that you have a completed mouth piece, insert it into the mouth with the tube side facing down.

Sew the piece on using the surrounding felt and the back of the mouth stitches. NOT the BLO, but the inside of your stitches. This is easier down if you have your goblin inside out while sewing. Make sure your felt is on the inside of the mouth, and doesn't poke out.

Tip: Pin the corners of the mouth to make sure your mouth piece stays in place while sewing.

Flip your goblin to be right-side-out. Make a slip knot and pull through the left corner of the mouth. slst into each ch on the bottom lip of the mouth.
Cut and pull through, hide the end.

PATTERN CURRENTLY UNDER CONSTRUCTION

Other patterns to try

Community posts

Community Showcase

Crocheted this pattern? Be the first to show off your project by submitting a photo!
You need an account to submit your photo.

Add a comment