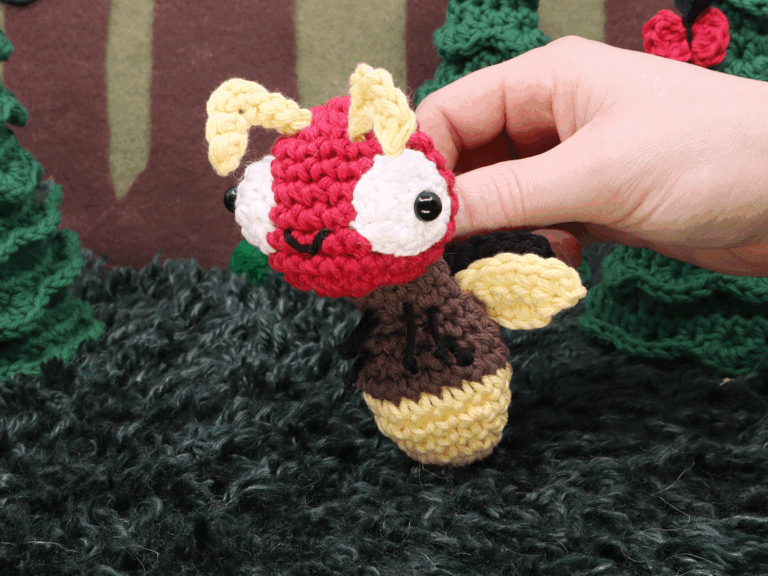
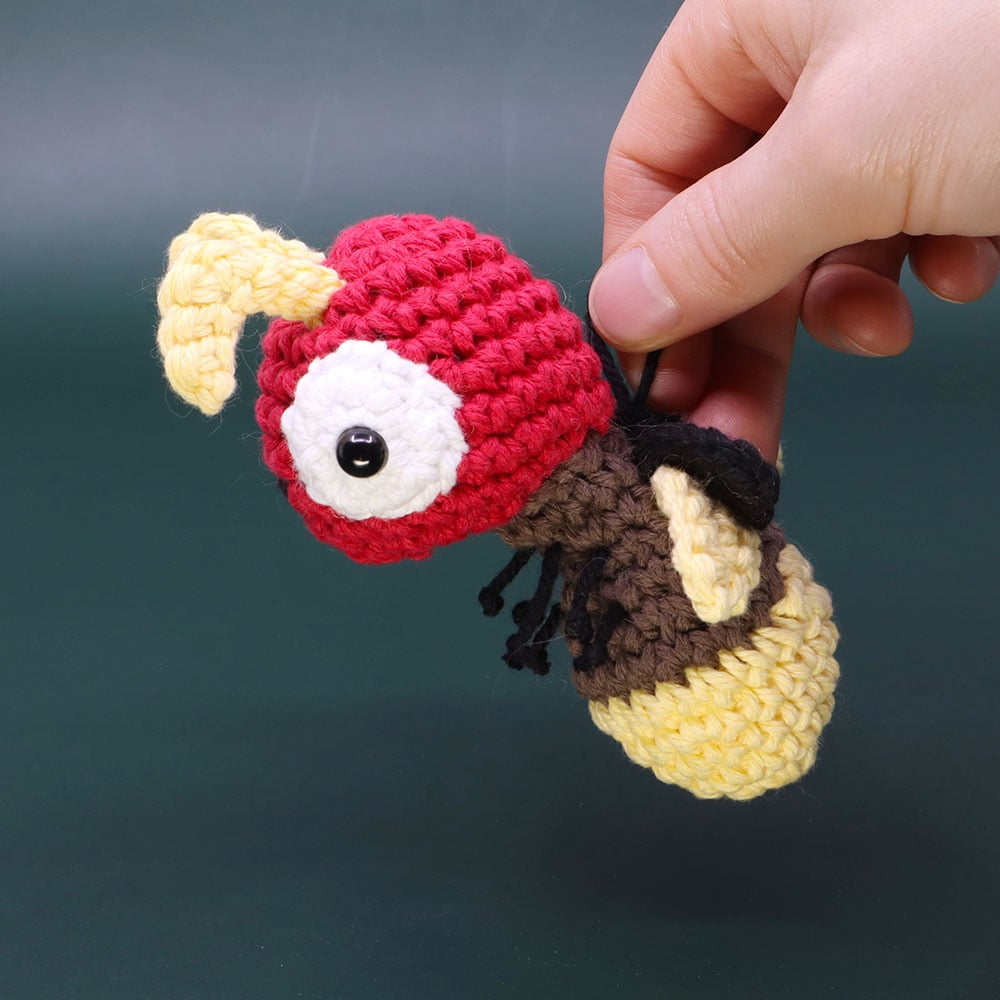
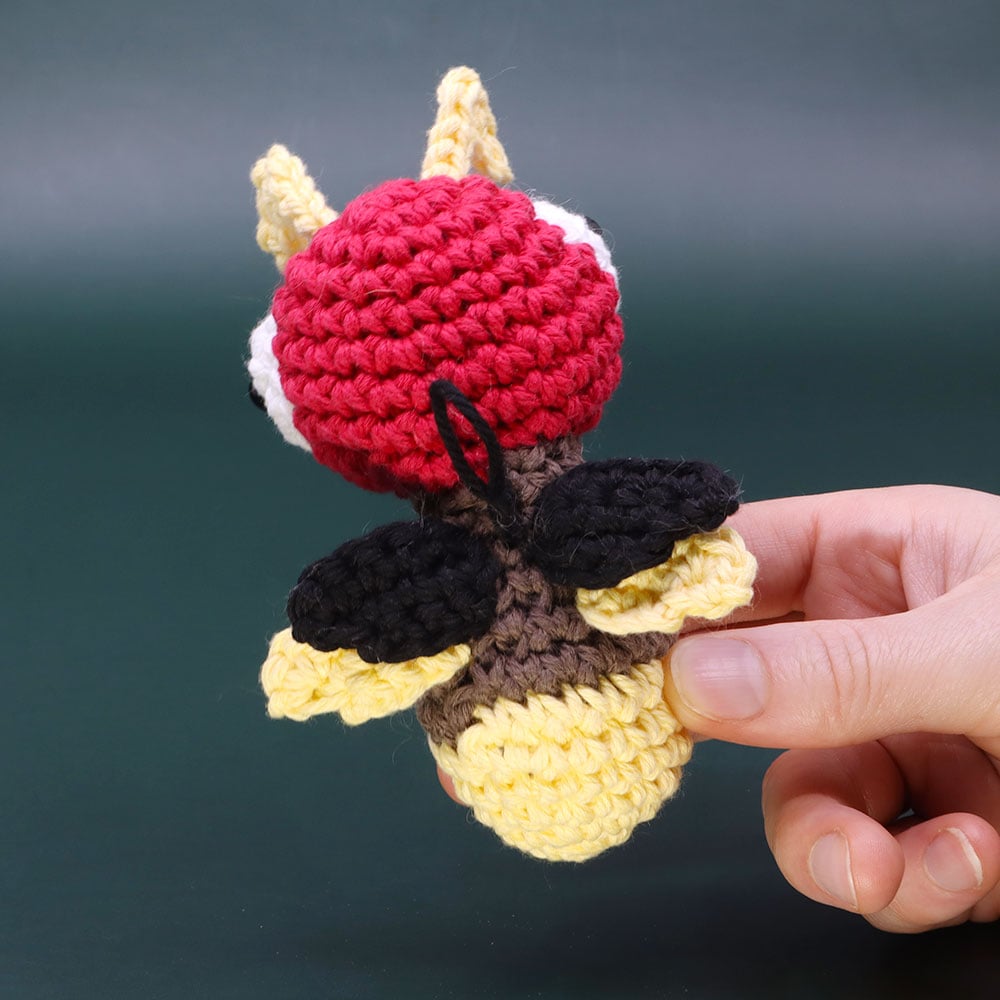
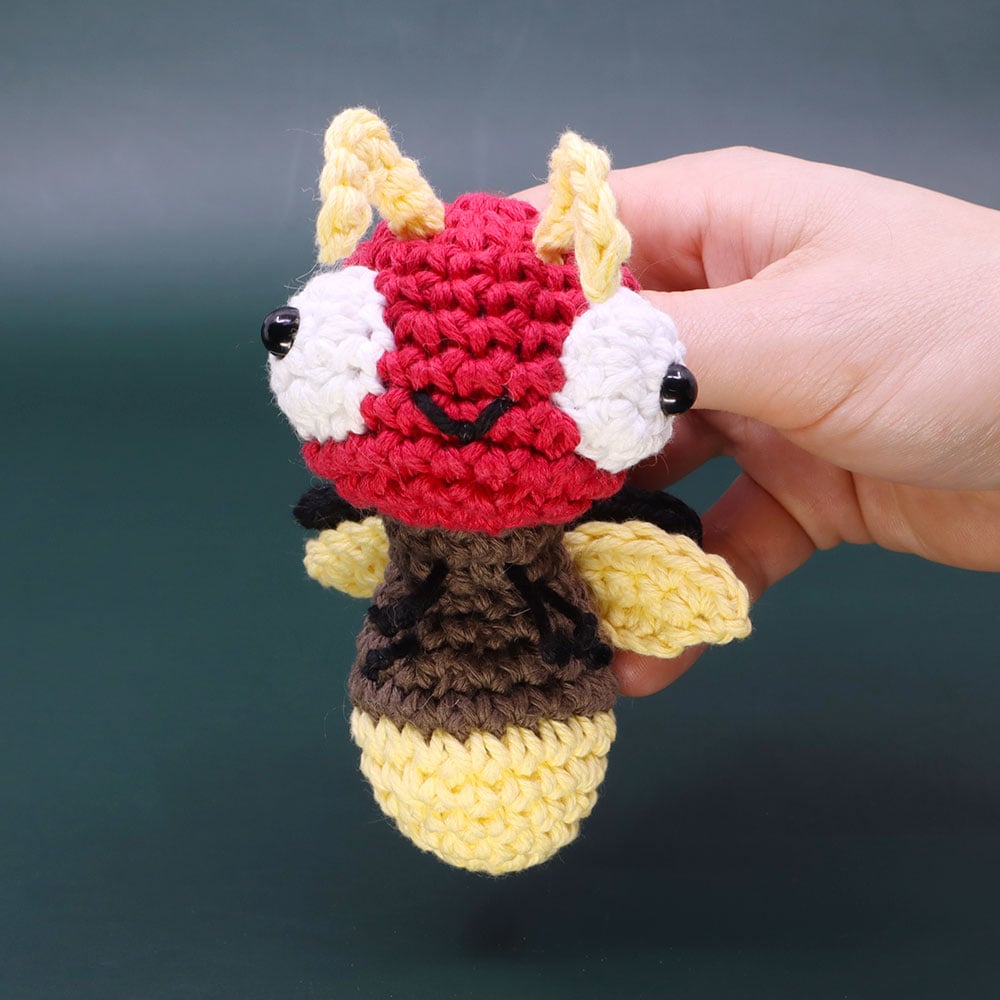
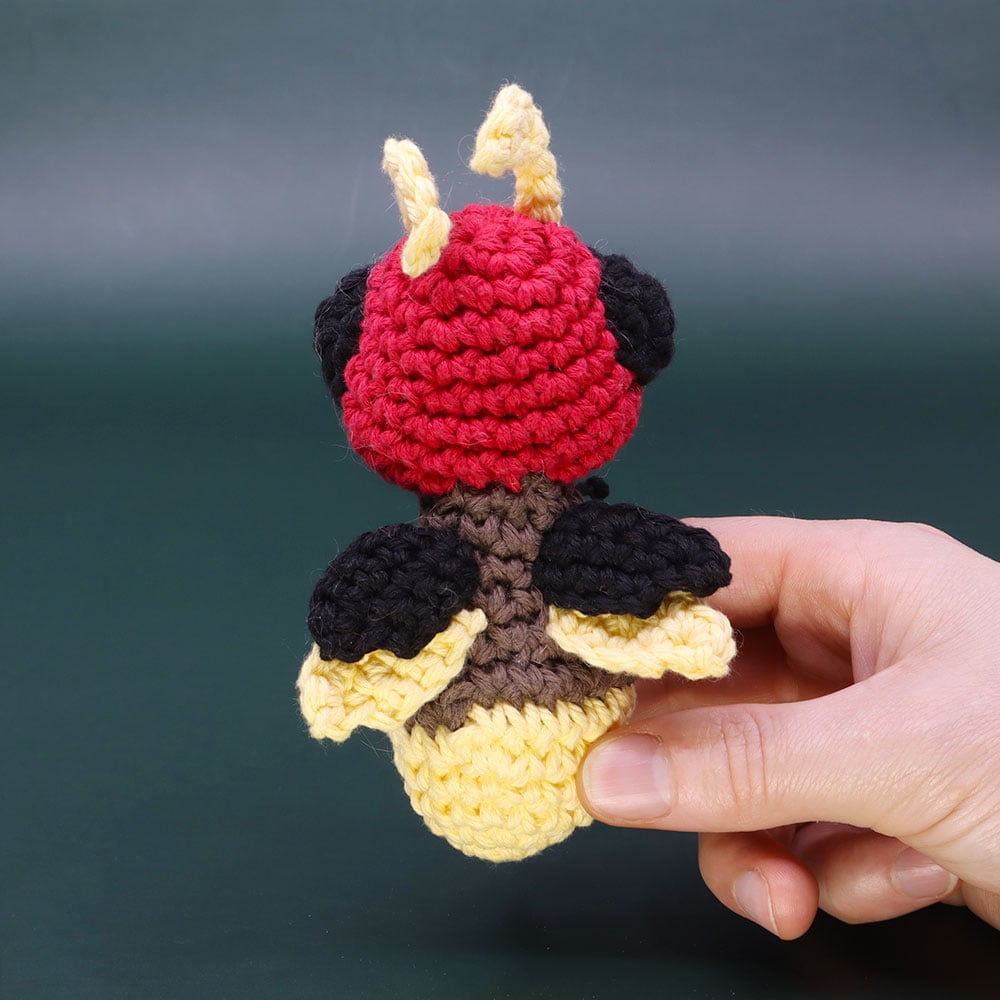
Flicker the Firefly Amigurumi

Easy
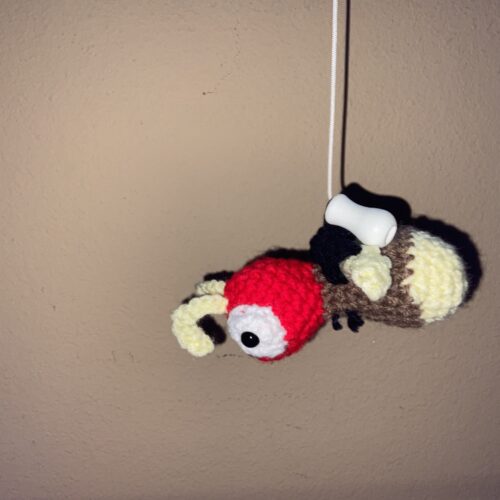
In this lesson we’ll be crocheting Flicker the Firefly! Flicker’s a tiny insomniac who loves reading mystery novels by the glow of his own butt. This pattern uses simple shaping and a little sparkle to light up your crochet collection—no batteries required.


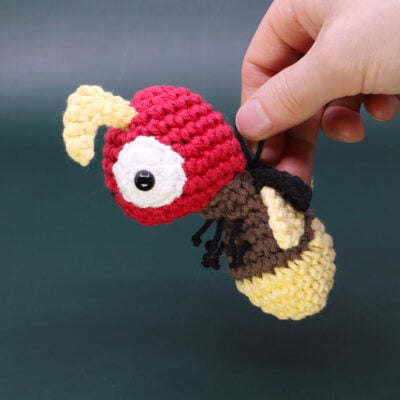


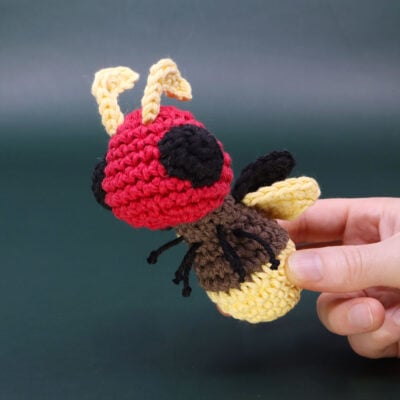
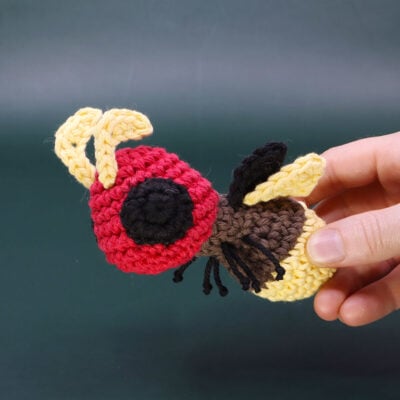
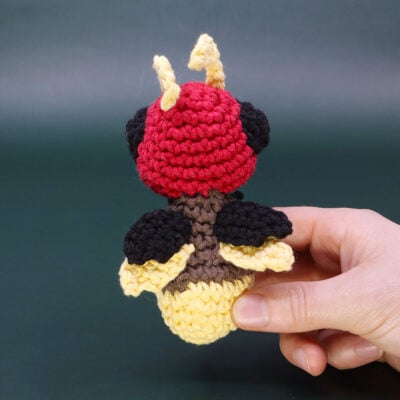
What you'll create


What you'll learn
What you'll need

Cotton Yarn
Weight

Colors
Red (Body)
Brown (Body)
Yellow (Antennae and Body)
Black (Feet)
White (Eyes)

Crochet Hook
G6 / 4.00 mm

Safety Bead (x2)
8mm

Stuffing

Darning Needle
Abbreviations used
ch
Chain Stitch
st
Stitch
slst
Slip Stitch
sc
Single Crochet
inc
Increase
invdec
Invisible Decrease
FLO/BLO
Front / Back Loops Only
hdc
Half-Double Crochet
{ }
Worked in same stitch
Useful information
Gauge
5 Rnds and 4 sts per 1”
Finished Size
about 4 inches long
Worked in the Round
(without turning)


Pattern steps
01 Head
[All in Red] Magic Loop
Rnd 1: sc 6 into the magic loop (6)
Other patterns to try


Community posts
Community Showcase
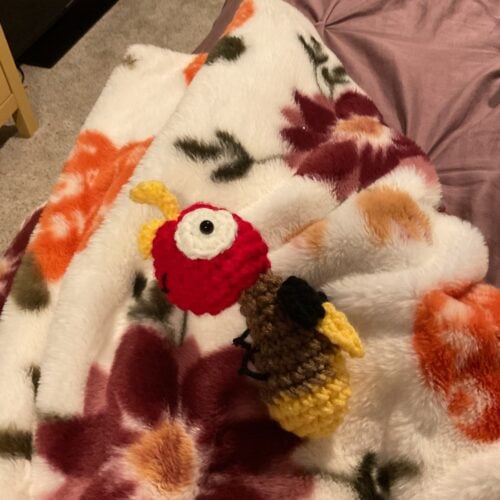
flicker
Submitted by byechester
The regular firefly
Submitted by alexander_hu
You need an account to submit your photo.


