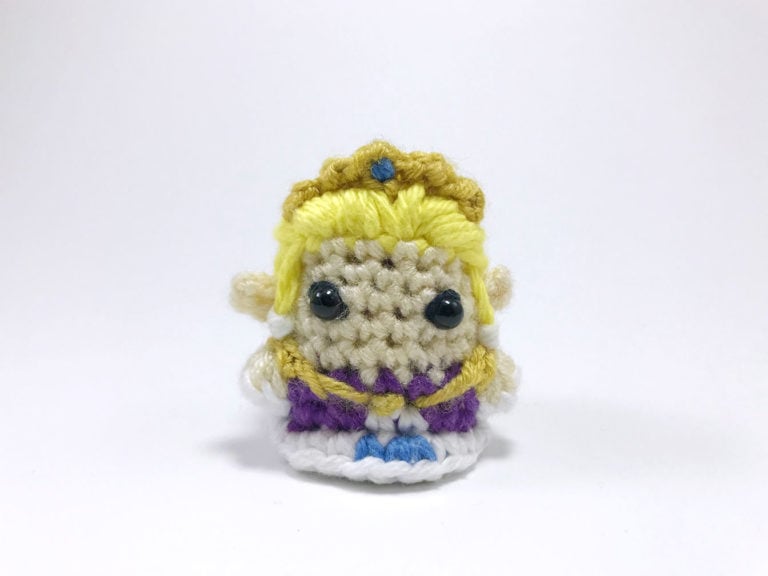


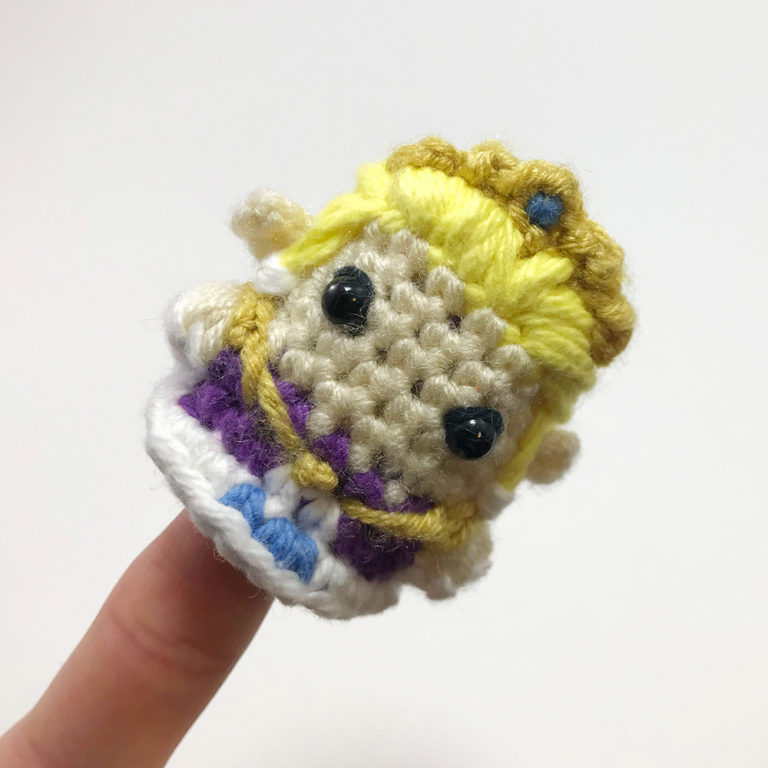
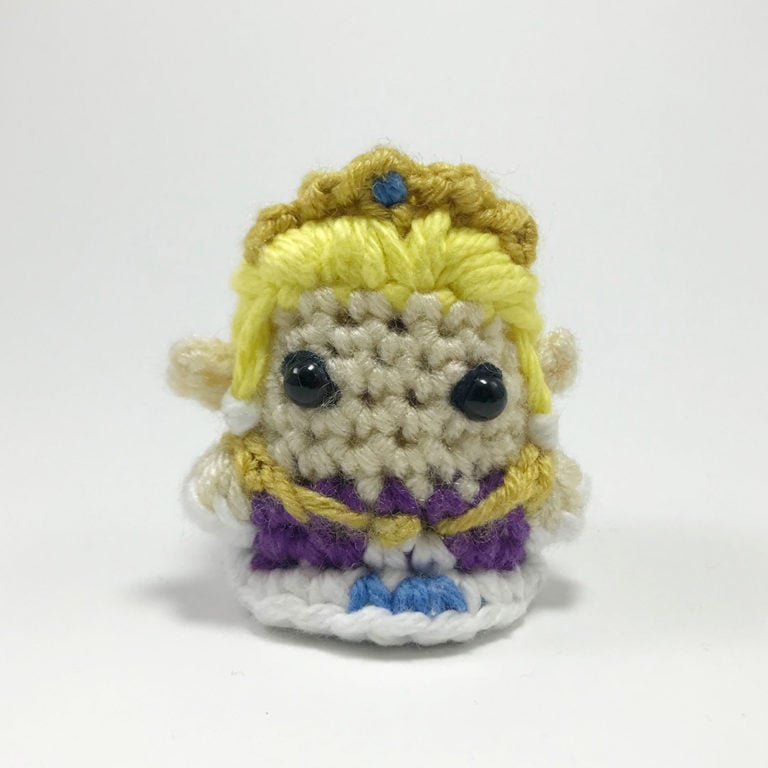
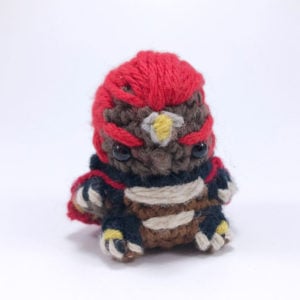
What you'll create


What you'll learn
01 Crown
02 Shoulder Pads
03 Chest Amulet
04 Ears
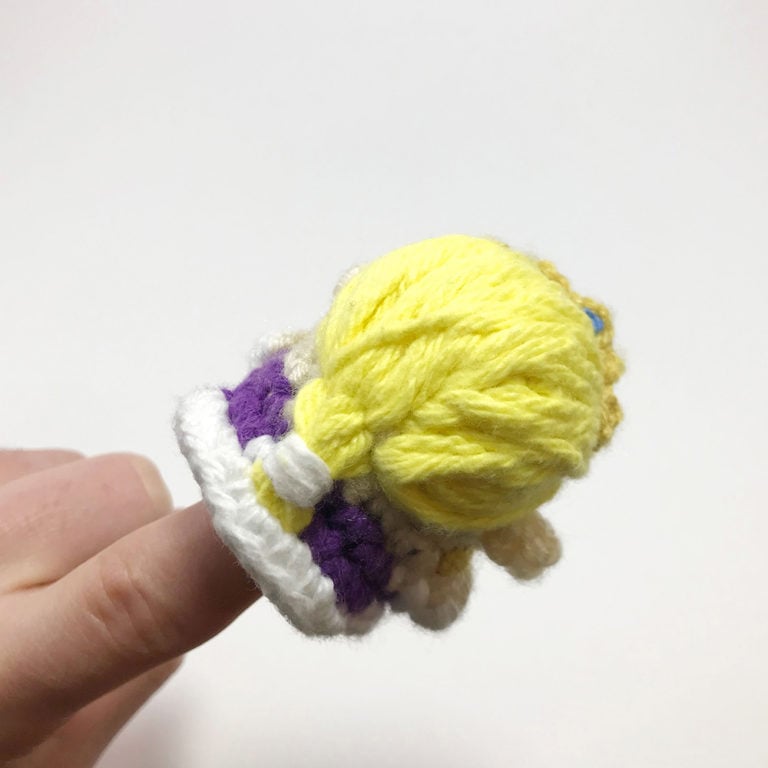
05 Head
06 Adding Hair
07 Adding Face
08 Body (Cont'd from Head)
What you'll need

Cotton Yarn
Weight

Colors
Purple (Clothing)
Gold (Crown/Shoulder pads)
Blue (Dress Detail/Gem)
White (Undershirt/Dress)
Sand (Skin Tone)
Yellow (Hair)

Crochet Hook
G6 / 4.00 mm

Safety Bead (x2)
6 mm

Stuffing

Darning Needle
Black Thread (Eyeliner)
Abbreviations used
ch
Chain Stitch
st
Stitch
slst
Slip Stitch
sc
Single Crochet
inc
Increase
dec
Decrease (Sharp)
FLO/BLO
Front / Back Loops Only
bo
Bobble Stitch (4-dc bobble)
mp
Mini Picot
Useful information
Gauge
5 Rnds and 4 sts per 1”
Finished piece is about 2” tall
Worked
In the Round unless otherwise stated
Color Abbreviations
P = Purple
W = White
Bl = Blue
S = Sand
Y = Yellow
Useful Tutorials
Pattern steps
01 Crown
[All in Gold]
Work only into the back loops of the chs
Mp (Ch 2, sl.st in 2nd ch from hook), ch 1, mp, ch 3, sc2tog using the 2nd and 3rd ch from the hook, mp, ch 1, mp
Other patterns to try

Community posts
Community Showcase
Crocheted this pattern? Be the first to show off your project by submitting a photo!
You need an account to submit your photo.


she was hard
Im watching ;). Actually this is my second attempt of Zelda. So I have watched twice lol
I did it! I finished Zelda because I have a daughter and son-in-law who give each other Zelda gifts every year for the last 10 years. This year, they had their first baby, and I decided Zelda finger puppets were the best way to celebrate Christmas long distance during Covid 19 lockdown. I finished a bokoblin first. I hope Zelda really is the hardest one, because Link is next, and I am a bit frustrated after struggling through the color changes!