
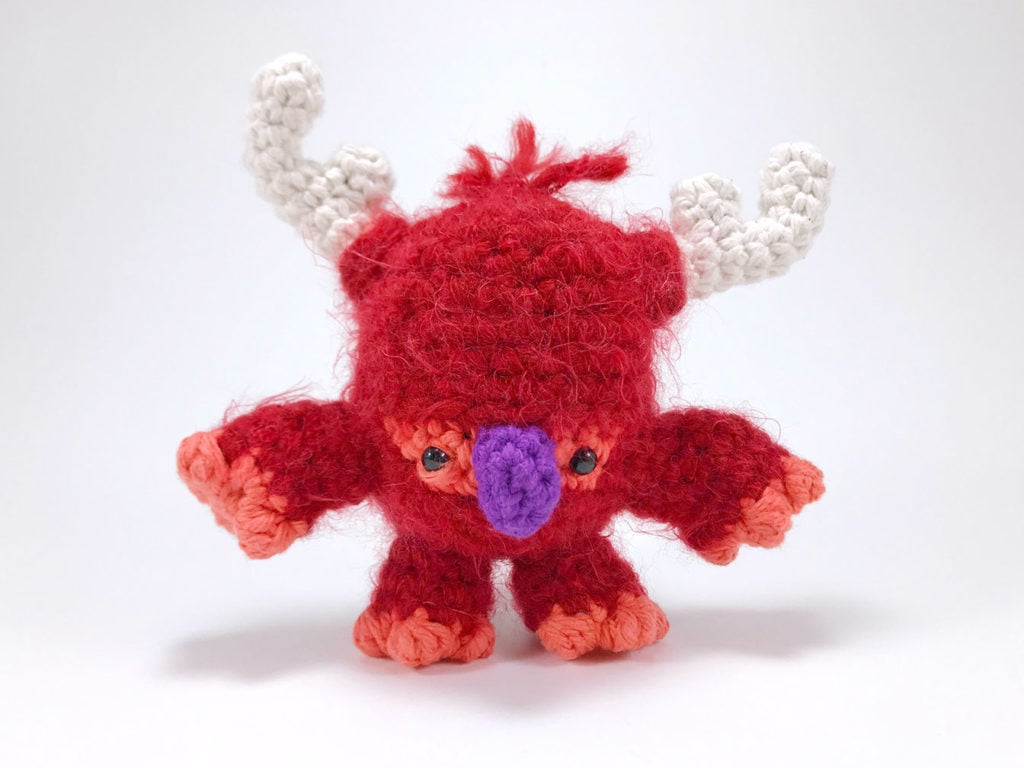
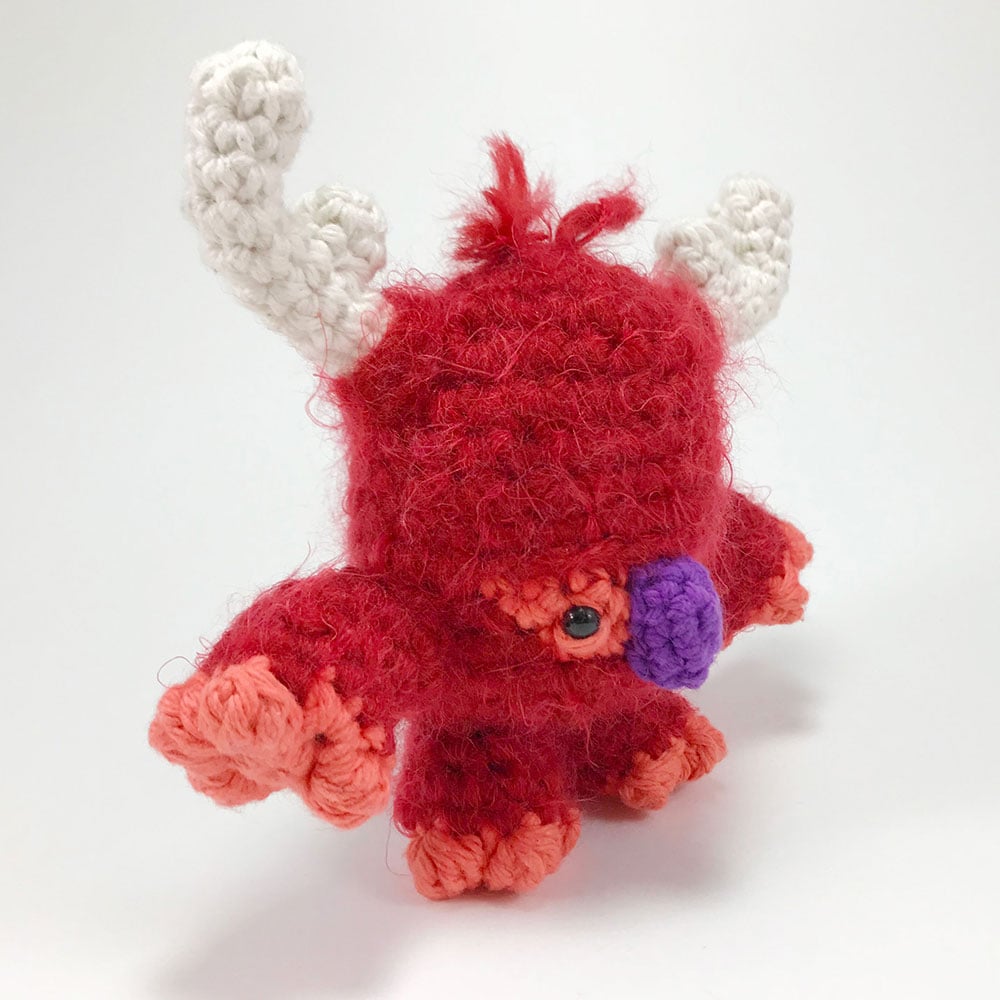
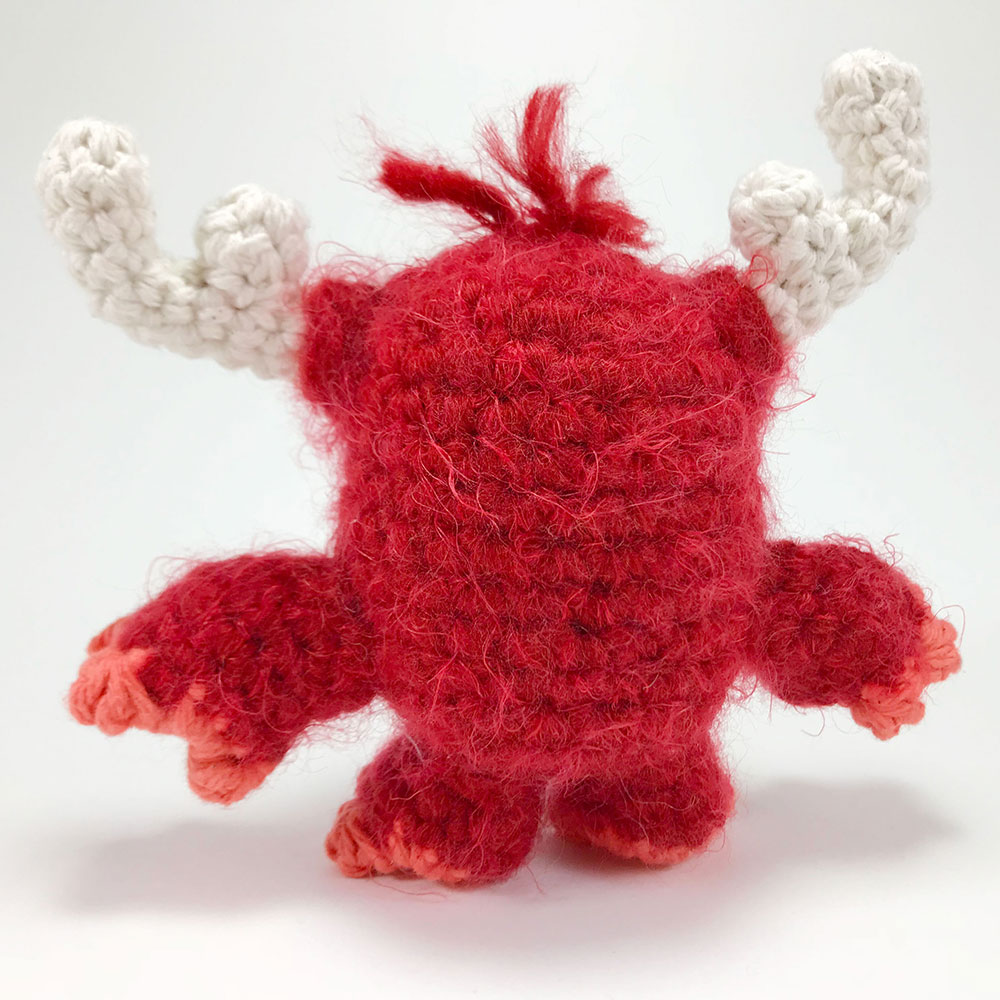
Antlered Meeble Walker Amigurumi


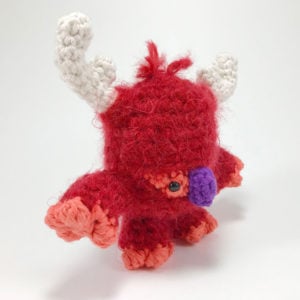
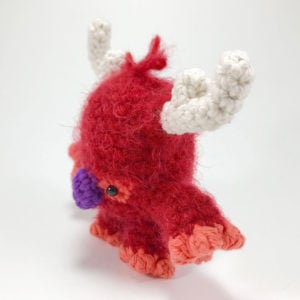
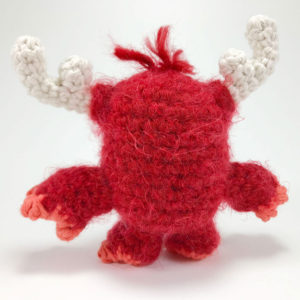
What you'll create

What you'll learn
What you'll need
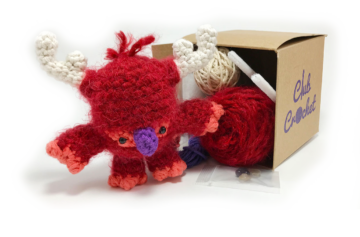
Cotton Yarn
Weight

Colors
Fuzzy Red (Hair)
Orange (Skin Tone)
Off-White (Horns)
Purple (Nose)

Crochet Hook
G6 / 4.00 mm

Safety Bead (x2)
6 mm

Stuffing

Darning Needle
Abbreviations used
ch
Chain Stitch
st
Stitch
slst
Slip Stitch
sc
Single Crochet
inc
Increase
dec
Decrease (Sharp)
FLO/BLO
Front / Back Loops Only
bo
Bobble Stitch (4-dc bobble)
Useful information
Gauge
5 Rnds and 4 sts per 1”
Finished piece is about 2” tall
Worked
In the Round unless otherwise stated
Color Abbreviations
R = Fuzzy Red
O = Orange
Pattern steps
01 Antlers
[All in Off-White]
Short Section
Ch 2 or use magic loop method
Rnd 1: Work 6 sc in 2nd ch from hook or into magic loop (6)
Other patterns to try


Community posts
Community Showcase
Crocheted this pattern? Be the first to show off your project by submitting a photo!
You need an account to submit your photo.


hey looie, I believe this should be updated to fit the typical day standards.